
The holiday season! It’s honestly my favorite time of year, but we all know it can get a little… hectic, right? Between the endless to-do lists and the pressure to make everything *perfect*, sometimes cooking feels more like a chore than a joy. That’s why I’ve spent years perfecting recipes that bring back those warm, nostalgic feelings without adding to the chaos. This stuffing recipe, Why Everyone Loves This Stuffing Recipes (+ Make-Ahead Tips), is my absolute go-to. It’s bursting with fresh herbs, hints of apple and cranberry, and that perfect toasted bread texture. Best of all, it’s designed so you can do most of the work beforehand, leaving you more time to actually *enjoy* the holiday. Trust me, just like my grandmother’s stuffing used to do, this one will bring everyone to the table with smiles.
Why Everyone Loves This Stuffing Recipes (+ Make-Ahead Tips)
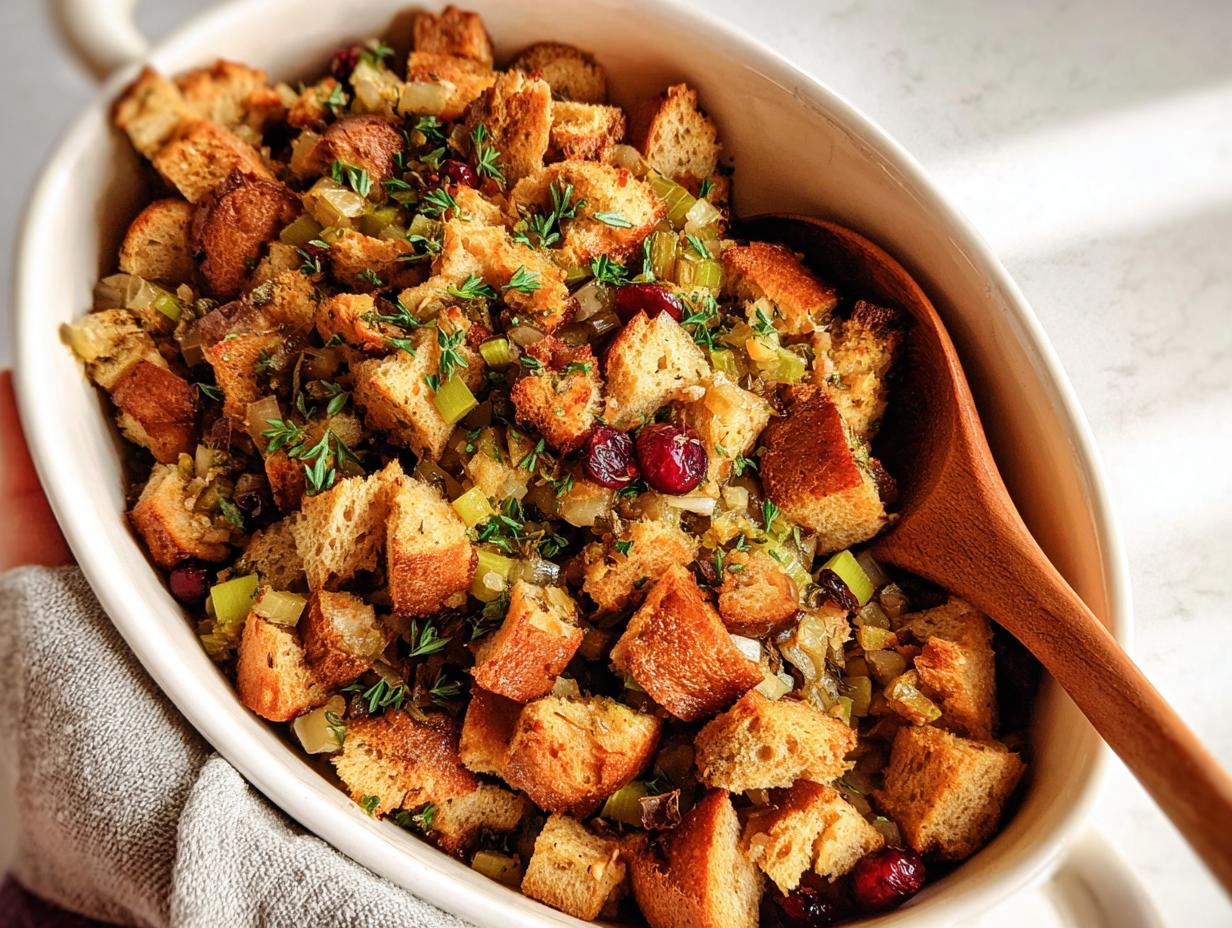
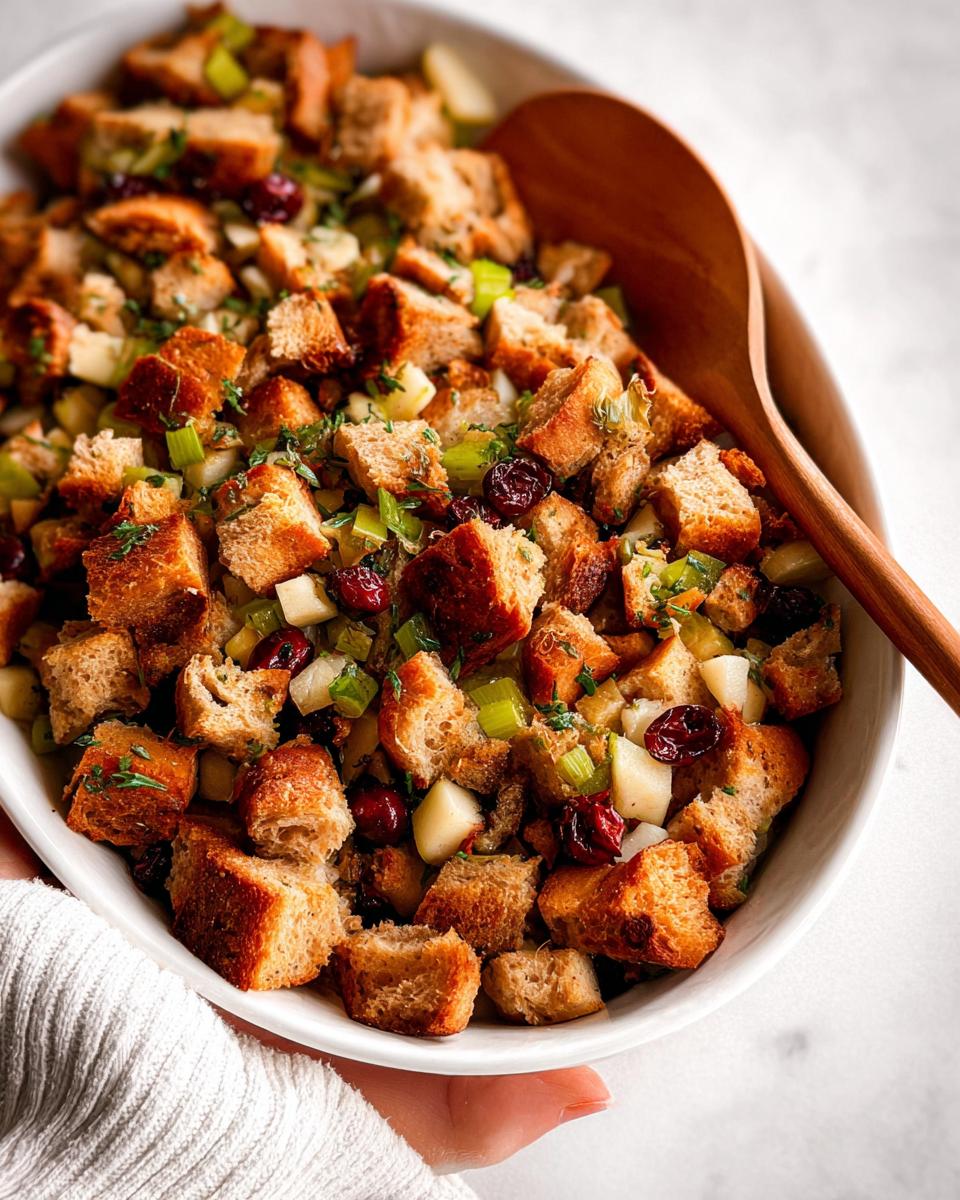
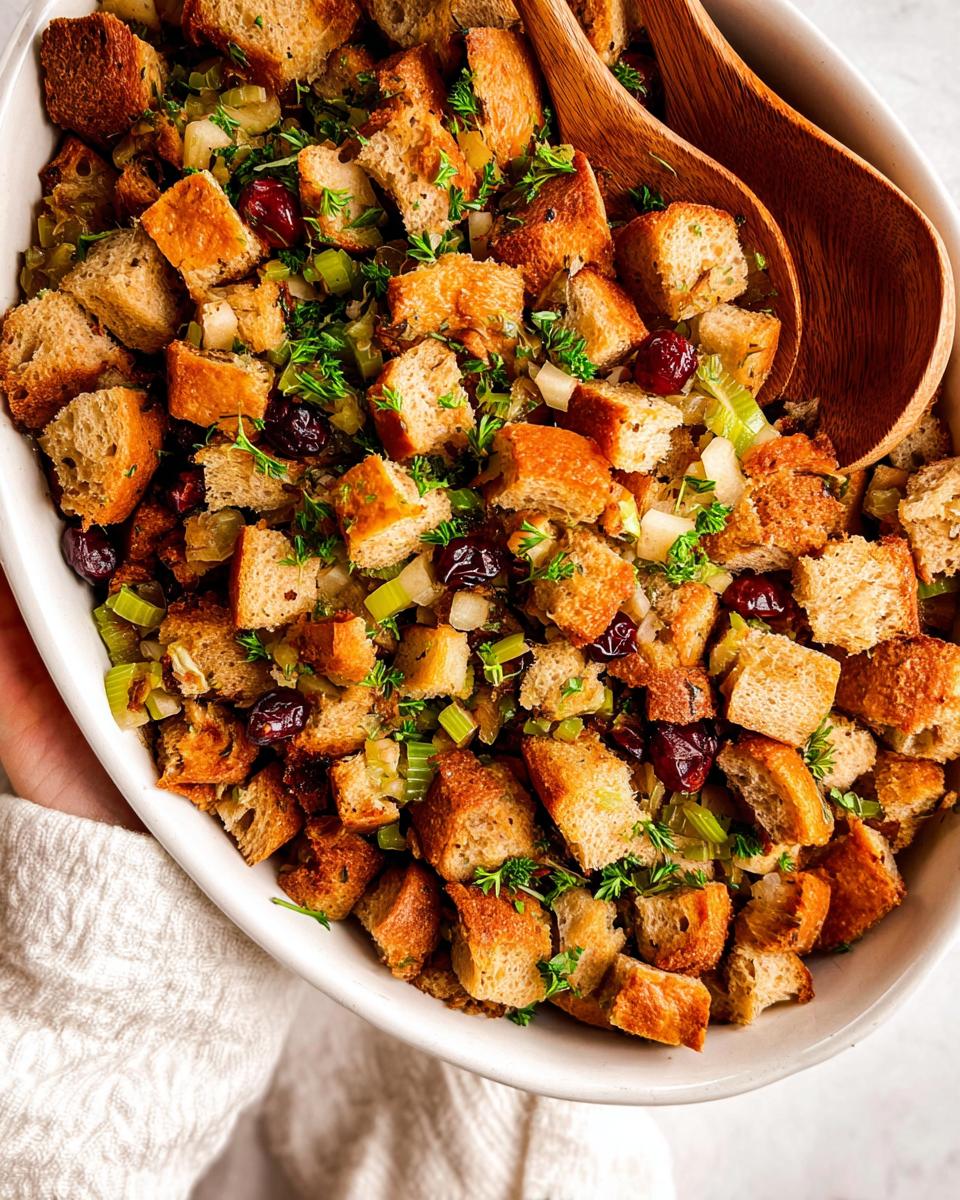
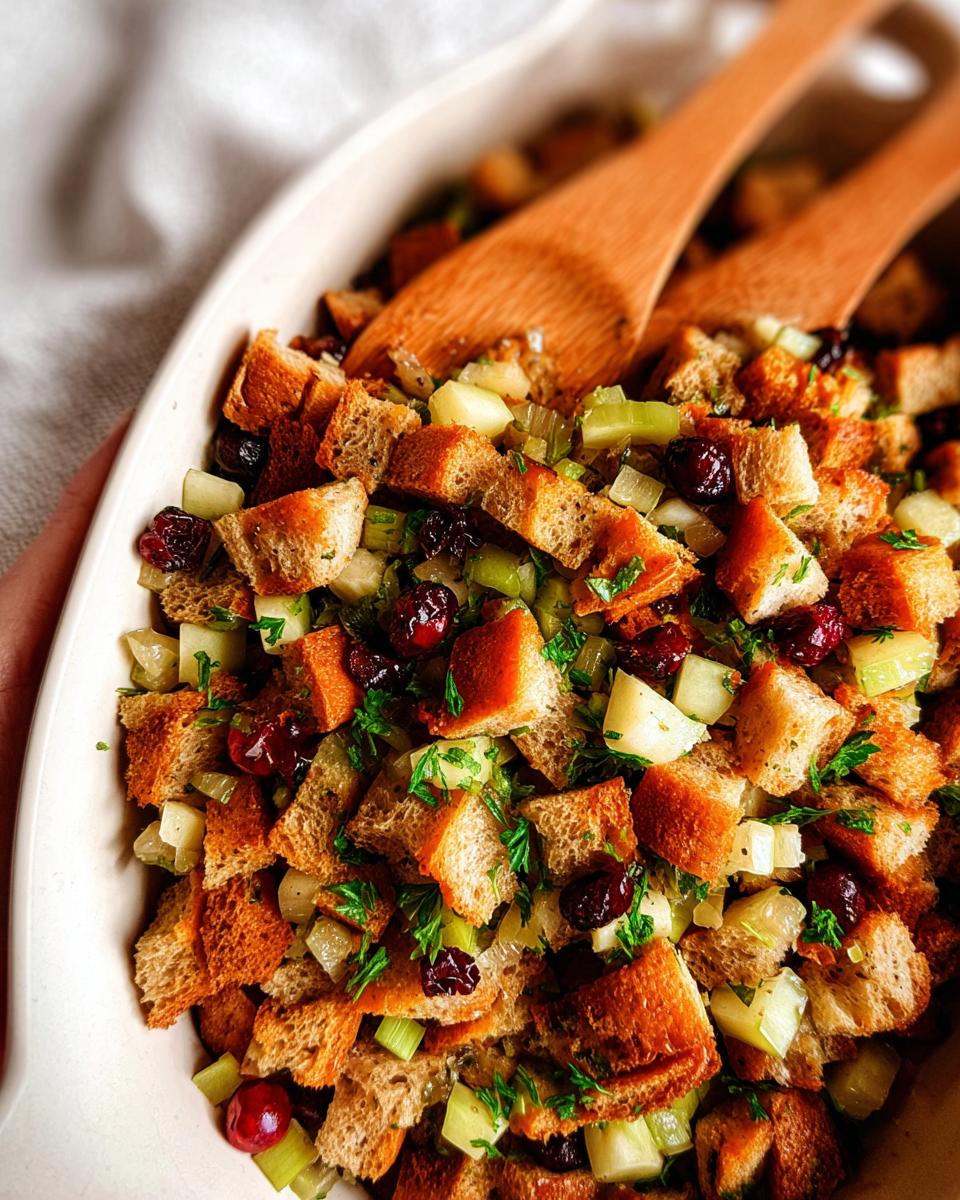
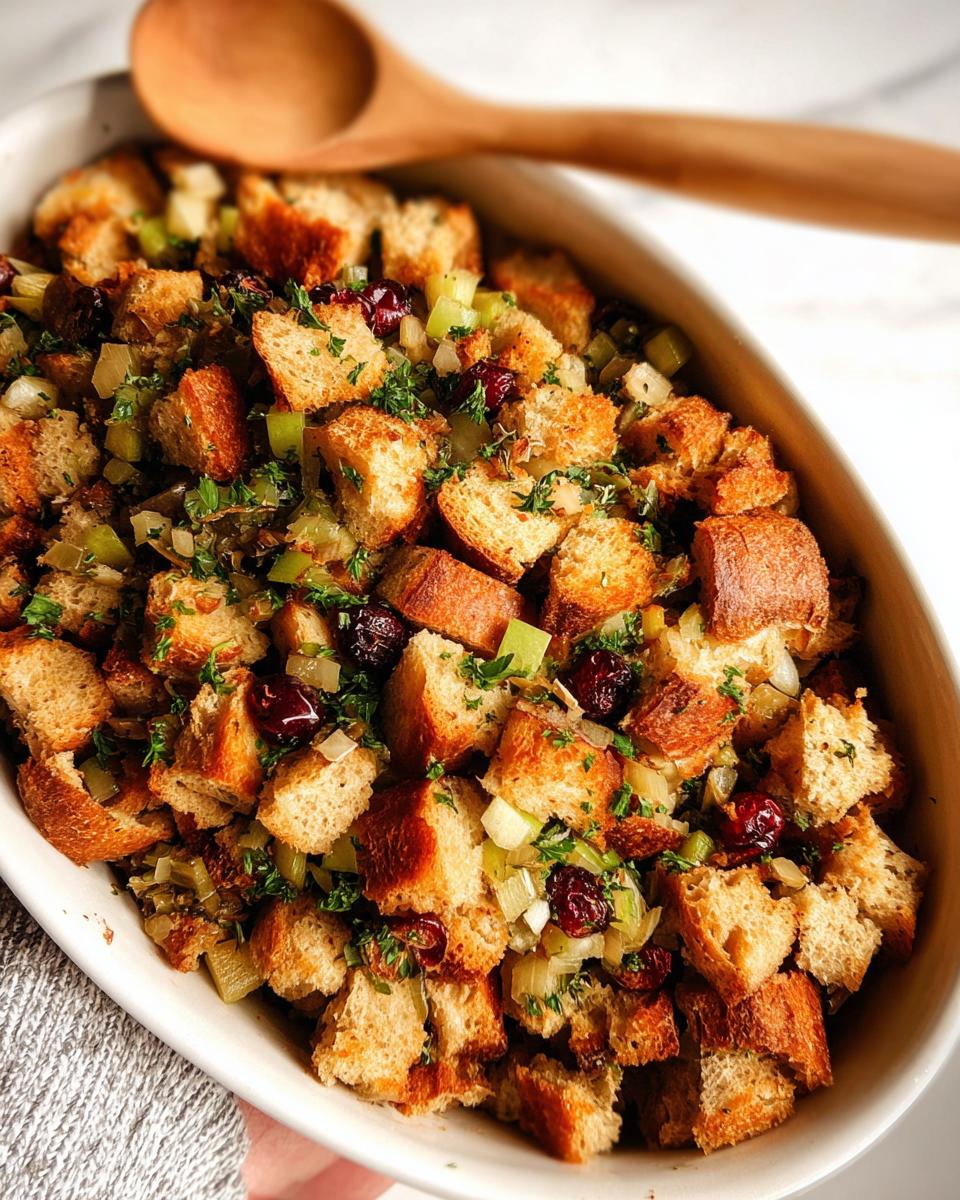
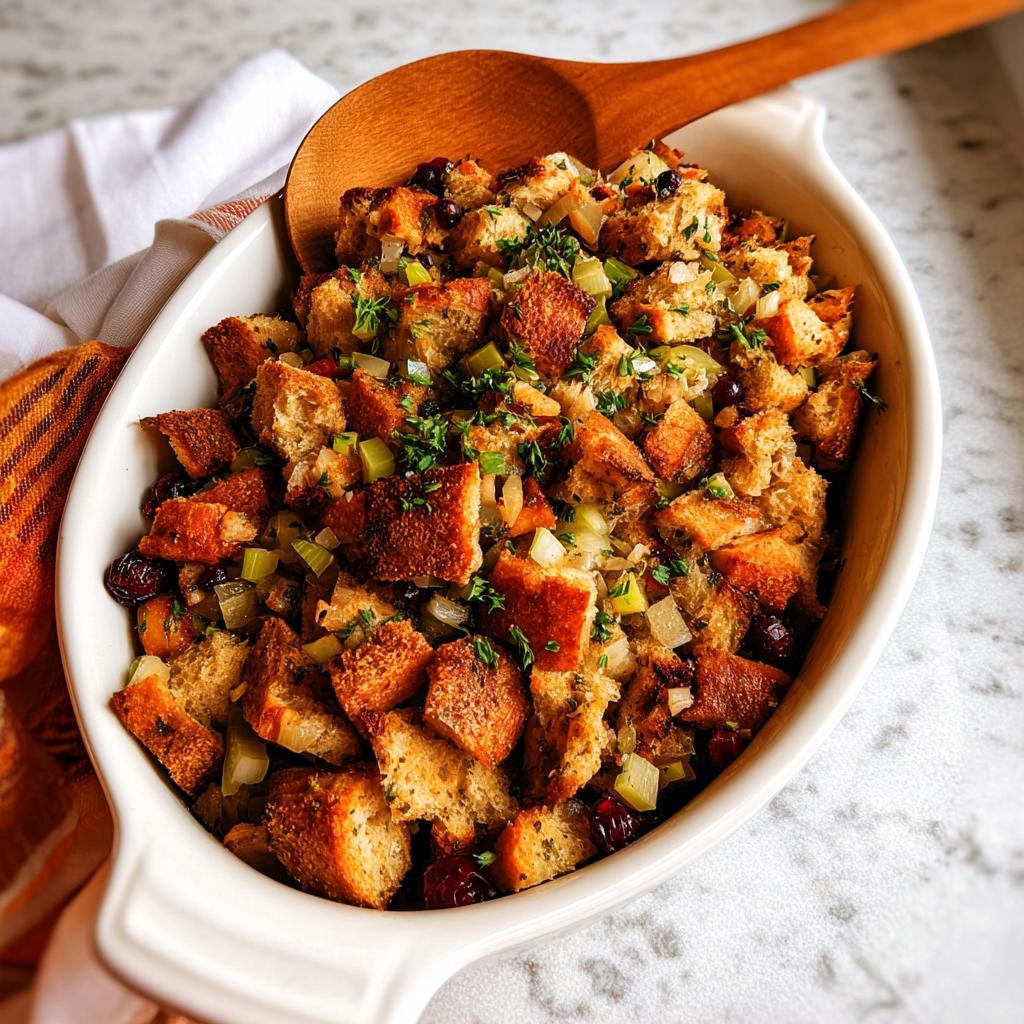
Okay, let’s dive into what makes this stuffing just *so* darn special! It’s not just another side dish; it’s a flavor explosion that feels like a warm hug. We’re talking about a perfect combination of toasty whole wheat bread, the amazing aroma of fresh herbs like rosemary and thyme, a little sweetness from diced apple and tangy cranberries, and that savory depth from celery and sweet onion. It’s got that satisfying texture – slightly crisp on top, wonderfully moist underneath – that makes everyone ask for seconds. Plus, knowing you can get this beauty prepped ahead of time? That’s a holiday miracle in itself!
The Perfect Blend of Flavors and Textures
Seriously, the way these ingredients come together is pure magic. Imagine biting into that perfectly toasted whole wheat bread – it gives such a lovely, rustic crunch. Then you get the bright, savory notes from fresh rosemary and thyme, mingling with the sweet crunch of diced apple and the little bursts of tartness from dried cranberries. The celery and sweet onion add that classic stuffing foundation, and all of it is brought together with a luscious buttery herb sauce. It’s not mushy, it’s not dry, it’s just *right*. This balance is what makes it a total winner at any table, and honestly, it’s what makes me reach for it year after year.
Gather Your Ingredients for Why Everyone Loves This Stuffing Recipes
Alright, let’s get down to business! To make this amazing stuffing happen, you’ll need a few things. Trust me, gathering these ingredients is half the fun because you know what’s coming next – pure deliciousness!
- For the Bread: 16 slices of whole wheat bread, cut into 1-inch cubes.
- For the Flavor Base:
- 3/4 cup unsalted butter
- 1 tbsp chopped fresh rosemary
- 1 tbsp fresh thyme leaves
- 1 1/2 tsp salt
- 1 1/2 tsp salt-free chicken seasoning
- 1 tsp dried parsley
- 1/2 tsp black pepper
- 1/2 tsp garlic powder
- 1 Honeycrisp apple, cored and diced
- 3 stalks celery, diced
- 1/2 medium sweet onion, diced
- 1/4 cup dried cranberries
- For Assembly: 2 cups chicken broth
Ingredient Notes and Substitutions
So, you might be wondering about some of these ingredients. The whole wheat bread gives it a nice heartiness, but if you prefer, sourdough or a good challah would also be fantastic! Just make sure it’s a day or two old so it toasts up nicely. For the apple, a Honeycrisp is lovely because it holds its shape, but Fuji or Gala work too. If you’re not a fan of dried cranberries, you could swap them for raisins or even some chopped dried apricots. And feel free to play with the herbs – sage is a classic stuffing herb if you want to add a little more of that traditional flavor!
Step-by-Step Guide to Making Why Everyone Loves This Stuffing Recipes
Ready to make some stuffing magic? It really is as simple as following these steps. I promise, your kitchen is about to smell incredible!
- First things first, get that oven preheating to 325°F (160°C). Oh, and grab a big baking sheet – line it with parchment paper so cleanup is a breeze.
- Spread your cubed bread in a single layer on that lined baking sheet. Let it toast in the oven for about 30 minutes. You want it nicely golden and dried out, but not burnt!
- While the bread is toasting, let’s get that flavor base ready. Melt the butter in a medium saucepan over low heat. Stir in the rosemary, thyme, salt, chicken seasoning, parsley, pepper, and garlic powder. Just mix it all up until it smells amazing.
- Now, toss in your diced apple, celery, onion, and dried cranberries to the butter mixture. Give it a good stir and let it simmer together for about 10 minutes. This lets all those flavors meld beautifully.
- Time to assemble! Transfer your toasted bread cubes into a 9×13 baking dish. Pour that glorious butter and veggie mixture right over the top. Gently toss everything together until the bread is nicely coated. Cover it all up with aluminum foil. You can totally bake it now, or if you’re doing the make-ahead thing, just cover it and pop it in the fridge for up to 24 hours. When you’re ready to bake, just head to step 6!
- Okay, nearly there! Crank your oven up to 425°F (220°C). Stir that chicken broth into the stuffing mixture. Give it one last good toss to make sure everything is combined. Cover the dish again and pop it in the hot oven for 20 minutes. Then, uncover it and let it bake for another 15 minutes, or until that top is golden brown and it’s heated all the way through. Serve it warm and watch everyone disappear it!
Tips for Perfect Stuffing Every Time
Okay, so listen up, a few little secrets make this stuffing absolutely perfect every single time. First, don’t skimp on toasting that bread! It needs to be good and dry so it doesn’t turn into mush. Also, when you mix everything together, be gentle. You want to coat the bread, not mash it. And for the moisture, that chicken broth is key. If it seems a little too dry after baking, you can always add a splash more broth. Trust me, these little things make a huge difference between good stuffing and *OMG, this is the best stuffing ever* stuffing. And don’t forget to check out more amazing recipes on my site for even more holiday inspiration!
Mastering Make-Ahead Stuffing: Your Holiday Game Plan
Okay, holiday heroes, let’s talk about making your life SO much easier! The absolute best part about this stuffing recipe is how perfectly it handles being made ahead. Seriously, you can prep the whole thing – bread toasted, flavor base simmering, everything mixed together in the dish – and just tuck it away in the fridge. This means on Thanksgiving Day, all you have to do is let it sit out for a little bit and then pop it in the oven. It takes so much pressure off, allowing you to actually hang out with your guests instead of being glued to the kitchen.
Storage and Reheating Instructions
If you’ve decided to make this deliciousness ahead of time, here’s the deal: Once you’ve assembled everything in the baking dish (step 5 in the recipe), just cover it TIGHTLY with plastic wrap and then a layer of aluminum foil. Pop it in the fridge for up to 24 hours. When it’s time to bake, take it out and let it sit on the counter for about 20-30 minutes to take the chill off. Then, just follow step 6, but keep in mind it might need a few extra minutes to heat through since it’s starting from cold. You can also check out more awesome make-ahead ideas online!
Frequently Asked Questions About This Stuffing Recipe
Got questions about this amazing stuffing? I’ve got you covered! It’s super versatile, and I’ve heard it all, so let’s clear things up!
Can I use a different type of bread for this stuffing?
Absolutely! While I love the heartiness of whole wheat bread, feel free to switch it up. Sourdough rounds that are a day or two old work wonderfully, giving it a bit of a tang. Challah or brioche would make it richer, though you might want to cut back on the butter slightly. Just make sure whatever bread you choose is sturdy enough to toast up and hold its shape!
Can this stuffing be made gluten-free?
You bet! The easiest way is to use a good quality gluten-free bread that’s been well-toasted. Just cube it up and toast it in the oven until it’s nice and dry, just like you would with regular bread. The rest of the recipe stays the same, and you’ll have a fantastic gluten-free stuffing that no one will even guess is different!
What herbs can I use if I don’t have rosemary and thyme?
Herbs are totally flexible here! If you don’t have fresh rosemary or thyme on hand, you can definitely use dried. Just use about 1/3 of the amount called for fresh (so 1/3 tbsp dried rosemary and 1/3 tbsp dried thyme). Sage is another classic stuffing herb, so if you have that, a tablespoon of fresh or a teaspoon of dried sage would be delicious added in!
My stuffing looks a bit dry, what can I do?
No worries! Stuffing can be a little tricky with moisture. If it seems too dry after the initial bake, just add a splash more chicken broth – maybe 1/4 cup at a time – toss it gently, and pop it back in the oven uncovered for another 5-10 minutes. The goal is moist but not soggy, so go slowly!
Serving Suggestions for Your Delicious Stuffing
Now that you’ve got this incredible stuffing ready to go, what should you serve it with? Honestly, it’s pretty darn versatile, but for a holiday feast, it’s pure perfection alongside a classic roasted turkey or a glazed ham. The savory herbs and slightly sweet notes just sing with traditional holiday mains.
But don’t stop there! It’s also fantastic with roasted vegetables like Brussels sprouts or green bean casserole. And for dessert? You absolutely *have* to check out our Thanksgiving desserts – they’re the perfect sweet ending to a meal featuring this stuffing. And don’t forget drinks! A nice Thanksgiving drink ties it all together. Seriously, this stuffing is the star, but it makes all its friends look good too!
Nutritional Information for This Stuffing Recipe
Just a heads-up, the nutritional info below is an estimate per serving. Things can vary a bit depending on the exact ingredients you use, like the type of bread and butter!
- Calories: aproximately 240
- Fat: 13g
- Protein: 6g
- Carbohydrates: 25g
- Sodium: 529mg
- Fiber: 4g
Why Everyone Loves This Stuffing Recipes (+ Make-Ahead Tips)
Ingredients
Equipment
Method
- Preheat your oven to 325°F (160°C). Line a large baking sheet with parchment paper.
- Cube the bread slices and place them in a single layer on the prepared baking sheet. Bake for 30 minutes until toasted.
- While the bread toasts, melt the butter in a medium saucepan over low heat. Stir in the rosemary, thyme, salt, chicken seasoning, parsley, pepper, and garlic powder until combined.
- Add the diced apple, celery, onion, and dried cranberries to the butter mixture. Stir to combine and bring to a simmer. Let it simmer for 10 minutes.
- Transfer the toasted bread cubes to a 9×13 baking dish. Pour the butter mixture over the bread and toss to coat. Cover with aluminum foil. You can proceed to bake now, or for make-ahead, cover and refrigerate for up to 24 hours. If making ahead, proceed to step 6 when ready to bake.
- Preheat your oven to 425°F (220°C). Stir the chicken broth into the stuffing mixture, tossing to combine. Cover the dish and bake for 20 minutes. Uncover and continue to bake for another 15 minutes, or until golden brown and heated through. Serve warm.
Nutrition
Notes
Tried this recipe?
Let us know how it was!
Precision Keto Scientist
Numbers don’t lie, and neither do my recipes. I’m a biochemist who fell into keto cooking through my own metabolic research—and I approach recipe development like a lab experiment, complete with macro calculations precise to the tenth of a gram.
My journey started in diabetes research labs at Johns Hopkins, where I spent six years studying how different macronutrient ratios affected insulin sensitivity. Personal experimentation with therapeutic ketosis for cognitive enhancement led me down a rabbit hole of recipe testing that eventually consumed more hours than my actual day job.
While other cookbook authors describe flavors and textures, I quantify ketone elevation curves and glycemic impact data. My recipe database contains 340+ formulations, each tagged with detailed nutritional analysis, predicted ketosis timing, and optimal meal spacing. I measure salt by weight, time cooking processes to the minute, and log ingredient sourcing obsessively for consistent results.
My breakthrough research on fat-protein ratios for sustained ketosis got published in the Journal of Nutritional Biochemistry. My “Macro Math Mastery” workshops have trained over 5,000 people in precision meal planning. I even collaborated with continuous glucose monitor manufacturers to create the first real-time feedback system for recipe optimization.
I left my pharmaceutical research position at Merck three years ago to focus on metabolic nutrition consulting. Now I work with professional athletes, biohackers, and medical professionals seeking therapeutic ketosis protocols. When I’m not in my lab-kitchen, I’m competing in chess tournaments or documenting my daily biomarker measurements with true data scientist obsessiveness.
Cooking is just applied chemistry—and chemistry follows predictable rules. Master the variables, control the outcomes.