
Hosting Thanksgiving for the first time felt like a culinary tightrope walk, and stuffing? Oh, stuffing seemed like the trickiest act of them all! I was so overwhelmed trying to get everything just right, but I refused to settle for bland, mushy bread. That initial panic actually sparked my passion for creating dishes that are *packed* with flavor but still totally doable, especially when you’re juggling a million things. This is how I landed on my absolute favorite approach: Stuffing Recipes Meal Prep That Actually Tastes Great. Trust me, this recipe is going to be your new best friend for holidays and beyond, making delicious stuffing easy peasy!
Why This Stuffing Recipes Meal Prep That Actually Tastes Great Is Your New Go-To
Okay, so why is this my absolute go-to when it comes to stuffing, especially when I’m planning ahead? Let me break it down:
- Flavor Explosion: We’re talking fresh herbs, perfectly sautéed veggies, and those little crispy bits that make stuffing amazing. It’s anything but boring!
- Seriously Easy: Even if you’re new to cooking or just short on time, this recipe is a lifesaver. The steps are straightforward, and it practically cooks itself.
- Meal Prep Magic: The ‘meal prep’ part isn’t just a catchy phrase, it’s the real deal. Make it ahead of time, and you’ve got a guaranteed hit ready to go.
- Super Versatile: While it’s amazing for Thanksgiving, this stuffing is so good it deserves a spot at any meal. Plus, you can totally tweak the herbs or veggies to make it your own!
Gather Your Ingredients for Delicious Stuffing
Alright, let’s get serious about what makes this stuffing sing! It all starts with good stuff, so here’s what you’ll need to round up. Don’t worry, it’s all pretty standard kitchen fare, but the quality makes a difference, trust me!
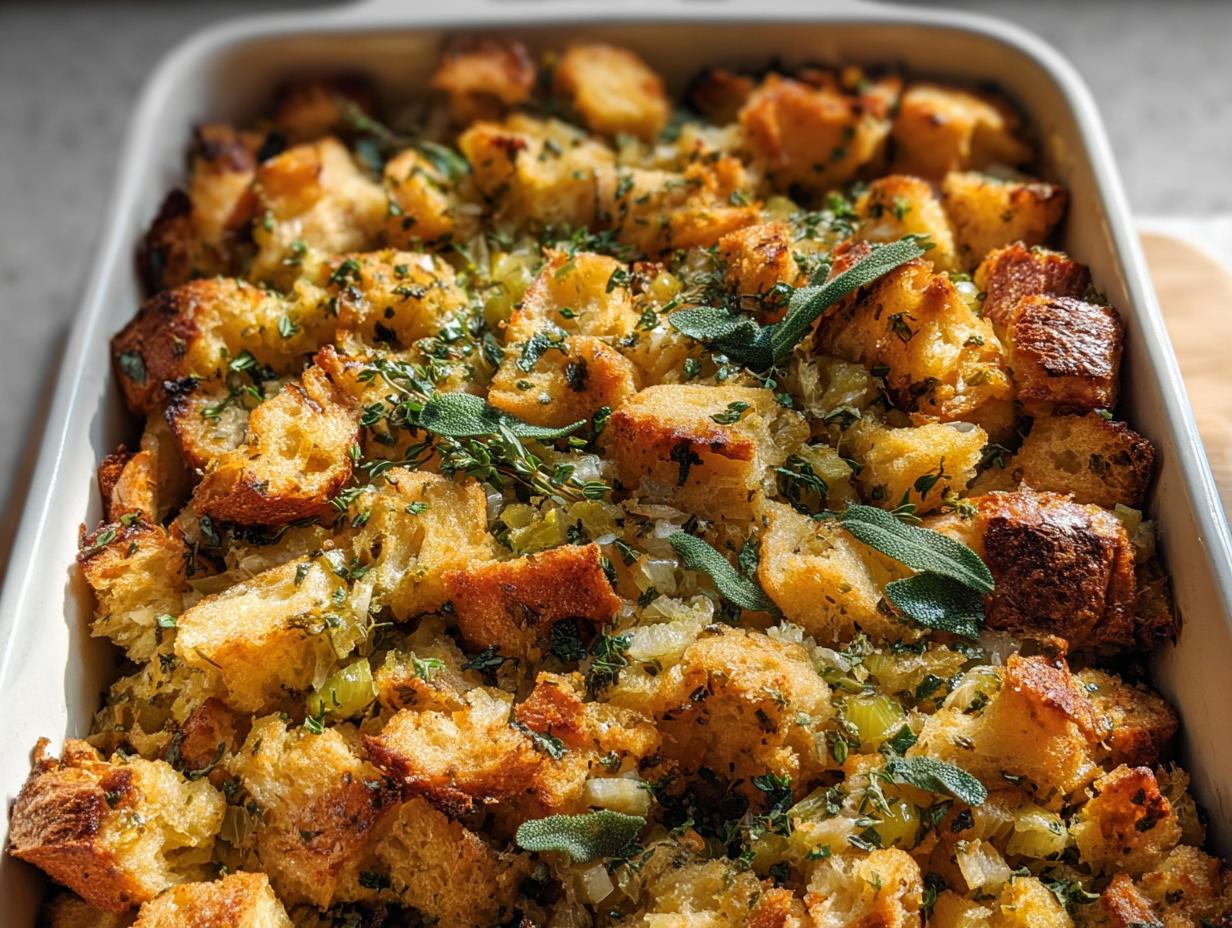
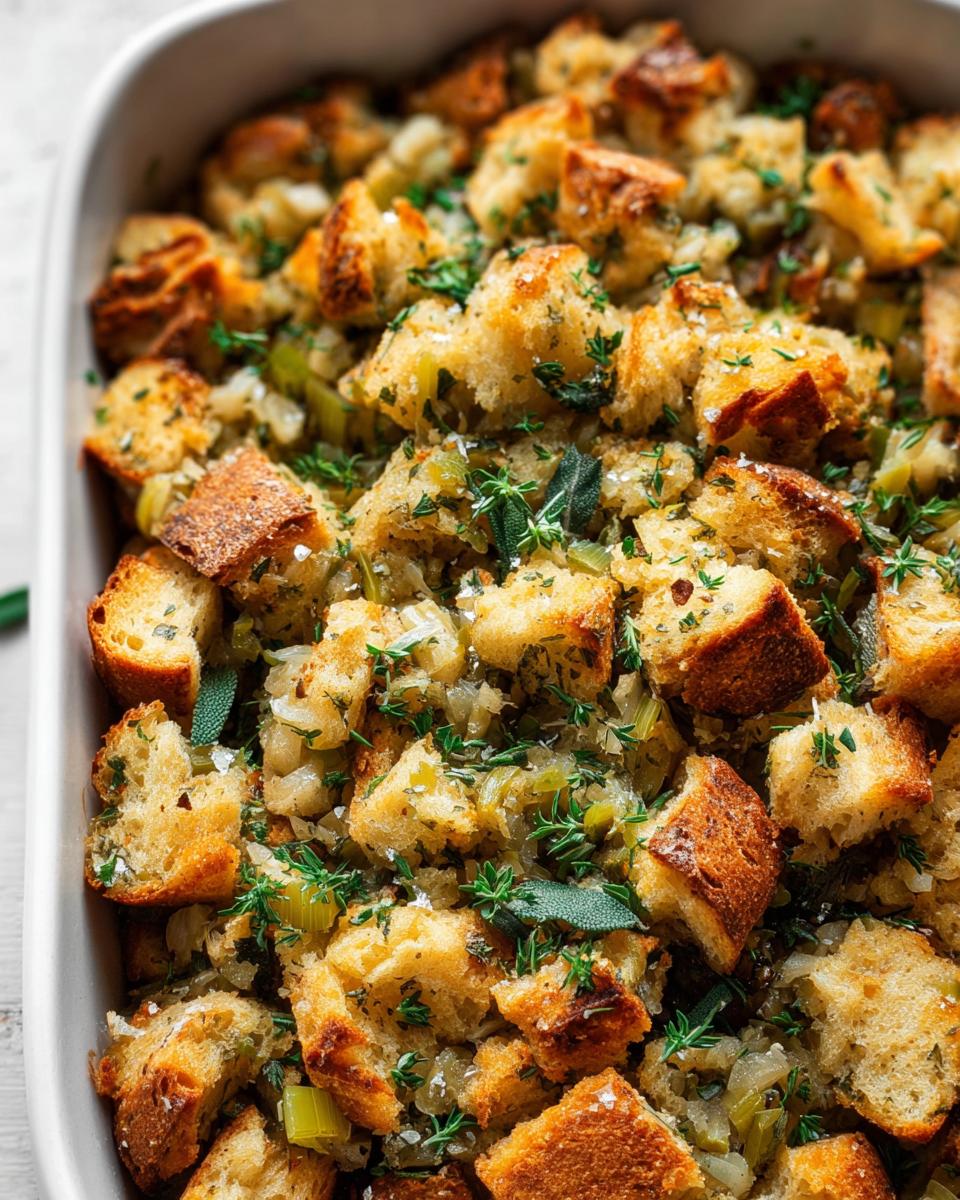
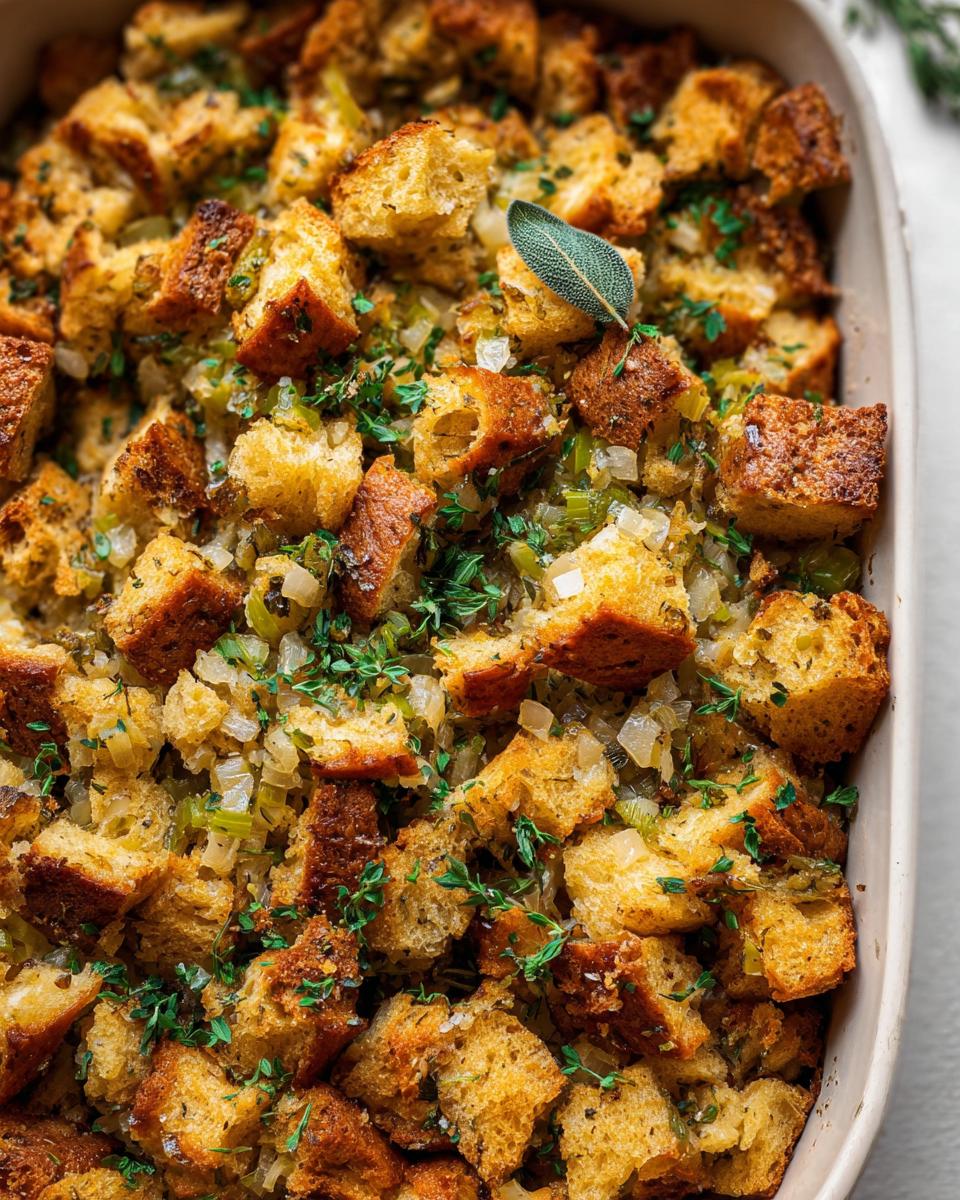
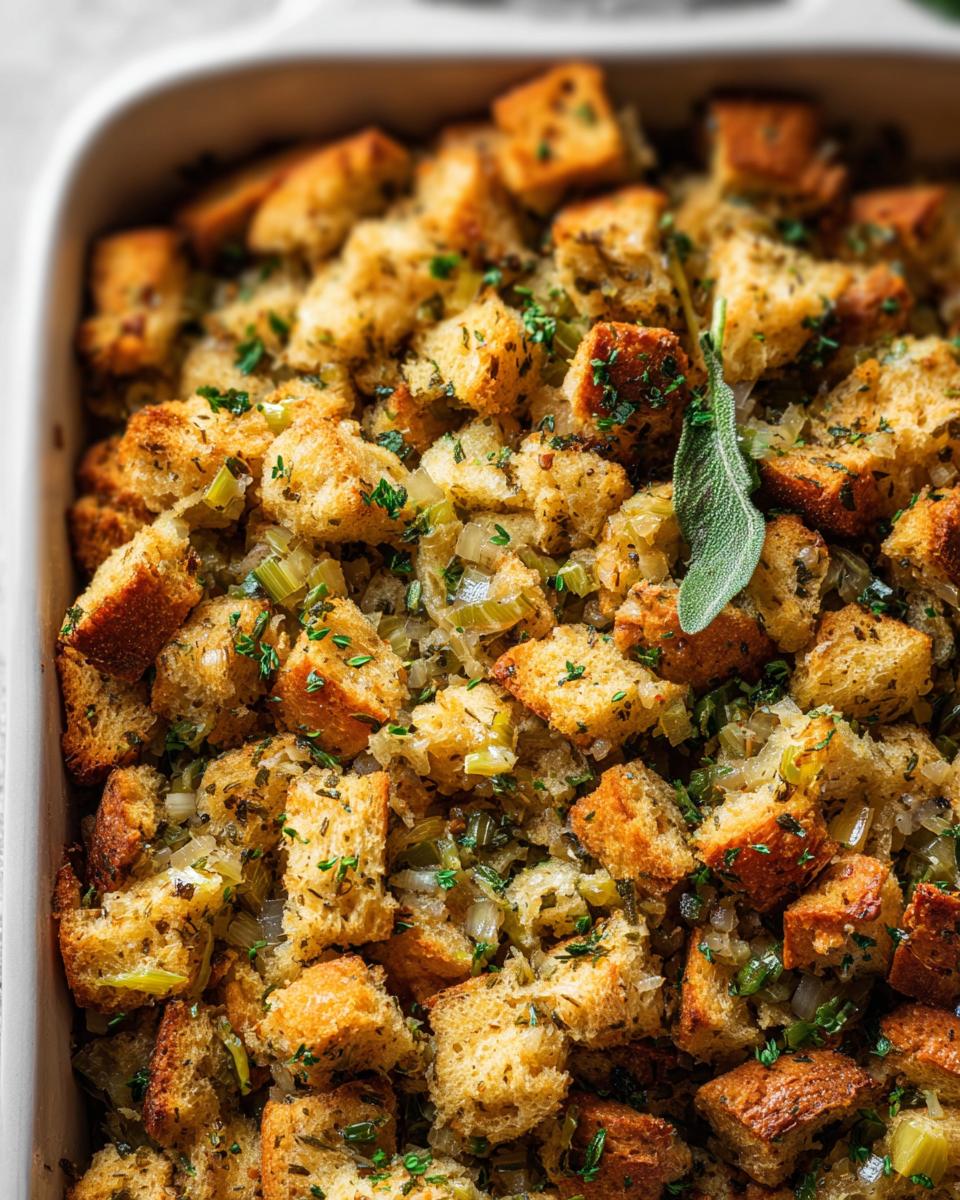
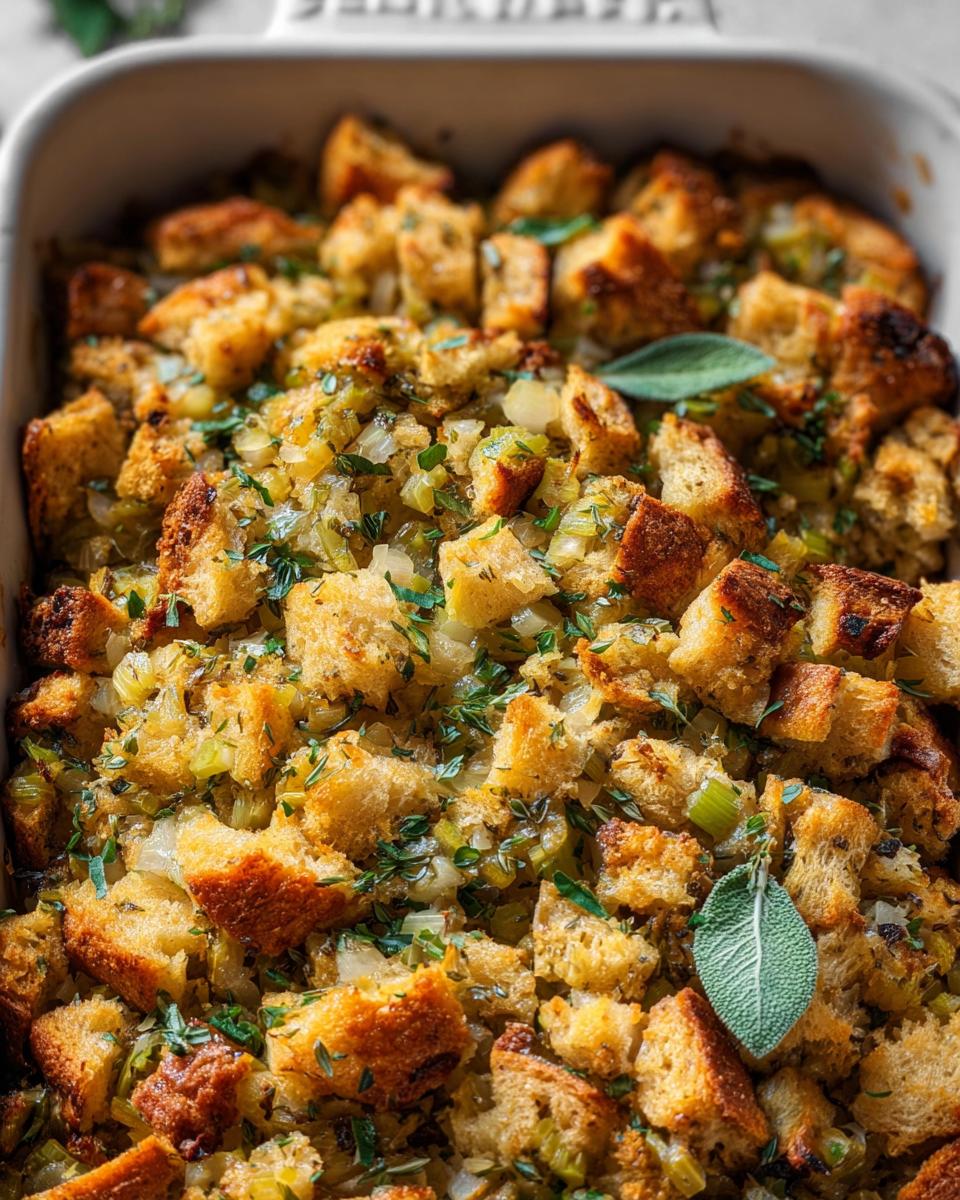
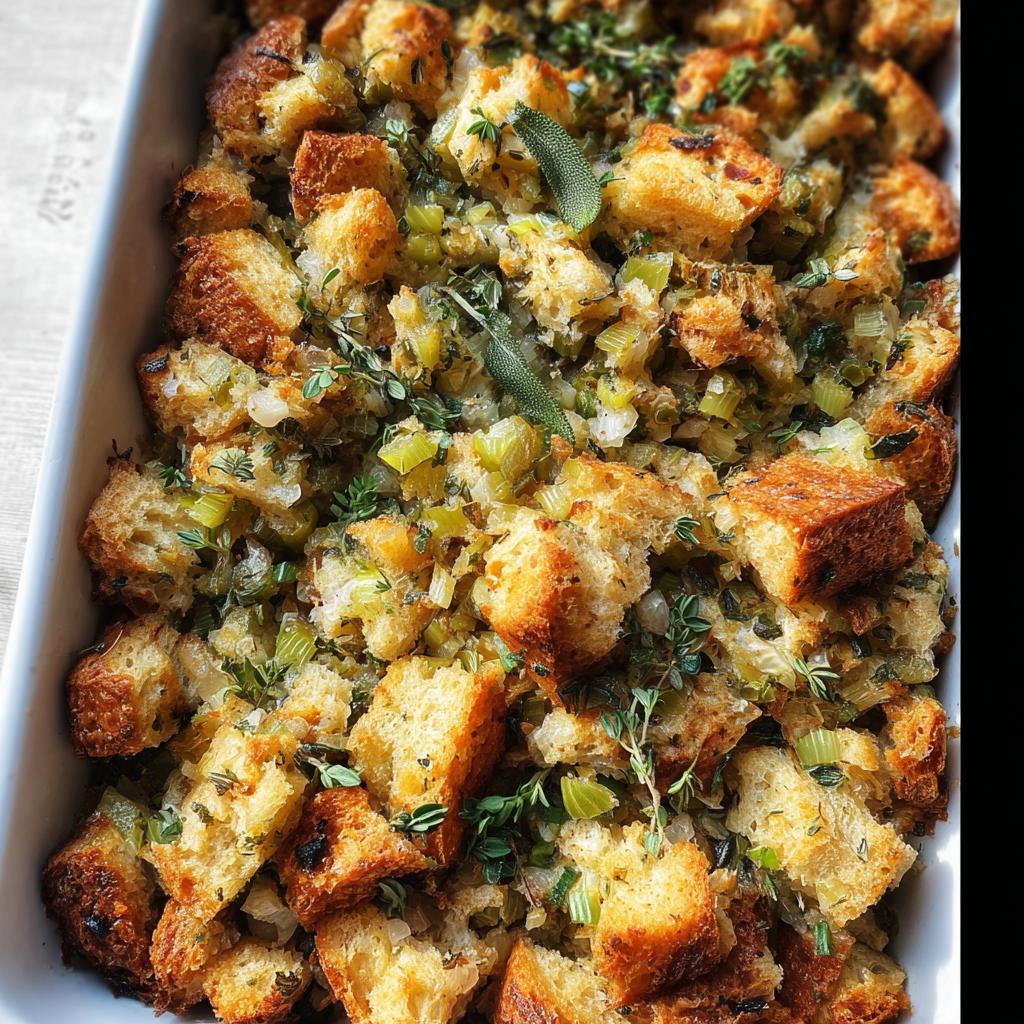
For starters, you’ll need about 18 to 24 ounces of bread cubes. It’s best if they’re either toasted until they’re nice and firm, or just a bit stale. This is key for texture – no one wants a soggy mess! You can totally toast them yourself in the oven or, if you’re in a pinch, grab some pre-toasted cubes from the store. Just make sure they’re cut to your liking, whether you prefer little tiny guys or chunkier, rustic bites.
Then, we’ve got about 1 cup of unsalted butter, melted, because butter is always the answer, right? For the veggies, grab 3 cups of diced sweet onion (that’s about 2 large ones), 2 cups of diced celery, and 6 cloves of garlic, all minced up nice and fine. Seasoning is crucial here too – about 1 to 1.5 teaspoons each of kosher salt and fresh black pepper, adjusted to your taste. And for that aromatic magic, you’ll want 3 tablespoons each of chopped fresh sage, parsley, and rosemary. Finally, you’ll need 2.5 cups of good chicken or vegetable stock and 2 large eggs.
Step-by-Step Guide to Making Your Stuffing Recipes Meal Prep That Actually Tastes Great
Alright, let’s get this stuffing party started! Don’t sweat it, this is where the magic happens, and it’s way easier than it looks. Just follow these steps and trust the process, and you’ll have a killer stuffing that tastes like you slaved away for hours (even though you didn’t!). It’s going to be so good, you’ll want to make it way beyond just Thanksgiving – maybe even try it with our amazing green bean casserole recipe for a full holiday spread!
Preparing the Bread Cubes
First things first, let’s talk bread! You’ve got options here. You can totally toast your bread cubes in the oven at 350°F for about 15 minutes until they’re golden and firm, like little croutons. Or, if you’re feeling lazy (I get it!), just use bread that’s a day or two old and feels a bit stale. Store-bought toasted cubes work too! Just cut them to whatever size makes you happy – small and uniform or big and rustic, your call! Getting this right is half the battle for perfect texture.
Sautéing the Aromatics
Now, grab a big skillet or a Dutch oven and melt that lovely butter over medium heat. Toss in your diced sweet onion, celery, and all that minced garlic. Give it a good pinch of salt and pepper. Let them soften up, which usually takes about 8 to 10 minutes. You want them tender, not mushy. Then, stir in your fresh sage, parsley, and rosemary. About a minute more, just until you can smell those amazing herbs – that’s the good stuff! Pour in about a cup of your stock and give it a good stir, scraping up any bits from the bottom of the pan.
Combining and Baking Your Stuffing
Preheat your oven to 350°F (that’s 175°C). Get your 9×13 inch baking dish ready – a little butter or spray works wonders to prevent sticking. Now, pour that glorious veggie and herb mix right over your bread cubes in a big bowl (or directly into the baking dish if you’re feeling bold!). Toss everything gently so those cubes are nicely coated. In a separate little bowl, whisk up the remaining 1.5 cups of stock with your 2 large eggs. Pour this egg mixture over the bread and veggies. Stir and fold everything together until all those bread cubes are looking happy and combined – make sure every piece gets a little love! Pop it into the oven and bake for about 45 to 50 minutes. You’re aiming for an internal temperature of 160°F (71°C). If it starts getting too brown on top before it’s cooked through, just loosely tent it with foil. Easy peasy! For more amazing holiday ideas, check out this recipe too!
Tips for Perfect Stuffing Recipes Meal Prep That Actually Tastes Great
Alright, so you want stuffing that’s truly next-level, right? Stuffing that’ll make your Thanksgiving guests think you’re a culinary wizard, but it’s actually super simple because you prepped it ahead? I’ve got you covered! These are my tried-and-true tricks that make all the difference.
First off, bread choice is HUGE. Don’t just grab any old loaf. A good hearty country bread, challah, or even an artisanal sourdough works wonders. You want a bread that can hold its shape and soak up all those amazing flavors without turning into complete mush. Toasting your bread cubes is non-negotiable if you want that perfect chewy-crispy texture. And when you’re mixing everything, be gentle! Over-mixing can make it gummy, so fold everything together like you’re giving it a gentle hug.
Finally, remember the resting time! That 60 minutes after baking (or after reheating from being prepped ahead) is pure gold. It lets all those flavors meld together and the stuffing firms up just right. It’s basically the secret handshake of amazing stuffing. Craving more holiday goodness? You’ve gotta check out our amazing green bean casserole – it pairs perfectly!
Making Ahead and Storing Your Stuffing
Alright, the beauty of this recipe being your new favorite for Stuffing Recipes Meal Prep That Actually Tastes Great is how totally make-ahead friendly it is. You can actually bake the whole thing up to two days in advance! Just let it cool completely after it comes out of the oven, then cover it tightly with plastic wrap or foil and pop it in the fridge. When you’re ready to serve, just reheat it in a 350°F oven. If it looks a little dry, you can *always* add a splash more stock or a tiny bit of butter before reheating. It’ll be just as amazing as when it was fresh! For more holiday tips, don’t forget to check out our amazing green bean casserole!
Frequently Asked Questions About Stuffing
Can I make stuffing without bread?
Technically, yes, but it won’t be traditional stuffing! You can get creative with gluten-free bread or even use things like cooked quinoa or rice as a base, but honestly, the bread is what gives stuffing its classic texture and flavor profile. For this recipe, stick with bread cubes for the best results – maybe try a gluten-free loaf if you need to!
What kind of bread is best for stuffing?
Oh, this is a fun one! For the best texture, you really want a sturdy bread that won’t totally dissolve. Day-old French bread, sourdough, or a good country loaf are fantastic. Avoid super soft, squishy white bread. Toasting your cubes, as we talked about, is the biggest trick to getting that perfect texture. It gives them a little backbone so they can soak up all the yummy goodness without falling apart.
How do I make stuffing moist but not soggy?
This is the golden question, isn’t it? The trick is all about balance! First, toast your bread cubes well – that’s your first defense against sogginess. Then, when you’re adding the liquid (the stock and egg mixture), don’t go overboard. Add it gradually and toss until just combined. You want the bread to be moistened, not swimming. Also, that resting time after baking is super important; it lets the excess moisture redistribute. If you’re reheating, a little splash of stock or butter before popping it back in the oven works wonders!
Can I add other ingredients to this stuffing?
Absolutely! This recipe is a fantastic base. Feeling adventurous? Toss in some cooked sausage or bacon bits, some sautéed mushrooms, or even a handful of dried cranberries or pecans for a little sweetness and crunch. Just remember to adjust your seasoning as needed, especially if you’re adding salty meats.
Nutritional Information
Just a friendly heads-up: the nutritional info for stuffing can really swing depending on the bread you use and how much butter makes its way into your bowl! As an estimate for one serving of this recipe, you’re looking at around 450-550 calories, 25-35g of fat, about 10-15g of protein, and 40-50g of carbs. Remember, these numbers are just a ballpark figure!
Share Your Stuffing Creations!
So, what do you think? Did you try out this amazing stuffing recipe? I’d absolutely LOVE to hear what you thought! Drop a comment below with your thoughts, or give it a star rating if you loved it as much as I do. And hey, if you tweaked it with your own special touches – maybe some extra mushrooms or a sprinkle of toasted nuts – definitely spill the beans! You can also share your stuffing triumphs over on social media, and don’t forget to tag me and check out more delicious recipes!
Stuffing Recipes Meal Prep That Actually Tastes Great
Ingredients
Equipment
Method
- Prepare your bread cubes. You can toast them in the oven at 350 degrees F for about 15 minutes until crouton-like, or use stale bread cubes. You can also buy pre-toasted cubes from the store. Cut cubes to your desired size, small or rustic.
- Preheat your oven to 350 degrees F. Prepare a 9×13 inch baking dish by brushing it with butter or spraying it with nonstick spray. Place the bread cubes in a large mixing bowl or the baking dish.
- Melt the butter in a large skillet or Dutch oven over medium heat. Add the diced onion, celery, and minced garlic. Season with salt and pepper. Cook until the vegetables soften, about 8 to 10 minutes. Stir in the fresh sage, parsley, and rosemary, and cook for another minute. Pour in 1 cup of the stock and stir.
- Pour the vegetable and herb mixture over the bread cubes and toss to coat evenly.
- In a small bowl, whisk together the remaining 1 1/2 cups of stock and the 2 eggs.
- Pour the egg and stock mixture over the bread cubes. Stir and fold until all the bread cubes are thoroughly combined.
- Bake for 45 to 50 minutes, or until the internal temperature reaches 160 degrees F. If the stuffing begins to brown too quickly, you can tent it loosely with foil.
- Let the stuffing rest for about 60 minutes before reheating if made ahead. This recipe can also be used to stuff a poultry bird.
Notes
Tried this recipe?
Let us know how it was!
Precision Keto Scientist
Numbers don’t lie, and neither do my recipes. I’m a biochemist who fell into keto cooking through my own metabolic research—and I approach recipe development like a lab experiment, complete with macro calculations precise to the tenth of a gram.
My journey started in diabetes research labs at Johns Hopkins, where I spent six years studying how different macronutrient ratios affected insulin sensitivity. Personal experimentation with therapeutic ketosis for cognitive enhancement led me down a rabbit hole of recipe testing that eventually consumed more hours than my actual day job.
While other cookbook authors describe flavors and textures, I quantify ketone elevation curves and glycemic impact data. My recipe database contains 340+ formulations, each tagged with detailed nutritional analysis, predicted ketosis timing, and optimal meal spacing. I measure salt by weight, time cooking processes to the minute, and log ingredient sourcing obsessively for consistent results.
My breakthrough research on fat-protein ratios for sustained ketosis got published in the Journal of Nutritional Biochemistry. My “Macro Math Mastery” workshops have trained over 5,000 people in precision meal planning. I even collaborated with continuous glucose monitor manufacturers to create the first real-time feedback system for recipe optimization.
I left my pharmaceutical research position at Merck three years ago to focus on metabolic nutrition consulting. Now I work with professional athletes, biohackers, and medical professionals seeking therapeutic ketosis protocols. When I’m not in my lab-kitchen, I’m competing in chess tournaments or documenting my daily biomarker measurements with true data scientist obsessiveness.
Cooking is just applied chemistry—and chemistry follows predictable rules. Master the variables, control the outcomes.