
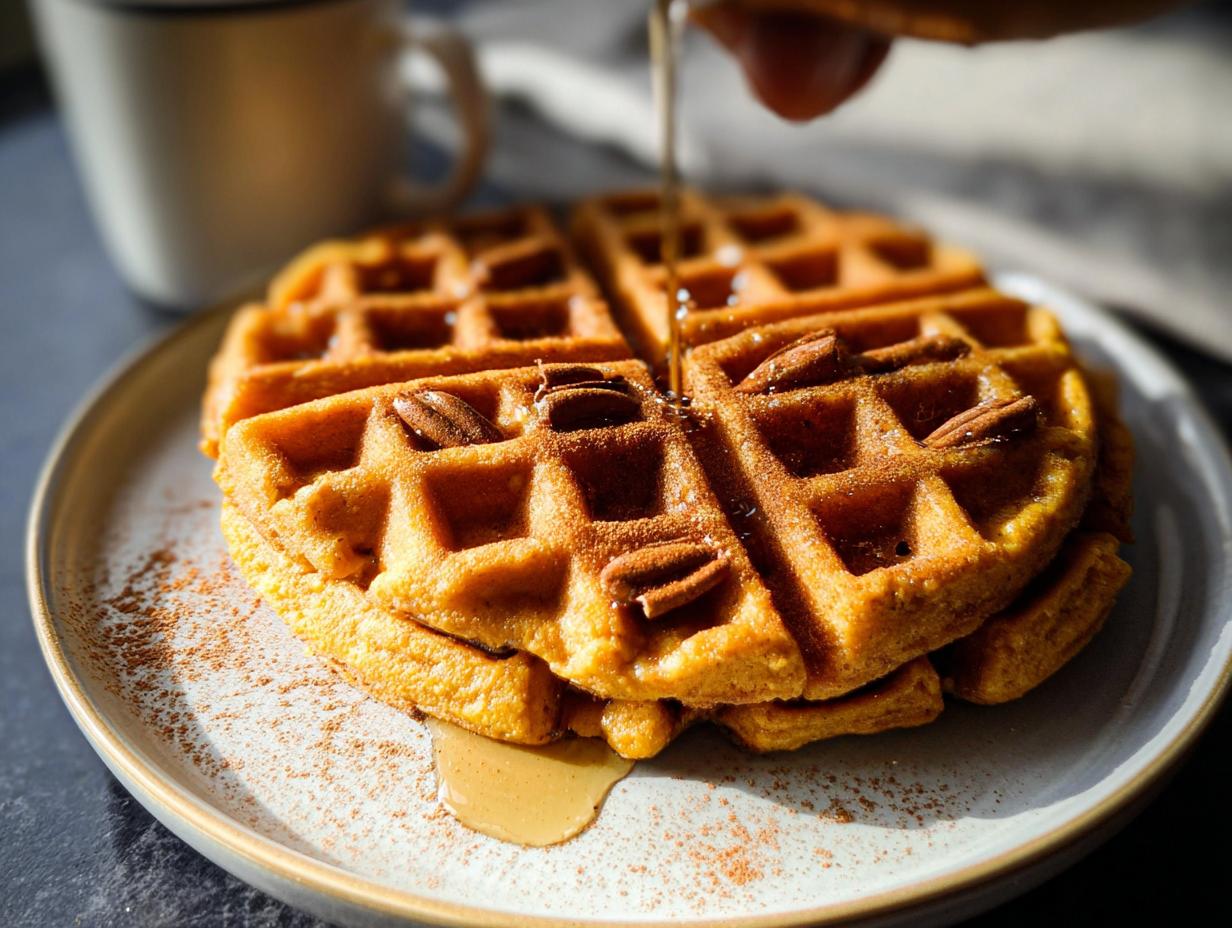
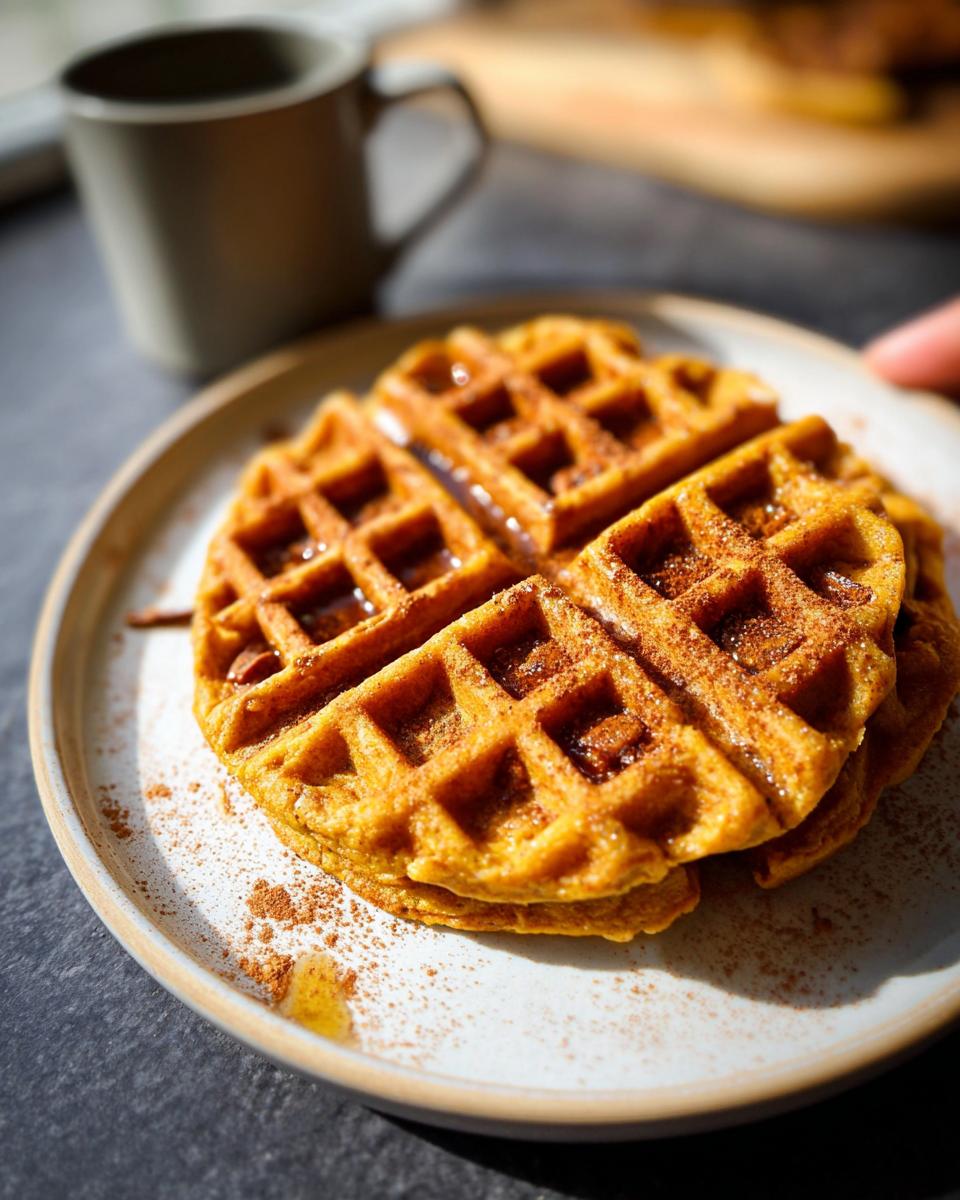
There’s just something magical about the smell of autumn baking, isn’t there? That cozy, spiced scent that feels like a warm hug on a crisp morning. For me, as an Urban Forager and Hyperlocal Ingredient Specialist, it’s a reminder to slow down, even amidst the city hustle. That feeling is exactly what inspired these Blender Pumpkin Waffles (Freezer-Friendly). Honestly, the first batch happened because I had half a jar of pumpkin puree staring at me, and I just blended it all up with some pantry staples, half expecting… well, I wasn’t sure what! But out popped these incredibly fragrant, perfectly crisp-edged waffles. They’re a little taste of fall, made super easy for those busy mornings when you crave something special but don’t have a lot of time. Trust me, stocking your freezer with these is pure genius.
Why You’ll Love These Blender Pumpkin Waffles (Freezer-Friendly)
Seriously, you’re going to adore these little flavor bombs. They’re exactly what you need when that autumn craving hits but you’re short on time. Here’s why these Blender Pumpkin Waffles (Freezer-Friendly) are a total game-changer:
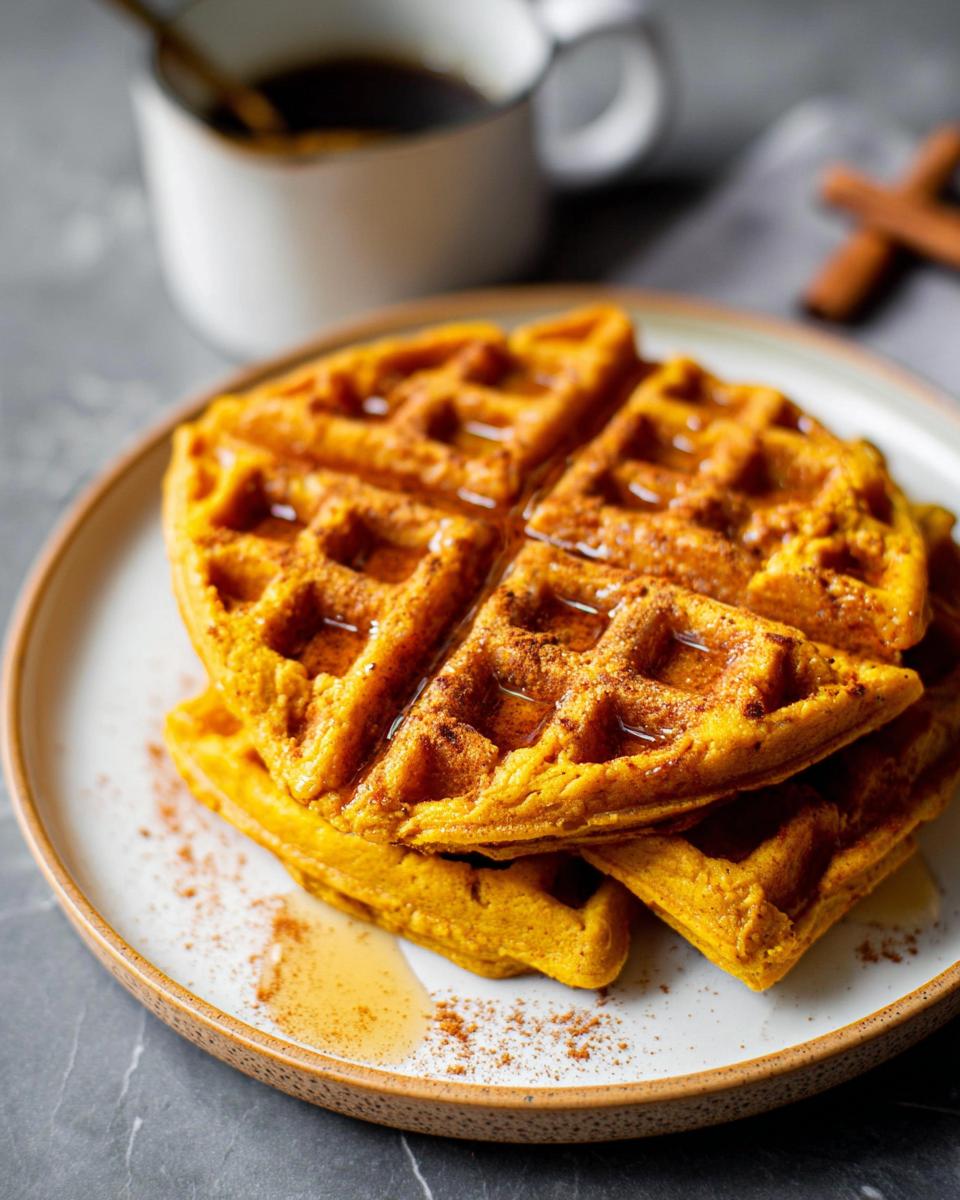
- So Cozy and Delicious: They taste like fall in a bite, packed with warm spices and pumpkin goodness.
- Crazy Convenient: Make a batch, freeze them, and pop one in the toaster for a quick, heartfelt breakfast anytime.
- Super Easy Prep: Just dump everything into the blender – no bowls, no fuss!
- Healthier Than Most: Made with whole wheat flour and simple ingredients, they’re a breakfast you can feel good about.
Gather Your Ingredients for Blender Pumpkin Waffles
Alright, let’s get down to business! To whip up these amazing Blender Pumpkin Waffles (Freezer-Friendly), you’ll need a few things. I’ve broken them down so you can see exactly what’s going into that magical blender. Don’t worry, these are all pretty standard pantry staples, but they come together to make something truly special. It’s all about that balance of cozy fall spices and heartiness!
Dry Ingredients for Your Blender Pumpkin Waffles
First things first, let’s grab our dry stuff. This is where all those lovely spices live. I like to use whole wheat pastry flour because it makes them a bit heartier, but regular white whole wheat works a charm too!
- 1 cup whole wheat pastry flour (or white whole wheat flour)
- 2 teaspoons baking powder
- 1 teaspoon cinnamon
- 0.5 teaspoon nutmeg
- 0.5 teaspoon ground ginger
- 0.25 teaspoon ground cloves
- 0.5 teaspoon salt
Wet Ingredients for Your Blender Pumpkin Waffles
Now for the liquid gold! This is where the magic really happens, blending it all into a smooth batter. Unsweetened almond milk is my go-to for that healthy boost, but honestly, any milk works perfectly well.
- 0.75 cup pumpkin puree
- 0.75 cup unsweetened almond milk (or any milk)
- 1 egg
- 1 teaspoon vanilla
- 2 tablespoons maple syrup
- 1 tablespoon coconut oil
Simple Steps to Make Blender Pumpkin Waffles
Alright, enough talk, let’s get these made! The beauty of these Blender Pumpkin Waffles (Freezer-Friendly) is how ridiculously easy they are. We’re talking minimal mess and maximum flavor. Just follow these simple steps and you’ll have cozy autumn waffles ready in no time. Trust me, your kitchen is about to smell amazing! For more inspiration on healthy waffles, you might want to sneak a peek at this spot; it’s a great resource.
Prepping Your Waffle Iron and Batter
First things first, get your waffle iron heating up to its happy place. While it’s warming, take your dry ingredients—all those warm spices and flour—and give them a good whisk in a big bowl. Now, here’s the blender magic: dump all your wet ingredients right into the blender cup. Give it a quick whirl until it’s all smooth and gorgeous. Then, pour that glorious wet mixture right on top of your dry stuff. Now, here’s the key: blend until *just* combined. We don’t want tough waffles, so stop as soon as you don’t see big flour pockets. A few little lumps are totally fine! This is a trick I picked up from watching my grandmother – never overmix.
Cooking Your Perfect Blender Pumpkin Waffles
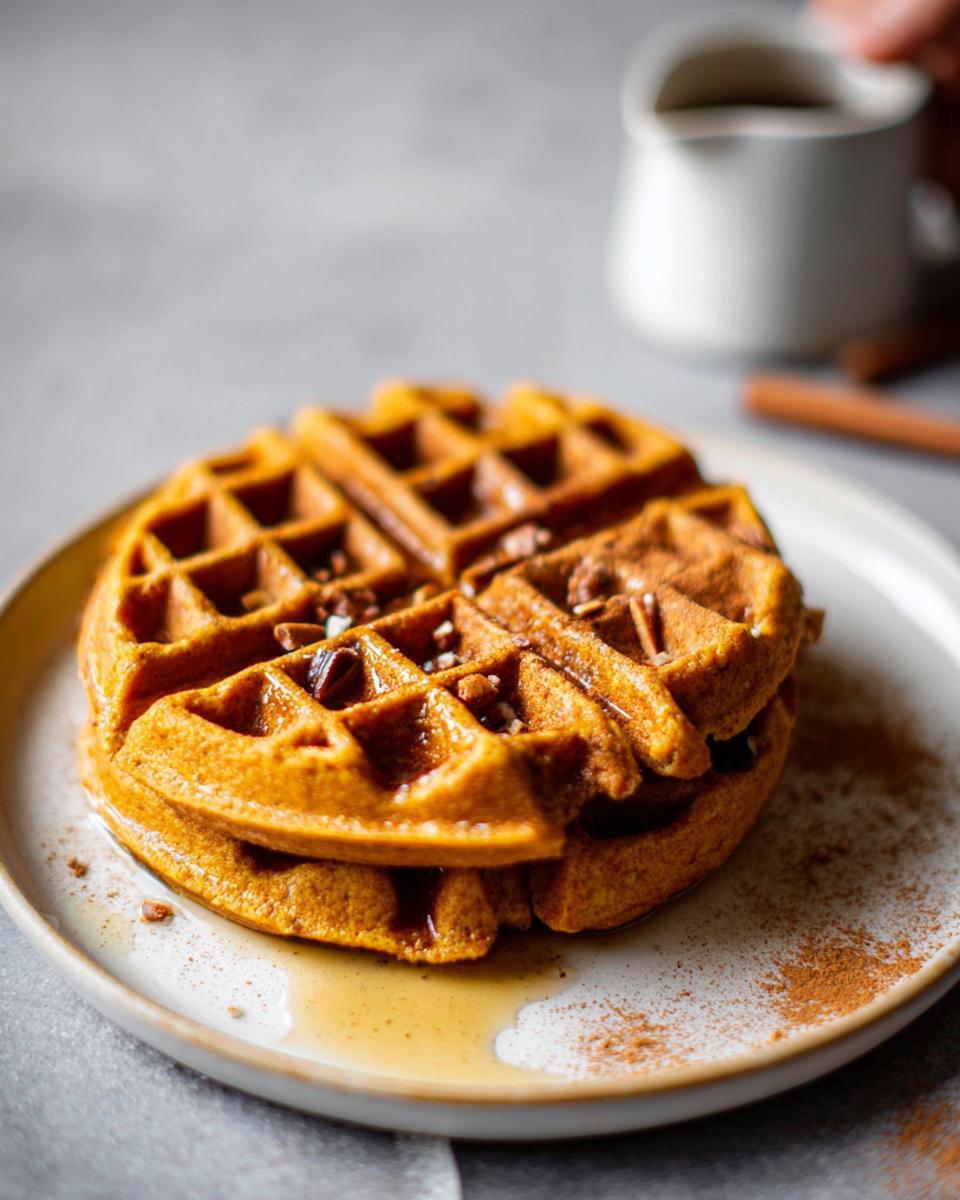
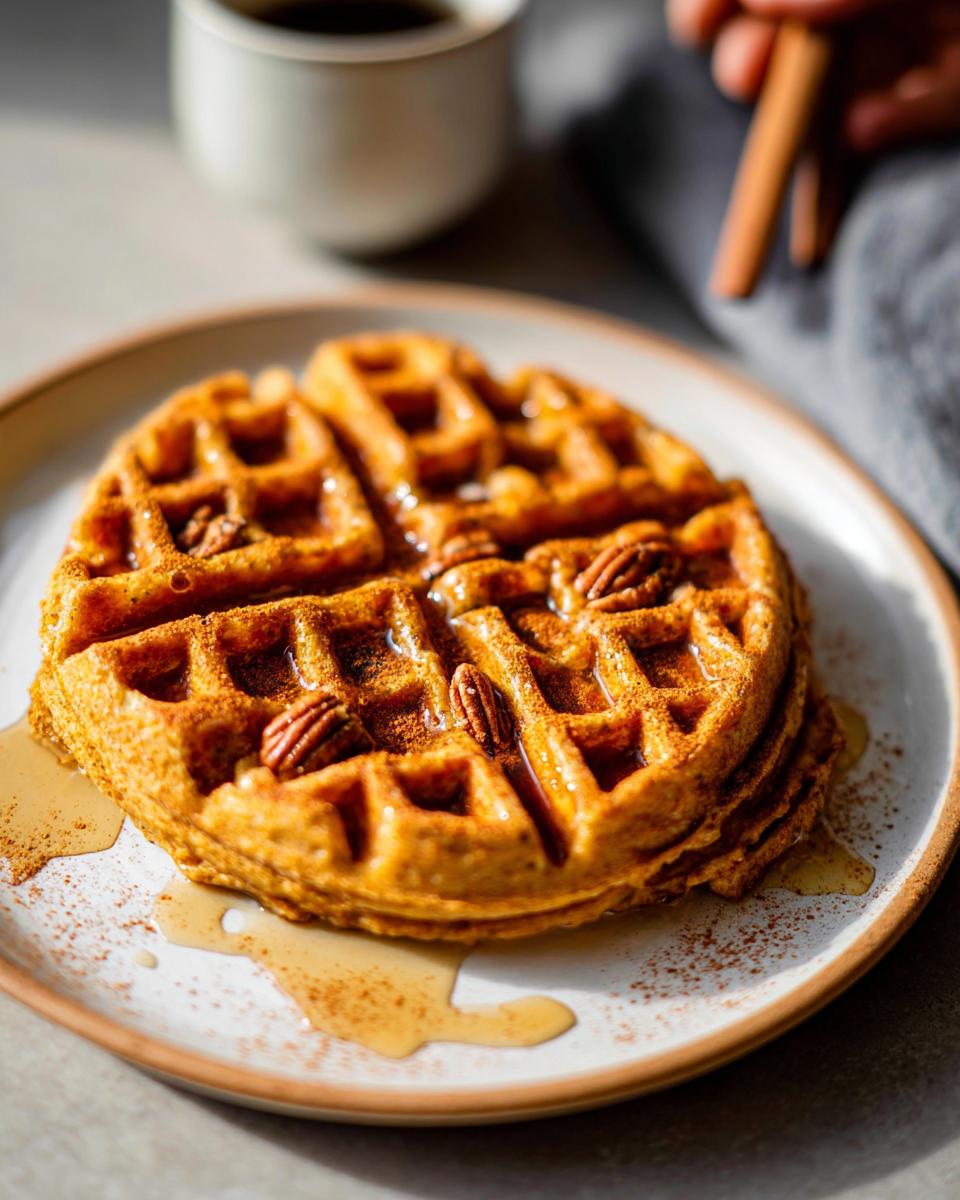
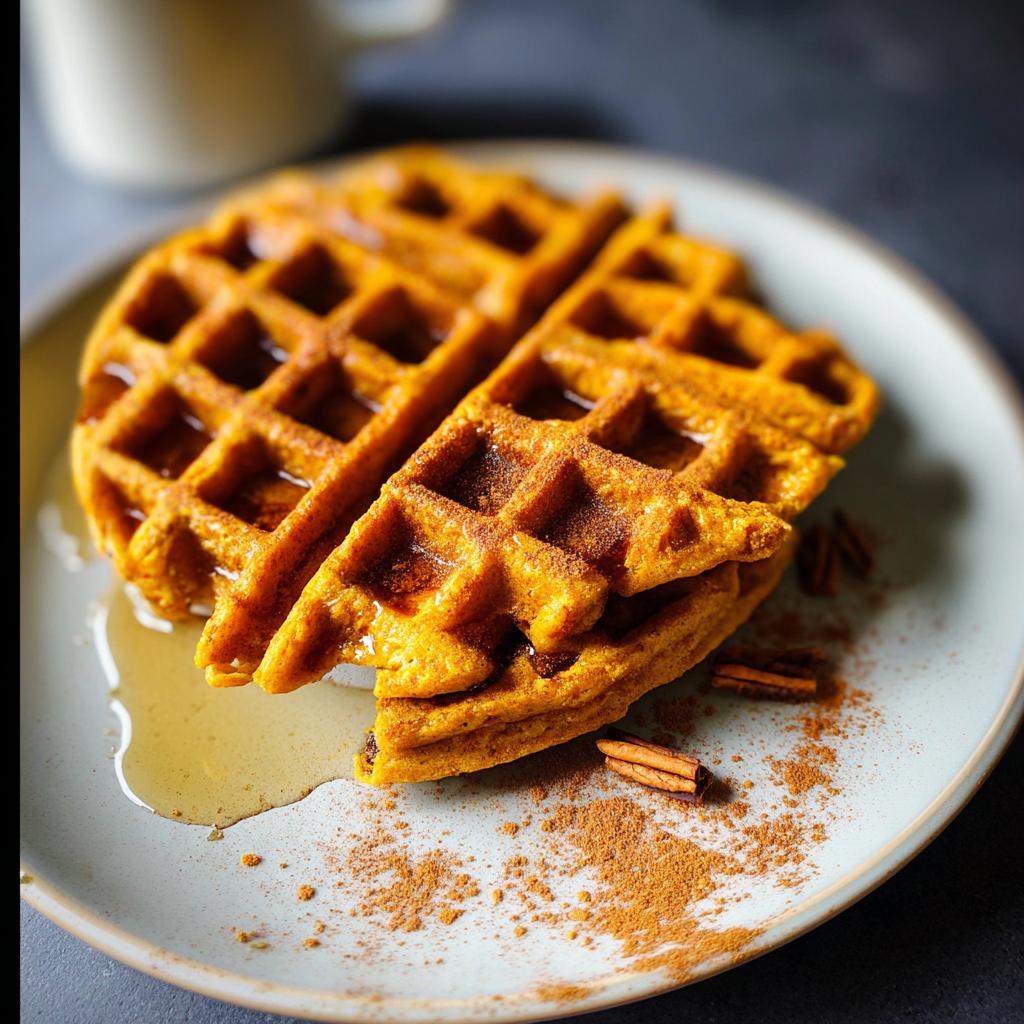
Okay, waffle time! Give your hot waffle iron a good spray with non-stick cooking spray (or a little oil). Pour in your batter – enough for a beautiful, golden-brown waffle, usually about 3-4 minutes depending on your iron. The recipe makes about 2 big Belgian waffles, perfect for sharing… or not! Once they’re done, lift them out gently. You can top them with a dollop of Greek yogurt, a drizzle of nut butter, or, of course, a little maple syrup. Ahh, pure bliss!
Making Ahead and Freezing Your Blender Pumpkin Waffles
Okay, so you’ve made these incredible Blender Pumpkin Waffles (Freezer-Friendly), and maybe you have a couple left over, or you’re like me and you’ve already doubled the batch because you know how good they are. The best part? They freeze like a dream! This is my secret weapon for busy mornings. Let me walk you through exactly how I do it so they stay perfectly crisp and ready to go.
Cooling and Flash-Freezing for Crisp Texture
This step is super important, trust me! Once your waffles are cooked, don’t just pile them up. You want them to cool *completely* on a wire rack. This lets any steam escape and stops them from getting soggy. After they’re totally cool, do this trick: grab a baking sheet, line it with parchment paper, and lay the waffles on there in a single layer. Pop that sheet into the freezer for about an hour or two. This ‘flash-freeze’ sets them up so they won’t stick together when you bag them!
Storing Your Freezer-Friendly Blender Pumpkin Waffles
Once those waffles are nice and firm from their quick freezer nap, carefully transfer them into a good-quality Ziploc bag or an airtight container. Make sure to squeeze out as much air as you can before sealing the bag. Properly stored, these wonderful Blender Pumpkin Waffles (Freezer-Friendly) will keep their yummy flavor and texture for up to 2 months. It’s like having a little bit of autumn magic ready whenever you need it!
Tips for Perfectly Crisp Blender Pumpkin Waffles
Okay, so you’ve got your gorgeous Blender Pumpkin Waffles (Freezer-Friendly) made, and you want them to be *just* right when you eat them, right? Especially if you’re reheating them from frozen. A soggy waffle is just a sad waffle! Here are a few little tricks I’ve learned to make sure yours are perfectly crisp, every single time.
First off, make sure your waffle iron is good and hot before you pour in the batter. A not-quite-hot iron is a guaranteed way to get a limp, pale waffle. Also, don’t overmix that batter! A few little lumps are fine; overmixing develops gluten and that leads to tougher, less crispy waffles. And when you’re reheating those frozen gems? Skip the microwave! A toaster or toaster oven is your best friend for bringing back that lovely crispness.
Ingredient Notes and Substitutions
When you’re making these Blender Pumpkin Waffles (Freezer-Friendly), sometimes you need to make a little swap here and there, right? Don’t you worry! If you don’t have whole wheat pastry flour, regular white whole wheat is a fantastic stand-in. And for the milk, honestly, any kind works – dairy, oat, soy, whatever you’ve got open in the fridge will do the trick just fine. For a little extra flavor boost, you could even try a splash of pumpkin spice creamer! For more on healthy baking, you can check out this spot.
Frequently Asked Questions about Blender Pumpkin Waffles
Got questions about these tasty Blender Pumpkin Waffles (Freezer-Friendly)? I totally get it! Making ahead and getting that perfect texture can sometimes feel a little tricky, but don’t you worry. I’ve got you covered with some quick answers to common queries. These are the things I always wondered about when I first started prepping them!
Reheating Your Make Ahead Blender Pumpkin Waffles
This is the magic trick for keeping them delicious! To reheat your frozen waffles and get them nice and crisp, skip the microwave. Pop them in a toaster, toaster oven, or even a regular oven at around 350°F (175°C) for a few minutes until they’re warm and a little crispy. Easy peasy!
Okay, so maybe you hit up my contact page and asked if they can be vegan. Yes! You can totally make these vegan. Just swap out the egg for a flax egg (1 tablespoon flaxseed meal + 3 tablespoons water, let it sit for 5 mins) and use your favorite plant-based milk. Yum!
Estimated Nutritional Information
Now, let’s talk numbers! A single serving of these delicious Blender Pumpkin Waffles (Freezer-Friendly) is usually around 208 calories. You’re looking at about 34g of carbs, 5.5g of protein, and 5.7g of fat, with a nice boost of 6.4g of fiber and 8.3g of sugar. Keep in mind, these are just estimates, and they can totally change depending on the exact ingredients and brands you use. So, for the full breakdown, you can peek at my detailed nutrition page!
Share Your Blender Pumpkin Waffle Creations!
Alright, now I want to hear from YOU! Did you try making these amazing Blender Pumpkin Waffles (Freezer-Friendly)? I just love seeing how they turn out in your kitchens. If you loved them, give ’em a star rating, or better yet, snap a photo and tag me on social media! You can also share your favorite topping combos or any tweaks you tried over on my page or when you check out the full recipe list. Happy baking!
Blender Pumpkin Waffles (Freezer-Friendly)
Ingredients
Equipment
Method
- Preheat your waffle iron. Add the dry ingredients to a large bowl and whisk them together.
- In a separate large bowl, add the wet ingredients and mix until smooth. Add the dry ingredients to the wet ingredients, mixing until they are just combined.
- Spray your waffle iron with nonstick cooking spray and cook according to the waffle iron directions, about 3-4 minutes. This recipe makes 2 large Belgian waffles. You can top them with Greek yogurt, nut butter, and maple syrup if you like.
Nutrition
Notes
Tried this recipe?
Let us know how it was!
Urban Forager & Hyperlocal Ingredient Specialist
My Brooklyn apartment balcony tells my story: vertical gardens packed with wild edibles, fermentation crocks bubbling with city-foraged greens, and the constant hum of dehydrators preserving herbs I’ve collected from unexpected urban corners. What started as weekend escapes to my aunt’s upstate farm during my Columbia botany studies turned into something bigger after I earned my Urban Ecology Master’s from The New School.
Instead of following traditional academic paths, I discovered that cities are actually amazing edible ecosystems—rooftop weeds, park-edge wild greens, vacant lot treasures that perfectly complement keto eating. Who knew that some of the best low-carb foods were growing right under our noses in Manhattan?
My recipe collections celebrate city seasons: spring dandelions and plantains, summer purslane from rooftops, autumn rose hips from community gardens, winter wild onions and cress. I’m certified through the New York Mycological Society and trained by Brooklyn Botanic Garden to forage safely and ethically. Over 180 of my recipes feature at least one urban-foraged ingredient—from sidewalk plantains to sumac berries and wild mint thriving in vacant lots.
My “Metropolitan Wild” column went viral after my dandelion coffee substitute hit social media. Now my weekend “Urban Wild Walks” through Central Park and Prospect Park sell out faster than I can schedule them. I teach city dwellers to spot safe, keto-friendly wild foods hiding in plain sight.
Currently, I’m partnering with local chefs to bring urban foraged elements to restaurant menus and developing an app that maps safe foraging spots across all five boroughs. Evenings find me tending my sourdough starters, pressing flowers for natural dyes, or weaving baskets from willow branches I collect during park maintenance.
Cities are wild food sanctuaries hiding in plain sight—keto eating becomes urban rebellion when you realize how much free, perfect nutrition grows right under our feet.