
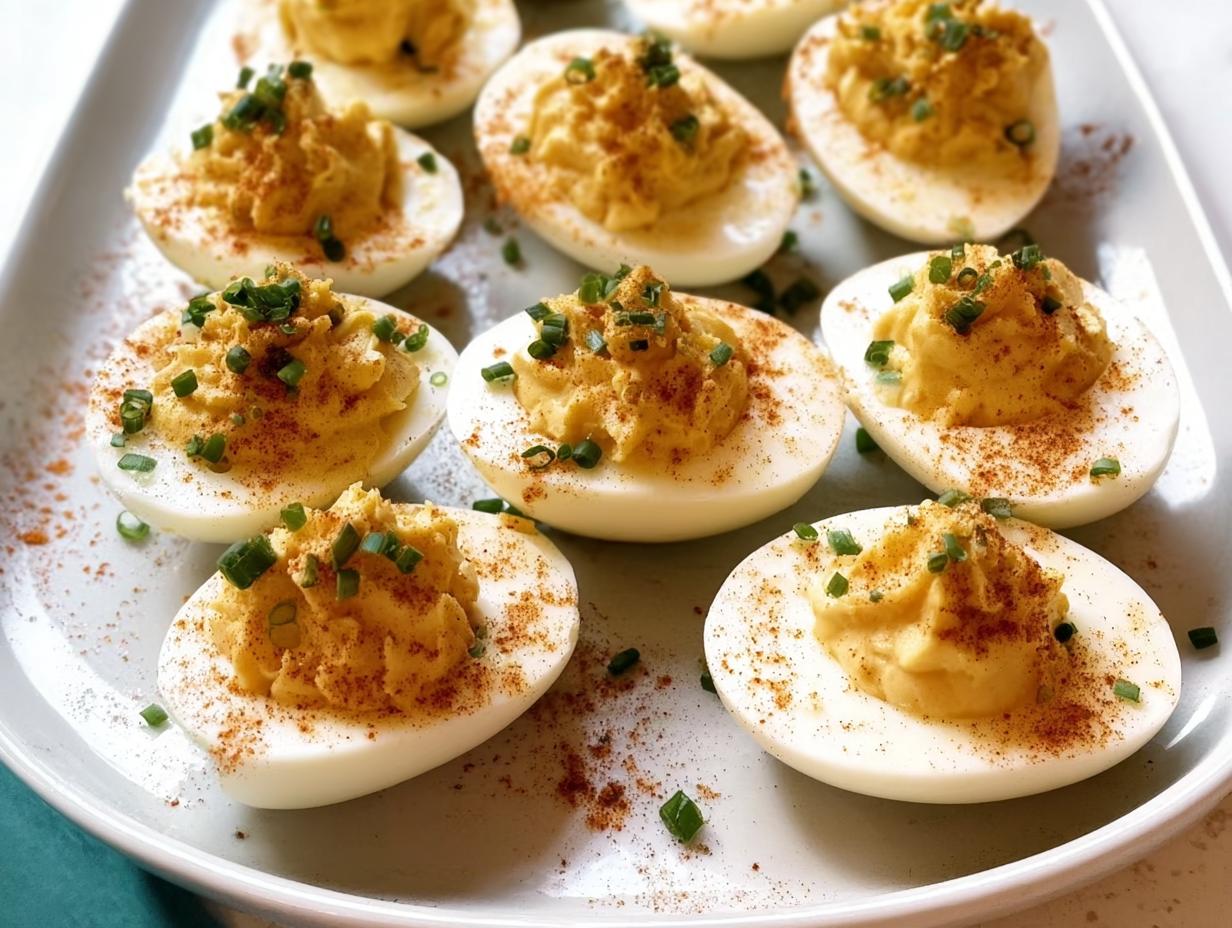
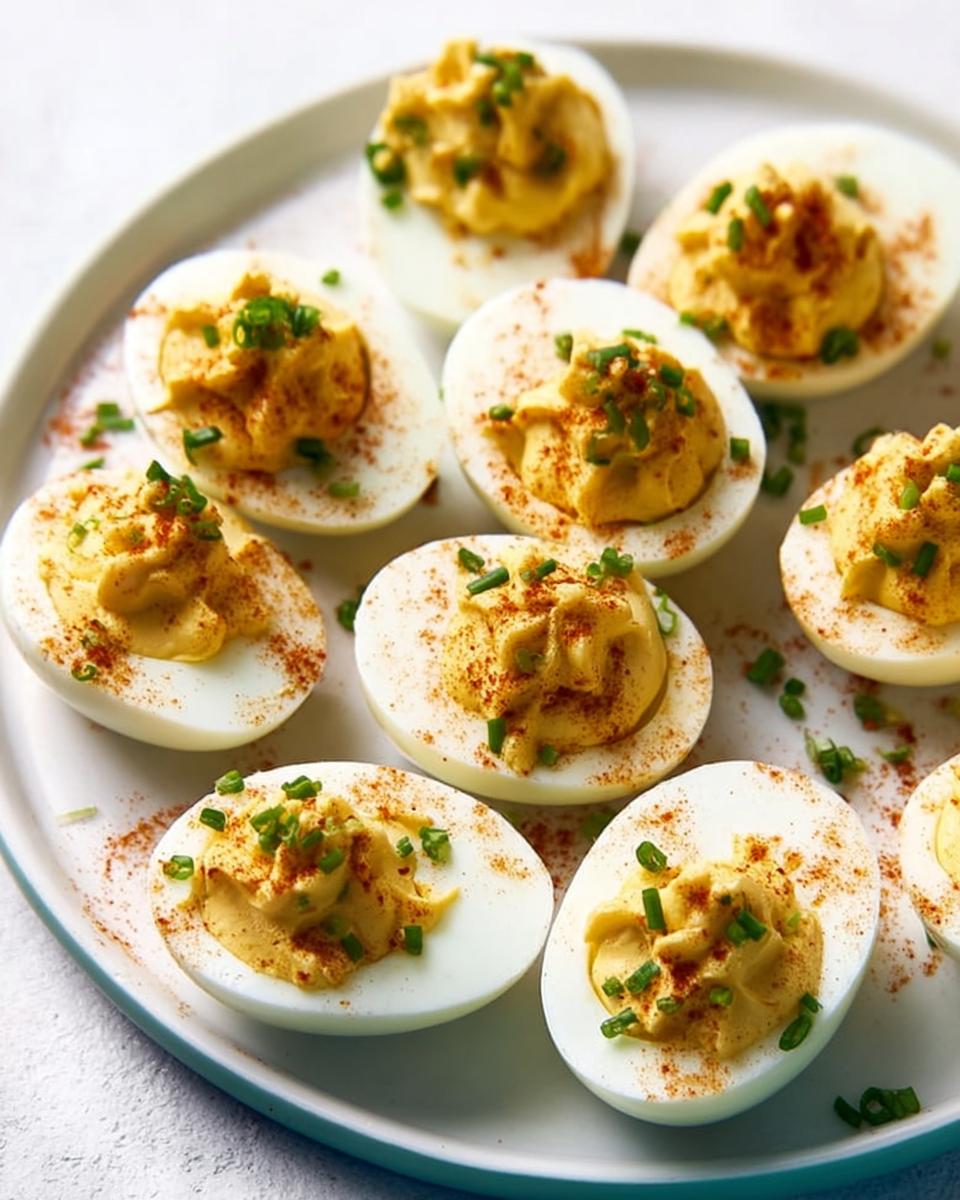
Let’s be honest, every great party needs a tray of creamy, tangy bites that disappear the second you set them out. When I first started navigating the keto lifestyle, I thought deviled eggs were off-limits, but that just wouldn’t do! So, I went deep into the chemistry, adjusting the fat and acid ratios until I cracked the code for these Classic Deviled Eggs. Trust me, whether you’re hosting a major holiday or just need a fantastic picnic food that holds up, this method guarantees that perfectly smooth filling every single time.
Why You Will Love These Classic Deviled Eggs
I developed this recipe because I needed something reliable that everyone loved, no matter what diet they were following. These aren’t fussy; they’re just pure satisfaction. You’ll want to keep this template handy because it’s just so easy.
- They come together so quickly! Total prep time is less than 30 minutes if you’re using pre-cooked eggs—hello, last-minute hosting savior!
- The texture is genuinely the creamiest filling imaginable. No more grainy yolks, I promise.
- They are the ultimate Crowd Favorite; they never last long on the appetizer table.
- Perfectly balanced tangy flavor from the mustard that really wakes up the richness of the yolk.
- Fantastic for keeping things simple, making them the ideal Picnic Food because they travel well.
- Highly adaptable! You can easily add spicy pepper flakes or pickles to change the flavor profile next time.
Essential Ingredients for Perfect Classic Deviled Eggs
When we talk about making the best Classic Deviled Eggs, we need to respect the ingredients. Quality matters, especially when you’re dealing with something so simple. I’ve broken down exactly what you need into two categories. Getting these right is the first step toward making a truly memorable appetizer that pleases every single guest.
Forget vague measurements—here, precision gives you that creamy, satisfying texture that makes these eggs legendary. It’s all about the right amount of fat and acid playing together!
For the Deviled Eggs Filling and Whites
We start with the base, of course. You absolutely must use 6 large eggs—don’t try to skimp on size or quality here! For the filling, we need exactly 3 tablespoons of good mayonnaise to get that perfect richness. Then comes the zing! Grab 2 teaspoons of mustard; you can choose between the classic yellow, a sharper Dijon, or even horseradish if you want a little heat. Don’t forget 1/4 teaspoon of kosher salt, plus a bit more for seasoning later, and don’t be shy with the freshly ground black pepper to taste. Finally, for that fresh lift right at the end, we need 2 fresh chives, which must be very thinly sliced. And, naturally, a light dusting of paprika for the classic look!
For the Optional Crunchy Breadcrumb Topping
Now, if you’re looking to go above and beyond, this topping is my secret weapon for texture. It’s totally optional, but wow, does it elevate the experience! You’ll need 1 tablespoon of unsalted butter or olive oil to start this little sauté. Then, toss in 1/4 cup of panko breadcrumbs—the coarse Japanese style gives you the best crunch possible. We flavor this with 1/4 teaspoon of garlic powder and 1/4 teaspoon of paprika, finished with just a tiny pinch of kosher salt to make the flavor pop. Toasting these brings out such a lovely nutty note that pairs so well with the creamy filling.
Expert Tips for Cooking Perfect Eggs for Classic Deviled Eggs
If you take one thing away from my experience as a precision cook, it should be this: the filling is only as good as the egg whites you start with. For the creamiest yolks that mash perfectly smooth, you need to master the hard-boil. Don’t just chuck them in boiling water, though! Bring your water up to a rolling boil first, then add your 6 large eggs. Pull the pot off the heat immediately, cover it, and let them steep for exactly 10 minutes. This controlled, gentler cook prevents the whites from getting rubbery.
But timing is crucial right after that 10 minutes. You need an immediate ice bath. Seriously, plunge them straight into that icy water! That rapid temperature shock is the secret scientist’s trick. It stops the cooking process dead in its tracks, which is how we stop that awful sulfurous reaction that turns your lovely yolks green around the edges. We want bright yellow yolks, not sad, grey haloes, right? I learned this the hard way trying to sneak an extra five minutes of steeping time once!
Peeling becomes a dream too when they cool down fast. Tapping them gently all over to create a web of cracks before they even hit the water helps too—it gives the water a place to seep in. For more egg adventures, check out how I turn eggs into fun shapes when I make my egg mummies! Good cooking requires good technique, and for the best Classic Deviled Eggs, perfect boiling is job number one.
Step-by-Step Instructions for Assembling Classic Deviled Eggs
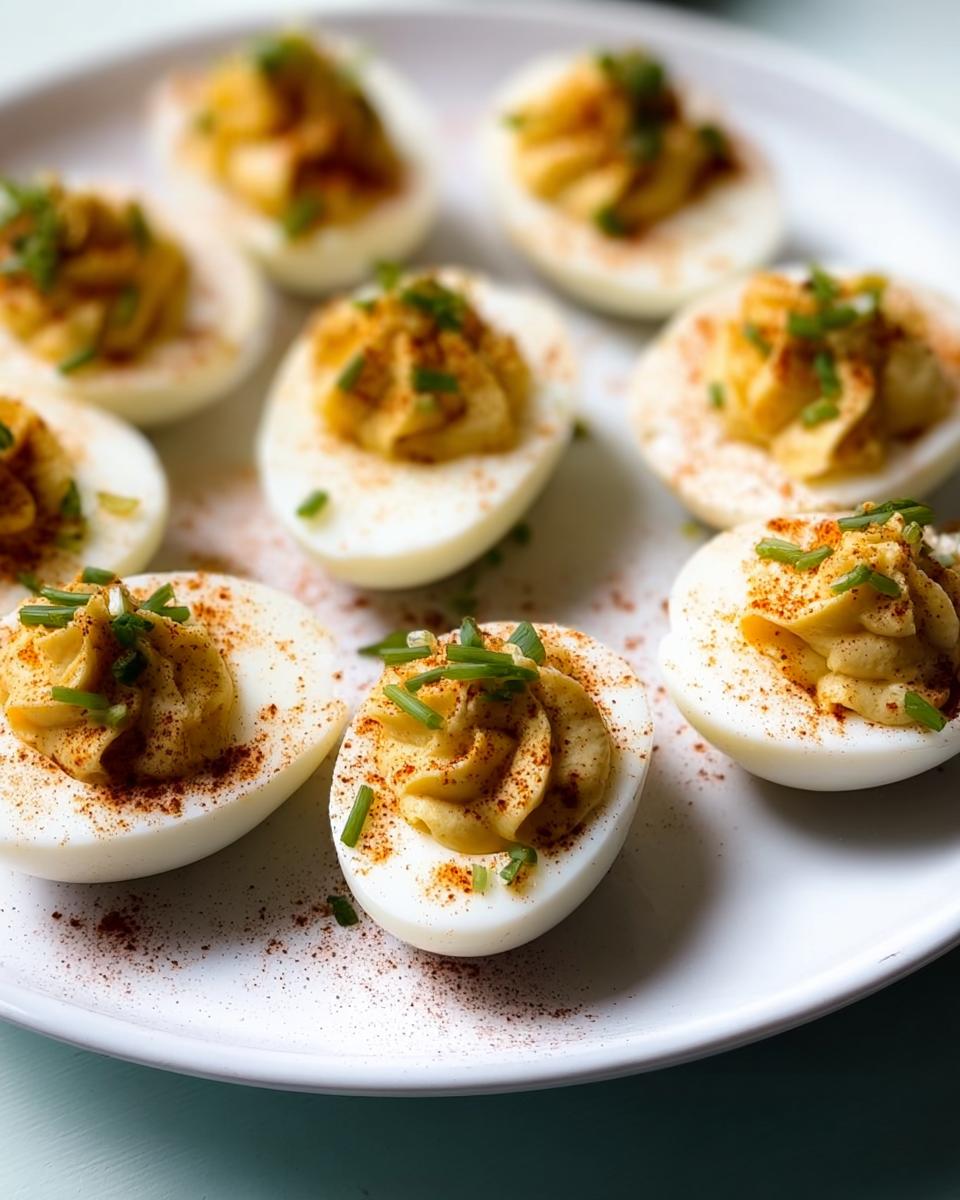
Now that your eggs are perfectly hard-boiled and peeled—and hopefully free of any weird green rings—it’s time for the fun part! Assembly might sound simple, but taking it step-by-step ensures that beautiful, creamy texture we’re aiming for. We want these to look like they came right off the cover of a magazine, perfect for that Holiday Tray presentation.
Preparing the Toasted Breadcrumb Topping (If Using)
If you’re treating yourself to that crunchy upgrade, do this first so it’s ready to go! Melt that tablespoon of butter or heat your olive oil in a small skillet over medium heat. Toss in your 1/4 cup of panko breadcrumbs. You only need maybe 1 or 2 minutes, stirring constantly until they smell nutty and are beautifully toasty. Pull it right off the heat immediately so they don’t burn! Stir in the garlic powder, paprika, and that tiny pinch of salt, then move them straight over to a little bowl to cool down while you work on the filling.
Creating the Creamy Yolk Filling for Classic Deviled Eggs
Take the yolks, which you already mashed really finely—remember, the finer the mash, the smoother the cream! Into that bowl of mashed yolks, we add our binders: the 3 tablespoons of mayonnaise and those 2 teaspoons of mustard. Then, sprinkle in your 1/4 teaspoon of kosher salt. Mix it all up, really vigorously, until it looks totally smooth, like pastry cream. This is your critical tasting moment! See if it needs more black pepper or another tiny pinch of salt. Adjust it now; once it’s in the whites, it’s harder to mix evenly.
Filling and Garnishing Your Classic Deviled Eggs
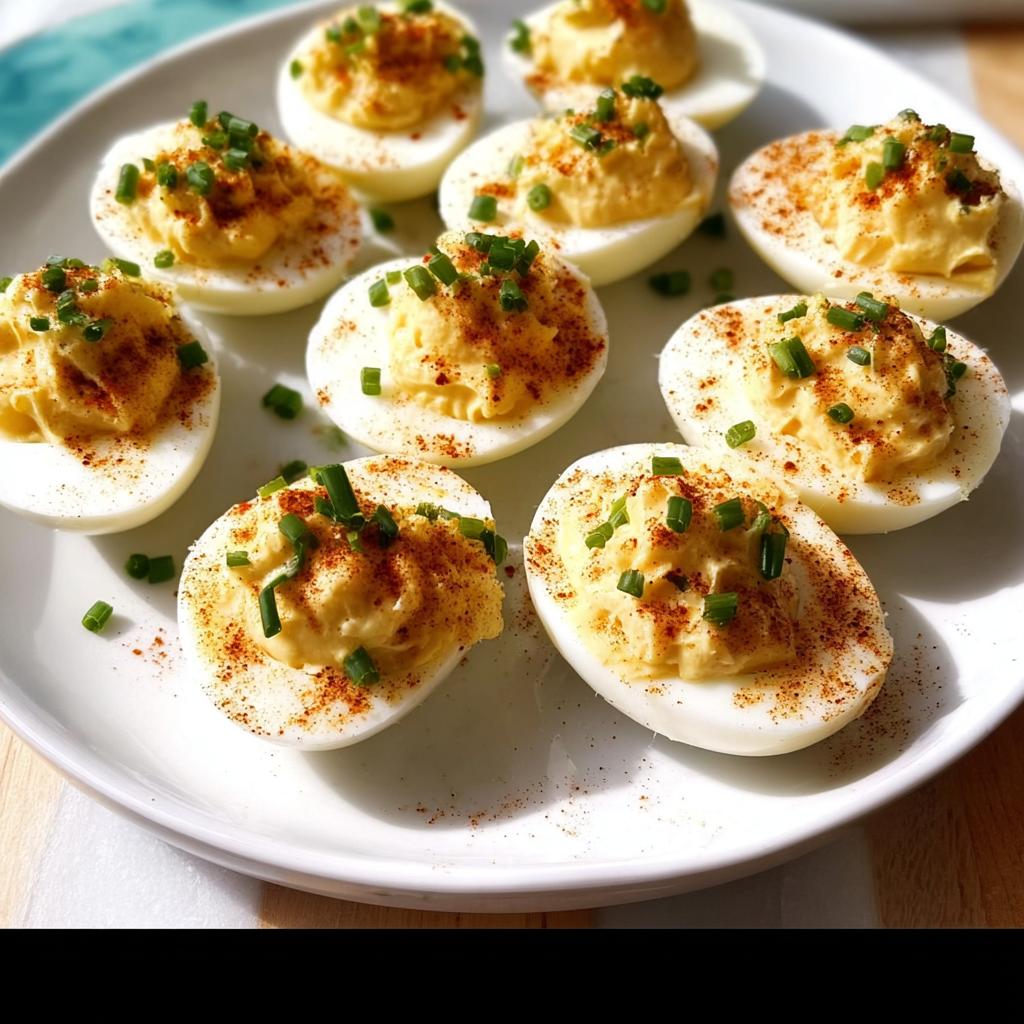
Time to fill those white boats! You can absolutely just use a small spoon, but if you want those gorgeous swirls, load that filling into a piping bag (or a plain plastic bag with the corner snipped off). Pipe a generous, mounded dollop back into each egg white half. It should look lofty!
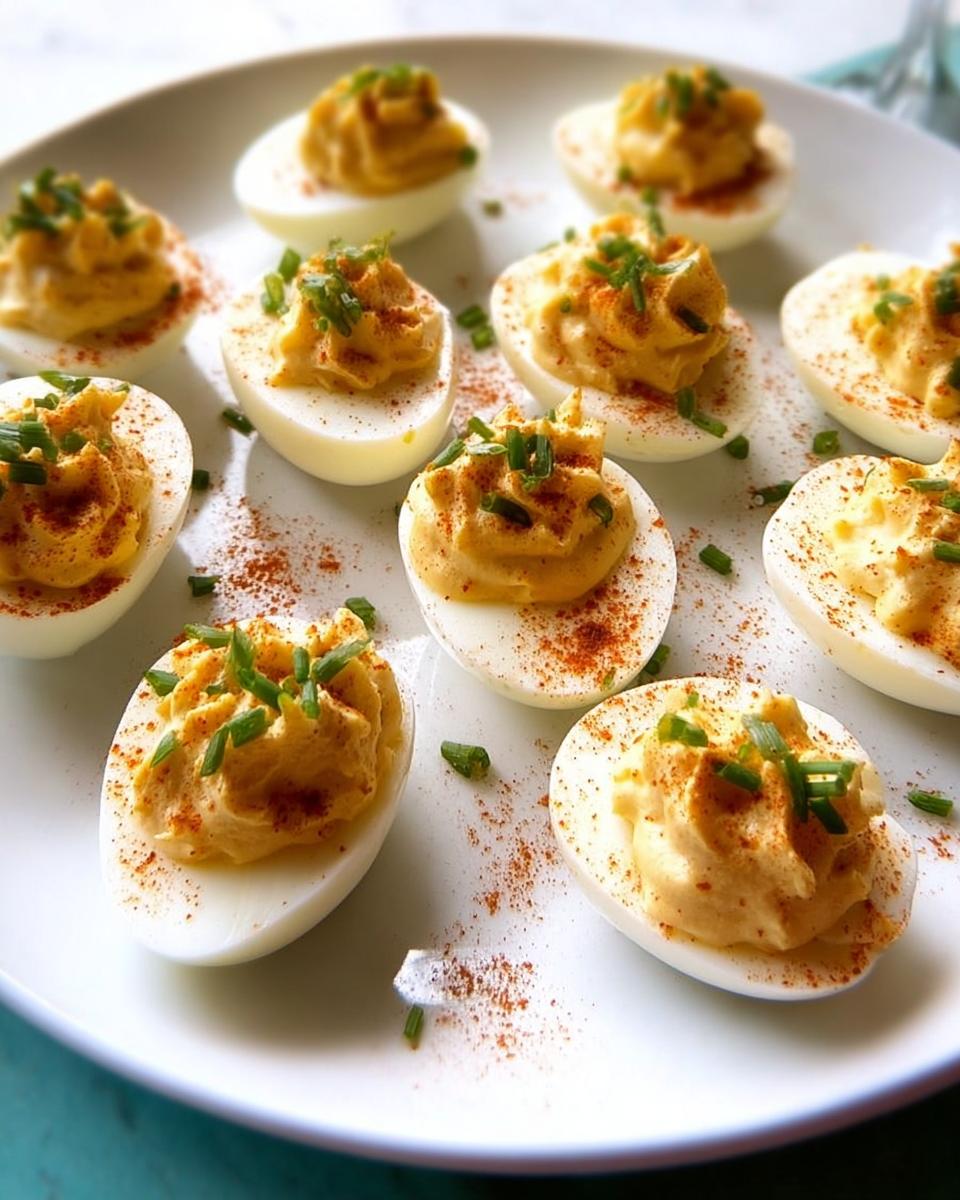
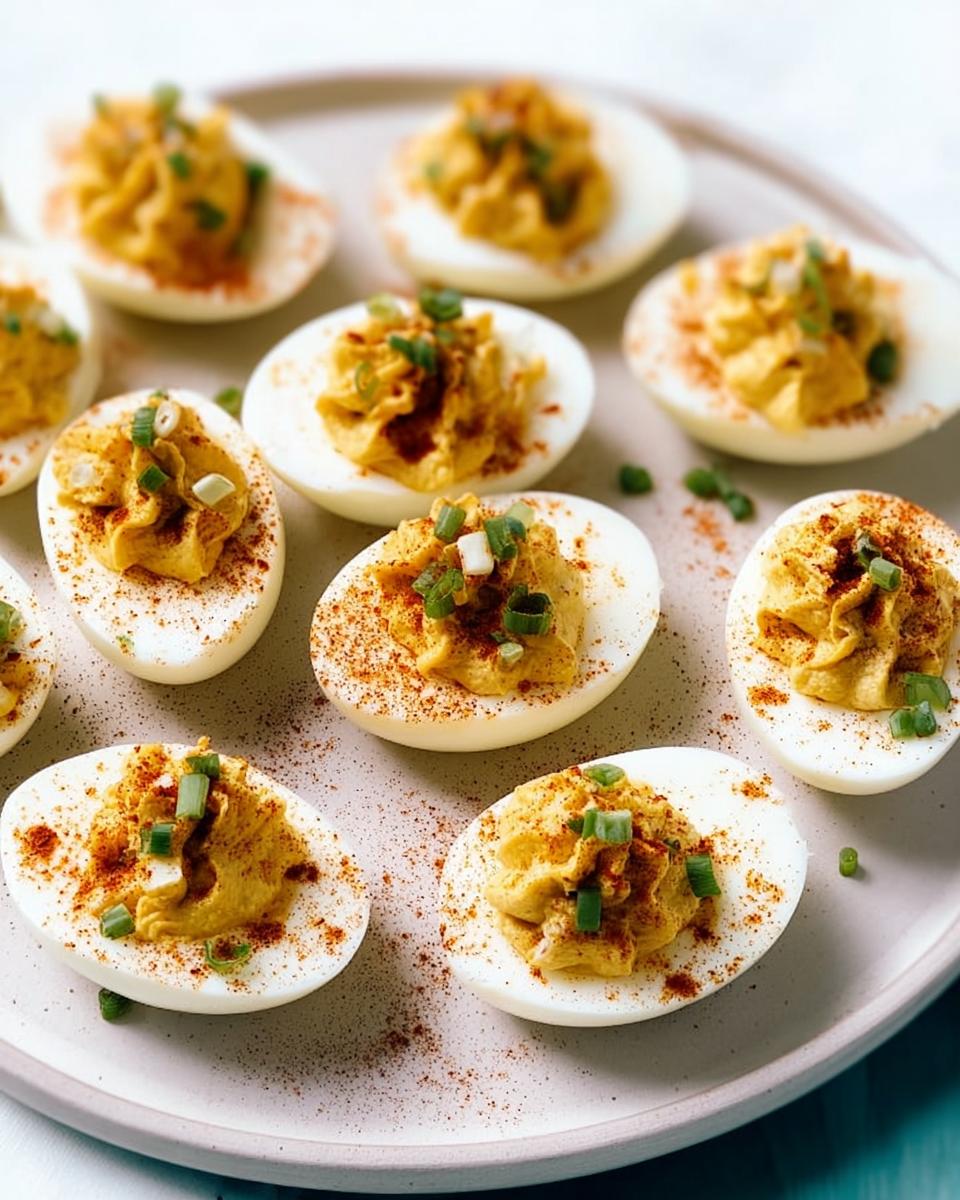
Now for the finishing touches. Sprinkle that optional crunchy topping over the filling if you made it. Follow that with a light dusting of paprika over everything. Finally, sprinkle those thinly sliced fresh chives right over the top. If you want to see some really creative presentations, check out my guide for spider deviled eggs for a fun theme!
Ingredient Notes and Substitutions for Classic Deviled Eggs
Sometimes you’re in a rush, or maybe you just don’t have that exact jar of mustard in the fridge, and that’s okay! We need to talk about flexibility here, because making your Classic Deviled Eggs should fit your pantry, not the other way around. I’ve found that the ingredients we choose really dictate the final flavor profile, especially the mustard!
You have great options for that essential tang. If you use standard yellow mustard, you get that nostalgic, slightly sweet taste that reminds everyone of picnics from childhood. But if you want something punchier—which I prefer—go for Dijon mustard. It has a deeper, more complex flavor that cuts through the richness of the yolk beautifully. For a real kick that really wakes up the filling, try the horseradish mustard. It’s definitely bolder, so maybe start with just a tiny bit less than the recipe calls for.
Now, if you are tracking macros like I do, you’re probably thinking about the mayonnaise. Standard mayo is fantastic, but if you’re avoiding seed oils or just want to shift the nutrients, you have choices! For my keto lifestyle, I often swap out commercial mayonnaise for avocado oil mayonnaise or even use a homemade version high in MCTs. Honestly, the texture holds up perfectly well. It keeps that creamy mouthfeel vital for a great deviled egg without compromising your dietary goals. If you want to see how I manage to keep my keto cooking budget-friendly, you can check out my tips on how to make cheap keto meals! It really goes to show that comfort food classics like these Deviled Eggs don’t have to derail your kitchen plans.
Serving Suggestions for This Crowd Favorite Appetizer
Honestly, these eggs are so good they barely need anything else, but great appetizers always have great neighbors on the platter! Because they are such a reliable Crowd Favorite, I always make sure to have them ready for soccer tournaments or neighborhood potlucks. They shine bright on any Holiday Tray right next to crackers or sliced deli meats.
Since they are quite rich, I usually balance them out with something light and crisp. Think about serving them alongside some crunchy celery sticks or perhaps some baby carrots for dipping duty. If you are making them for a big dinner, a light, bright green salad—maybe just arugula with lemon and olive oil—cuts through the richness of that creamy yolk filling perfectly. They are so easy to transport too, making them my go-to choice for any Picnic Food spread. If you are planning your weekly menu and looking for other simple, satisfying dishes, you can see what else I’ve been putting together over at my hub for Simple Balanced Suppers!
Storage and Make-Ahead Tips for Classic Deviled Eggs
Since these are such a staple for summer BBQs and picnics, knowing how to prep ahead without compromising texture is everything! If you try to make Classic Deviled Eggs the day before, skip the filling step. Hard-boiled egg whites can be stored sliced in an airtight container in the fridge for up to three days. The yolks are another story; you definitely don’t want them sitting around naked!
The yolk mixture, that creamy filling you worked so hard on, keeps beautifully on its own. Store it in a sealed container in the fridge for up to two days. When you’re ready to serve—maybe for that big Picnic Food outing—just whip the filling up one last time with a fork to smooth it out, load the whites, and garnish.
When serving at outdoor events, remember the creamy filling has mayonnaise, so keep them chilled until serving time! Don’t just leave them sitting out in the sun; we want these crowd-pleasers to stay safe and taste fresh!
Understanding the Nutrition of Classic Deviled Eggs
Even though these are pure comfort food, I always preach that knowledge is power in the kitchen, especially when you’re watching your macros or just trying to keep things clean. Understanding the nutrition is surprisingly easy because the ingredients are so straightforward. It’s mostly protein from the egg and fat from the mayonnaise, which is fantastic for anyone following a lower-carb approach!
Based on using standard large eggs and average-quality full-fat mayonnaise, here is what you can generally expect per serving—that’s half an egg, remember. Keep in mind these numbers are estimates, because the specific brand of mayo you choose or if you use horseradish versus Dijon mustard will swing the final count a little bit.
- Calories: Approximately 70-85 calories per serving
- Fat: Around 6-8 grams
- Protein: About 3 grams
- Total Carbohydrates: Less than 1 gram (This is why it’s such a keto favorite, right?!)
The beauty here is the nutrient density of the egg yolk itself. It packs choline for brain health and a good dose of Vitamin D. If you are swapping out canola-heavy mayo for something like avocado oil mayo, you’re boosting the healthy fat profile immediately! I’ve been tracking my own consumption closely for years—check out my real keto diet plan to see how I incorporate these high-quality fats into my daily totals! Cooking classic dishes like these Classic Deviled Eggs while remaining mindful of the nutritional tags is totally achievable; you just need to know what you’re working with.
Common Questions About Making Deviled Eggs
It’s totally normal to have questions when you’re diving into a recipe, especially when you want that perfect outcome. Even after decades of making them, I still get queries about transportation or storage. Here are some of the things I hear most often from folks trying to nail this recipe, making sure their tray is the star!
How do I keep the filling from drying out before serving?
Drying out is the enemy of a good deviled egg, and it usually happens for two reasons. First, if you overcook the yolks, they get that crumbly, hard texture, which no amount of mayo can fix! Second, if they sit uncovered in the fridge too long, the surface hardens. My trick is to always store the filled eggs in a container—not just on a platter. If you’re making these ahead of time, use those plastic egg carriers with lids. If you’re just using a platter, lay a sheet of plastic wrap lightly over the top, making sure it doesn’t stick to the filling itself. That little bit of trapped moisture keeps everything looking glossy and ready to go!
Can I use pre-cooked, pre-peeled hard-boiled eggs?
Look, I get it. When you’re whipping up a batch for a last-minute Holiday Tray, convenience is tempting! You *can* use store-bought hard-boiled eggs, but I have to be honest: they are rarely as good. Store-bought eggs often have a slightly rubbery white and the yolks tend to be drier because they’ve been sitting around. For the absolute creamiest filling for your Classic Deviled Eggs, fresh boiling is the way to go. If you absolutely must use pre-cooked, give the whites a good rinse and ensure you mash the yolks really, really well before adding your mayo and mustard.
Why are these such a staple for family gatherings?
Why are they a staple? Because they’re perfect! Deviled eggs hit that beautiful trifecta: they are easy to make in big batches, they’re bite-sized, and they combine creamy fat with bright acid, which appeals to almost everyone. They look fantastic and festive lined up on a platter, which is why they are such a go-to item for any major Holiday Tray presentation. They just feel special without requiring hours of fussy work. They are the definition of a Crowd Favorite!
What is the safest way to transport these for a picnic?
This is key for Picnic Food safety! Since these contain mayonnaise, they need to stay cool. The best thing you can do is assemble them right before you leave home. Then, place them snugly into a specialized plastic egg carrier or a shallow container where they won’t roll around. Put that container inside a cooler packed with ice packs. Don’t let them sit in the sun on the checkered blanket for long—serve them up first, then get them back into the shade or the cooler!
If you ever struggle with managing what you eat while sticking to your nutrition goals, I’ve put together a whole guide on how to track keto progress to keep your favorite recipes stress-free!
Classic Deviled Eggs
Ingredients
Equipment
Method
- Place 6 large eggs in a medium saucepan and add enough cold water to cover the eggs by 1 inch. Bring to a boil over high heat. Remove the saucepan from the heat. Cover and let sit for 10 minutes. Meanwhile, prepare an ice water bath by filling a large bowl halfway with ice and water.
- Melt 1 tablespoon unsalted butter or heat 1 tablespoon olive oil in a small skillet over medium heat. Add 1/4 cup panko breadcrumbs and cook, stirring constantly, until fragrant and toasted, 1 to 2 minutes. Remove the skillet from the heat. Add 1/4 teaspoon garlic powder, 1/4 teaspoon paprika, and 1 pinch kosher salt. Stir to combine and transfer to a small bowl.
- When the eggs are ready, remove them from the hot water. Tap each egg against the counter to crack the shell in a few places. Transfer to the ice water bath and let sit until cool, at least 2 minutes.
- Remove the eggs from the water and peel. Halve the eggs lengthwise. Carefully remove the yolks and transfer to a small bowl. Place the egg whites on a platter cut-side up.
- Use a fork to mash the yolks as finely as possible. Add 3 tablespoons mayonnaise; 2 teaspoons yellow, Dijon, or horseradish mustard; and 1/4 teaspoon kosher salt. Stir to combine. Taste and season with black pepper and more kosher salt as needed.
- Transfer the filling to a small plastic bag or piping bag fitted with a 1/2-inch tip. If using a plastic bag, snip off one bottom corner. Pipe the filling evenly among the egg whites (about 1 heaping tablespoon per deviled egg). Garnish with the toasted breadcrumbs if using, paprika, and thinly sliced chives.
Notes
Tried this recipe?
Let us know how it was!
Precision Keto Scientist
Numbers don’t lie, and neither do my recipes. I’m a biochemist who fell into keto cooking through my own metabolic research—and I approach recipe development like a lab experiment, complete with macro calculations precise to the tenth of a gram.
My journey started in diabetes research labs at Johns Hopkins, where I spent six years studying how different macronutrient ratios affected insulin sensitivity. Personal experimentation with therapeutic ketosis for cognitive enhancement led me down a rabbit hole of recipe testing that eventually consumed more hours than my actual day job.
While other cookbook authors describe flavors and textures, I quantify ketone elevation curves and glycemic impact data. My recipe database contains 340+ formulations, each tagged with detailed nutritional analysis, predicted ketosis timing, and optimal meal spacing. I measure salt by weight, time cooking processes to the minute, and log ingredient sourcing obsessively for consistent results.
My breakthrough research on fat-protein ratios for sustained ketosis got published in the Journal of Nutritional Biochemistry. My “Macro Math Mastery” workshops have trained over 5,000 people in precision meal planning. I even collaborated with continuous glucose monitor manufacturers to create the first real-time feedback system for recipe optimization.
I left my pharmaceutical research position at Merck three years ago to focus on metabolic nutrition consulting. Now I work with professional athletes, biohackers, and medical professionals seeking therapeutic ketosis protocols. When I’m not in my lab-kitchen, I’m competing in chess tournaments or documenting my daily biomarker measurements with true data scientist obsessiveness.
Cooking is just applied chemistry—and chemistry follows predictable rules. Master the variables, control the outcomes.