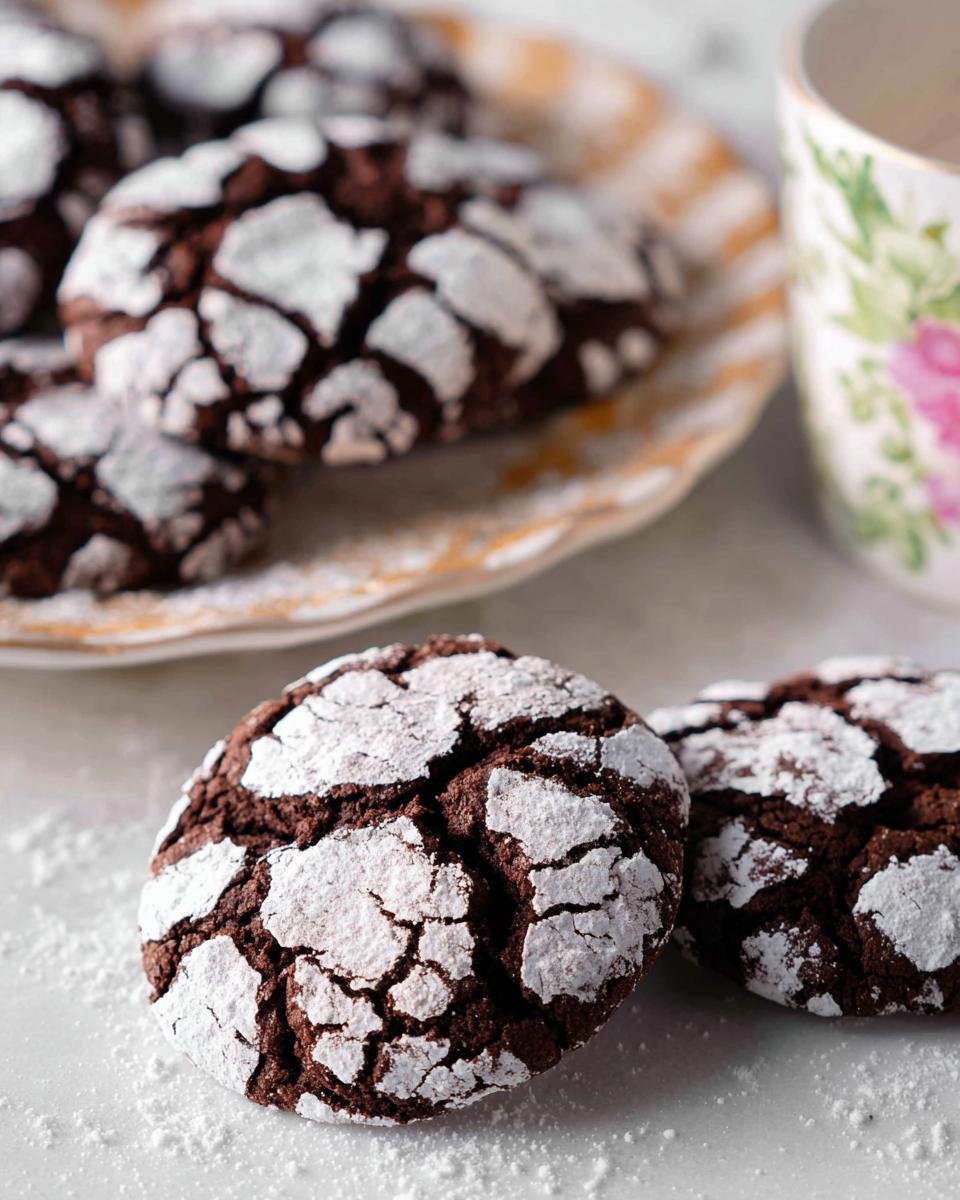
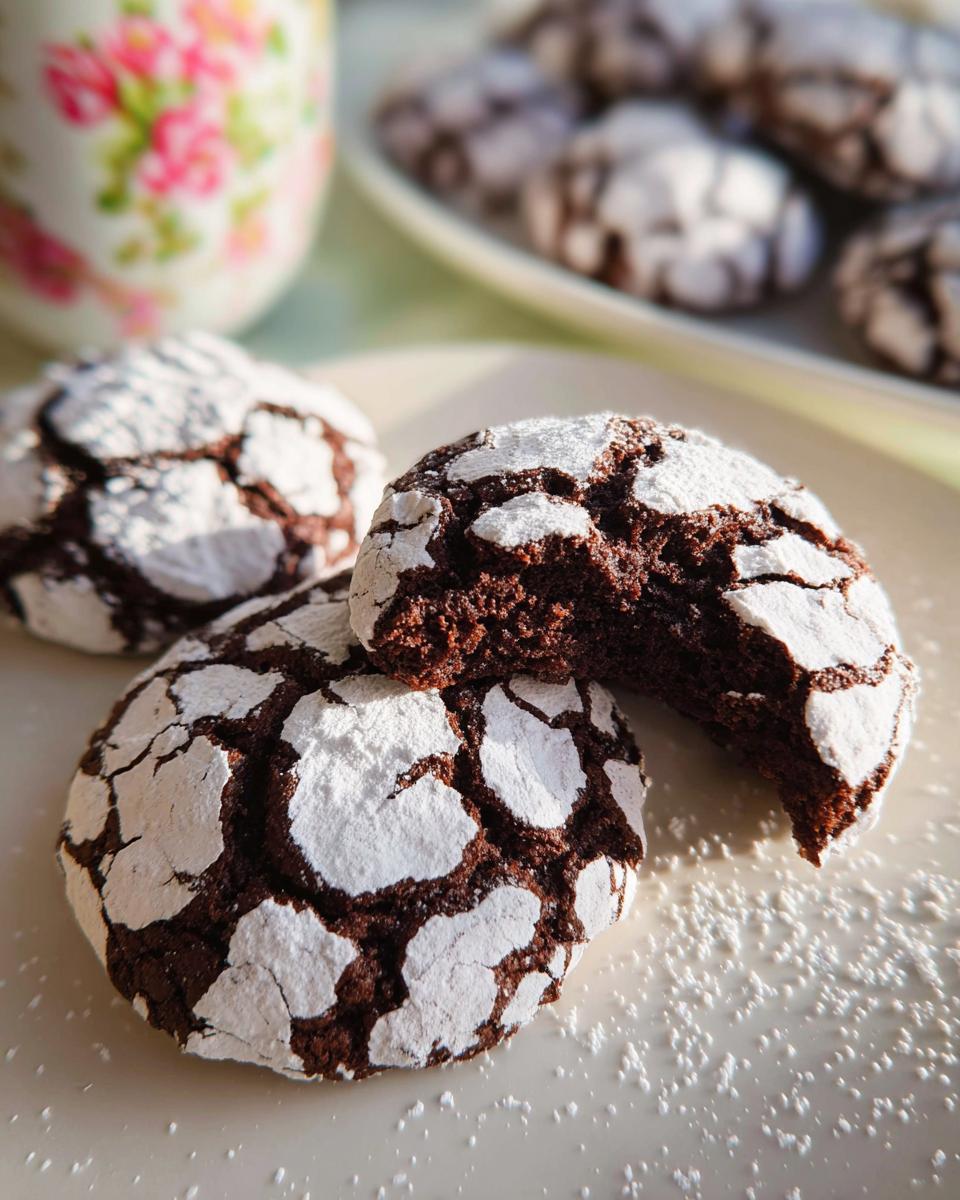
Oh, the sheer joy of festive baking! There’s nothing quite like pulling a tray of cookies out of the oven when the holidays roll around. Forget those dry, brittle things you sometimes find; today, we are making the absolute *best* Chocolate Crinkle Cookies, the kind with those gorgeous, snow-dusted tops and the most unbelievably fudgy centers you’ve ever tasted.
I still remember sneaking into a kitchen in Italy years ago, where a wonderful family taught me their secrets. Flour was everywhere, and the air smelled like pure chocolate bliss! Watching everyone light up over those chewy delights inspired me to adapt my own baking. Now, when I make these, I’m right back in that Tuscan kitchen, sharing sweetness with everyone around the table. Trust me, this recipe is pure magic.
If you’re ready for the chewiest, richest chocolate cookies ever, check out my main recipe card below, or jump ahead to some of my favorite tips at my recipe index!
Why These Chocolate Crinkle Cookies Are a Must-Bake
Honestly, there are a million chocolate cookie recipes out there, but these are special. They just hit different, especially when you want something that looks fancy but takes simple steps. They end up being the star of whatever you put them on!
- They deliver intensely rich flavor—truly decadent, not overly sweet.
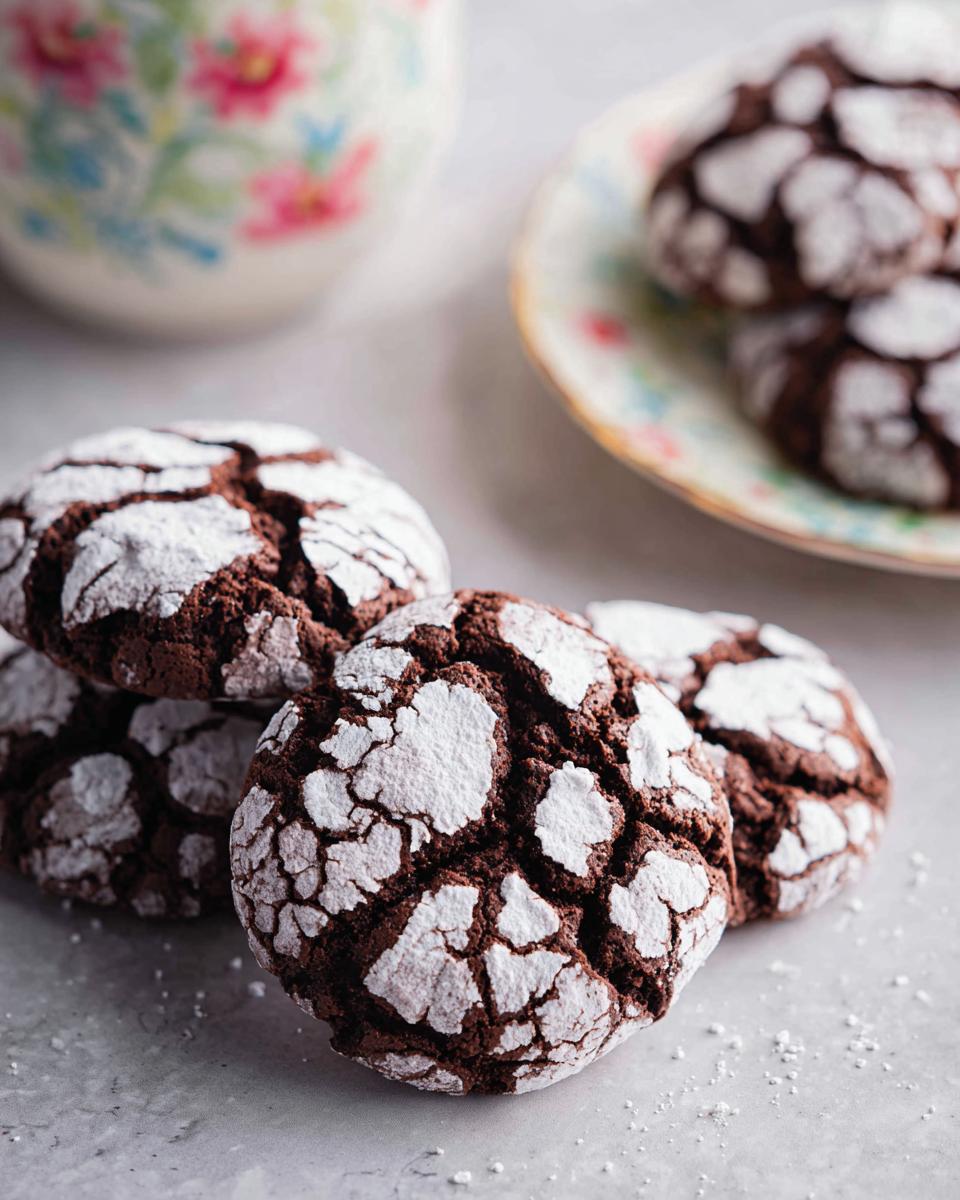
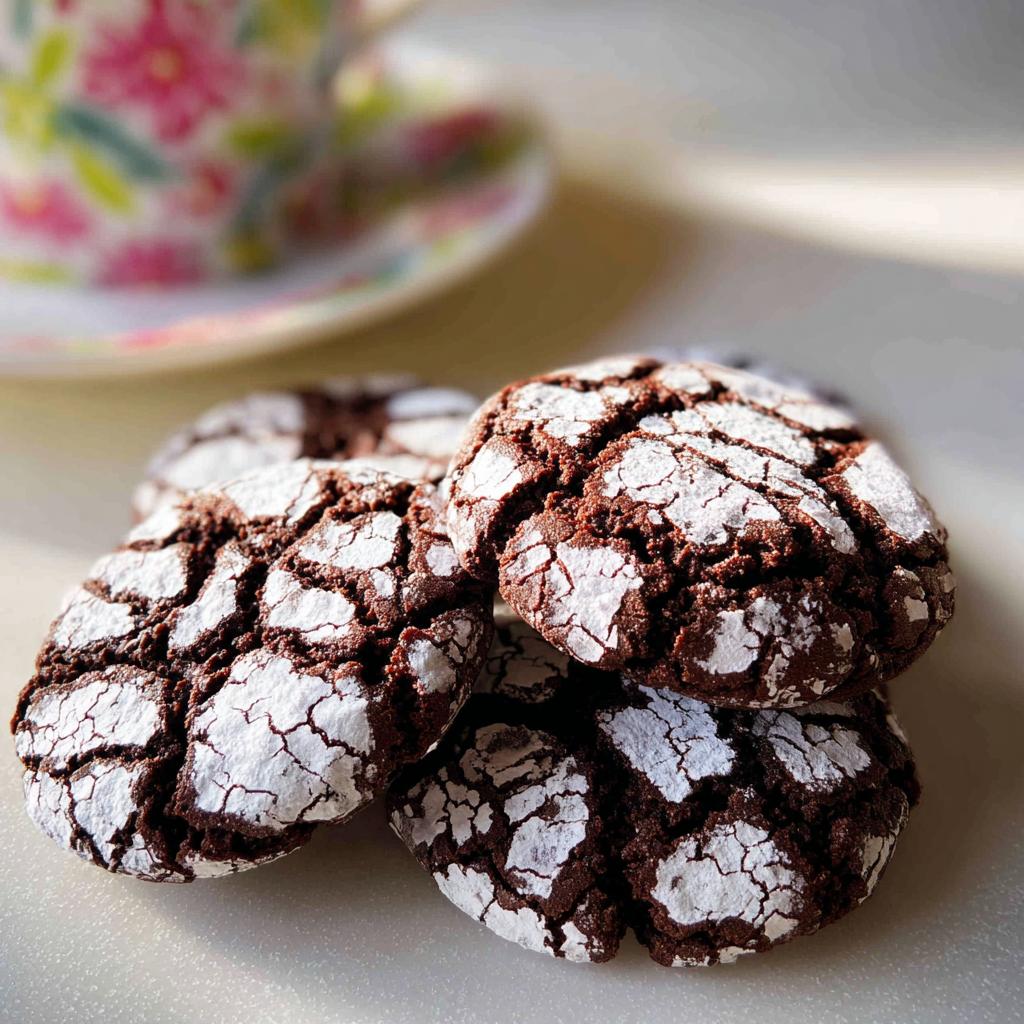
- The contrast between the dark crackle and the bright white coating is just stunning.
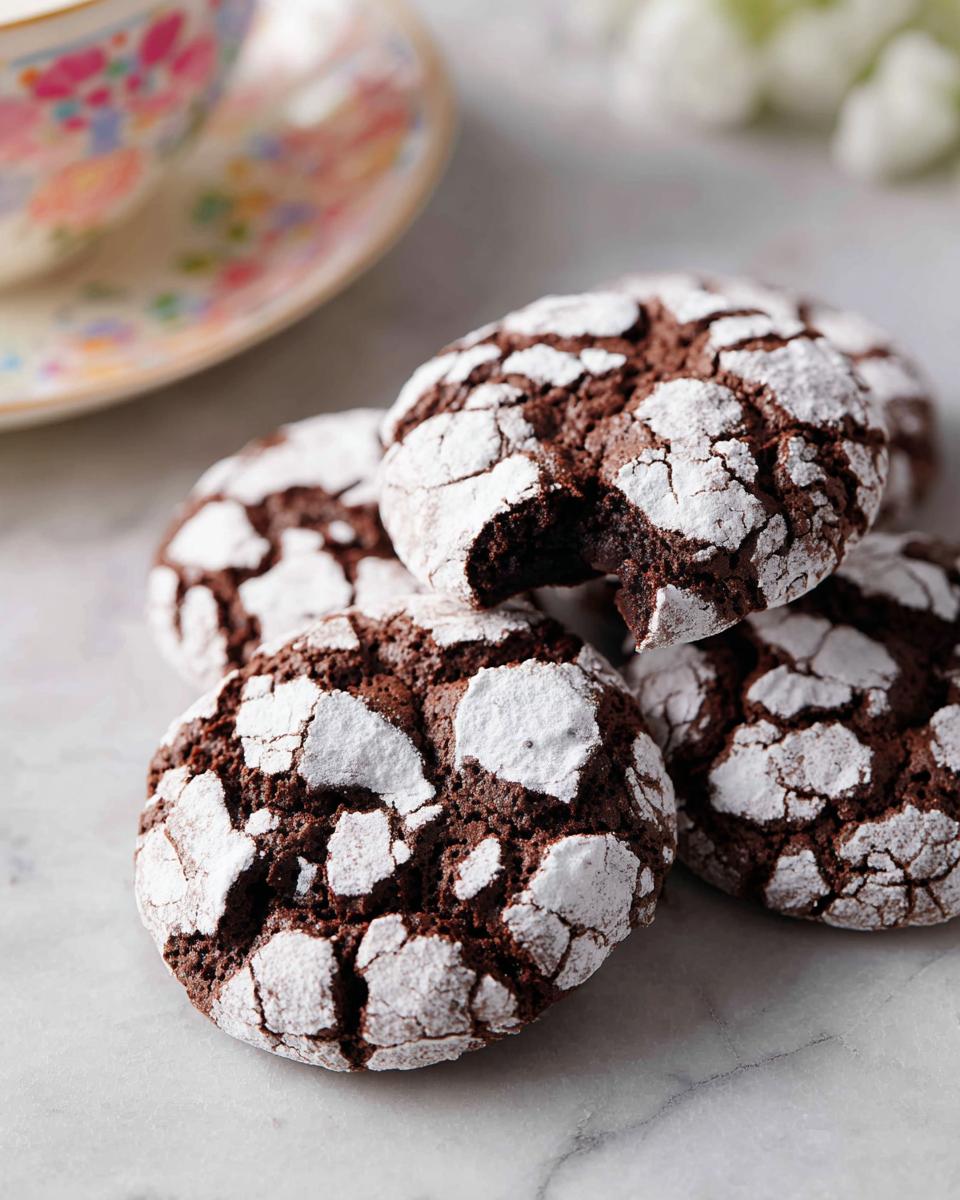
- They are the essential addition for any holiday Party Tray.
Achieving Perfect Fudgy Centers
You absolutely cannot rush the chilling time! That mandatory refrigeration period lets the flour fully absorb the wet ingredients. If you skip it, the dough spreads out into thin, sad little pancakes. Proper chilling is my secret way to guarantee those signature deep, Fudgy Centers every single time.
Visually Stunning Chocolate Crinkle Cookies
That signature crinkle effect is iconic, isn’t it? It comes from rolling the cold dough ball—really jamming it into the Powdered Sugar—then watching the heat make that sugar crack. They look like little chocolate snowballs! They make any presentation look professionally done, even if you’re just setting them out on a plate.
Essential Ingredients for Classic Chocolate Crinkle Cookies
When it comes to these beauties, quality matters, but the ingredient list isn’t scary long! We break it down into two main parts—the dough itself and the snowy coating. Using good cocoa is key here, folks, because it’s the star flavor!
Please make sure your eggs are at room temperature! It really helps them blend properly into that rich, oily base we create first. It just incorporates better, giving us a smoother dough right from the start.
For the Cookies: Mixing the Dough
You’ll gather your dry and wet stuff separately before bringing them together for that perfect batter:
- Unsweetened cocoa powder: You need exactly
1
cup, which is about 100g. - Granulated sugar: That’s
1 3/4
cups (350g). - Vegetable oil:
1/2
cup (120mL). - Eggs: Four large eggs, remembered: they must be room temperature!
- Vanilla extract: Two teaspoons to round out the flavor.
- All-purpose flour: Two cups, or 240g.
- Baking powder (2 teaspoons) and salt (3/4 teaspoon).
For Rolling: The Powdered Sugar Coating
This is the fun part! You simply need one full cup of standard Powdered Sugar (about 120g) for rolling the dough balls. Make sure you have a dedicated bowl for this. You’re going to use a lot of it to get that thick, crackly shell!
Equipment Needed for Your Chocolate Crinkle Cookies
You don’t need a million fancy gadgets for these cookies, but having the right tools makes the job so much smoother, especially since the dough gets super sticky!
Before you even think about mixing that sugar and cocoa, pull out these essentials:
- A large mixing bowl for the main dough.
- A hand mixer or stand mixer—trust me, beating that sugar and oil for a bit takes some muscle!
- A medium bowl just for mixing your flour, baking powder, and salt.
- Plastic wrap—this is non-negotiable for the mandatory chilling time!
- Baking sheets because we’re making a big batch (3 dozen!), so have at least two ready.
- Parchment paper. Always use parchment paper. It’s the easiest cleanup ever.
- A small bowl dedicated solely to holding all that glorious powdered sugar for the rolling stage.
- A small ice cream scoop or even just a regular tablespoon—this is how we keep all our cookie balls uniform in size for even baking.
- A wire rack for cooling them down completely once they come out of the oven.
Step-by-Step Instructions to Make Perfect Chocolate Crinkle Cookies
Getting the texture right on these Chocolate Crinkle Cookies is all about technique, and honestly, the order you mix things in. Don’t just dump everything in at once, or you’ll end up with a stiff, tough cookie before you even get them into the oven. Follow these steps close, and you’ll be rewarded with that incredible fudgy interior!
Mixing the Wet and Dry Components
First things first, we want shiny, smooth goodness. Get that granulated sugar, cocoa powder, and the vegetable oil into your large bowl. Beat them together on medium speed until they look completely combined and have taken on a nice sheen. You’re basically building the chocolate base here!
Next, we introduce the eggs! Add them one at a time, mixing well after each addition, and then beat in that lovely vanilla extract. Once that’s done, grab your flour, baking powder, and salt—give those dry items a quick stir in their separate bowl just to mix them up. Now, add this flour mixture to the wet stuff, but only mix on low speed until you *just* see everything come together. Stop mixing right there; overmixing develops gluten and that defeats the fudgy center goal!
The Crucial Chilling Time for Chocolate Crinkle Cookies
Okay, this is the step where patience pays off big time, and you can’t skip it if you want tall cookies. The dough will feel very soft and sticky, almost like thick brownie batter. Cover that bowl tightly with plastic wrap. Then, you *must* refrigerate it for a minimum of four hours. Seriously, four hours! I usually leave mine overnight. Warm dough spreads out way too fast in the oven, and that’s how you lose your height and your wonderful interior. This chill time is vital for structure.
Rolling and Baking for the Crinkle Effect
Once that dough is nice and firm, go ahead and preheat your oven to 350°F. Get your baking sheets lined with parchment paper. Have your cup of powdered sugar ready in a small bowl.
Use a small ice cream scoop—this helps keep them uniform—to scoop out the chilled dough. Roll each ball firmly between your palms until it’s roughly one inch, and then—and this is key—roll that ball in the powdered sugar until it’s completely coated and looks white on the outside. Place them about two inches apart on the sheet. Remember to chill any extra dough balls you aren’t working with immediately!
Bake them for just 10 to 12 minutes total. They are done when the edges look firm but the center still seems puffy and maybe just a tiny bit wet when you poke it. They will deflate slightly as they cool, and that just means you nailed the fudgy center! Transfer them to a wire rack to cool completely. If you’re looking for more amazing dessert recipes, check out all my keto sweet treats here!
Tips for Success with Your Chocolate Crinkle Cookies
I’ve baked these dozens of times, and I’ve learned a few tricks that take these from great to absolutely legendary. Sometimes it’s the smallest things, right? We want maximum flavor and that perfect crackle every time we work on this Classic Cookie.
My biggest piece of advice, which I mentioned earlier but it bears repeating, is: DO NOT RUSH THE CHILLING. Seriously, if your dough is warm, the cookies will look like chocolate puddles when they come out. Cold dough holds its shape beautifully and gives you those high, crinkly domes. If you think your kitchen is warm, chill your dry ingredients bowl first!
Now, about jazzing up the flavor—this is where you can make it uniquely yours. If you really want to deepen that chocolate experience, try adding about 1 teaspoon of instant espresso powder right along with the sugar and oil mixture in the beginning. You won’t taste coffee, just ridiculously intense chocolate. If you’re feeling frisky, a little splash of flavor extract works wonders!
- For a minty treat, use
1
teaspoon of peppermint extract instead of letting the vanilla stand alone. - For a bright citrus twist, swap the vanilla for orange extract. It pairs beautifully with dark chocolate!
- When rolling, don’t be shy with that powdered sugar. Get a thick layer on there; that thickness is what creates those gorgeous cracks while baking.
Remember, the cookies should look slightly soft and almost underdone when they come out of the oven. If they look completely firm when you pull them out, they’ll actually be overbaked and dry once they cool down. Trust the process and trust the gooey center!
Storing and Serving Your Chocolate Crinkle Cookies
These Chocolate Crinkle Cookies are just as good the next day—maybe even better, because the fudgy center settles in beautifully! But they need to be stored correctly if you want them to last longer than five minutes after they cool on the rack.
The main enemy here is air. If they sit out exposed, that lovely powdered sugar coating starts to get sticky and melt into the cracks; nobody wants a sticky cookie blob! So, once they are completely cool—and I mean stone cold—you need to nestle them into an airtight container.
If you’re planning ahead for a big event or getting that Party Tray ready, you can certainly stack them, but make sure you put a piece of parchment paper or wax paper between the layers. That little bit of separation stops them from sticking together after a day or two in the container.
How long do they stay fresh?
I find they are at their absolute peak softness for about three days. After that, they’re still delicious, but the texture starts to firm up just a hair. If you baked a huge batch and realize you won’t get through them fast enough, they actually freeze really well!
Just place the cooled cookies in a freezer-safe, airtight bag or container. They can hang out in the freezer for up to three months. When you absolutely need a chocolate fix, just let them thaw on the counter for an hour. No reheating necessary!
Serving Suggestions for Your Party Tray
When it comes to serving, presentation is half the fun with these cookies! They look great all by themselves, of course. But if you’re arranging them for a big spread, try pairing them with something tart to cut through all that rich chocolate.
I love setting mine out next to bowls of fresh raspberries or maybe some tart orange segments. It adds a pop of color that plays off their dark centers. If you’re looking for other ideas to fill up that big platter for the holidays or just for fun, check out some of the great tips for fun snack ideas on my Pinterest board!
Also, a little secret: dipping the bottom half of a cooled cookie into a shallow dish of melted white chocolate before dusting them again can give you a fun, extra layer of flavor and texture for a really fancy look!
Frequently Asked Questions About Chocolate Crinkle Cookies
I know you probably have questions swirling around as much as I do when I’m testing a new batch! These Chocolate Crinkle Cookies are so beloved because they are reliable, but clarity helps ensure you get that perfect result, especially that signature crackle. For more fun baking explorations, feel free to check out my trend category for inspiration!
Can I skip the chilling time for these Chocolate Crinkle Cookies?
Oh, please don’t try it! I really can’t stress this enough. Skipping the chilling time means you’re sacrificing the texture. Warm dough spreads out into those flat, sad puddles we talked about. If you want those tall, domed cookies with the deeply satisfying Fudgy Centers, you must chill the dough! Four hours is the absolute minimum, but overnight works even better.
How do I get the best powdered sugar coating?
This is where the visual magic happens! You want that super thick blanket of white so that when it bakes, it really cracks open dramatically. The best trick is to roll the dough balls *twice* in the Powdered Sugar before baking. Or, if you’re baking in batches, make sure you only coat the balls you’re putting into the oven immediately. Sugar dissolves if it sits wet for too long, so coating them right before they hit the heat gives you the sharpest contrast.
Are these cookies suitable for a large Party Tray?
Absolutely! They are fantastic for a Party Tray because they look impressive without needing fussy decoration. Plus, they hold their shape so well once cooled, provided you store them correctly in an airtight container, as I mentioned earlier. They look festive even days after baking, which is a huge win when you’re busy hosting!
I hope these tips help you make the best batch yet!
Nutritional Estimates for Chocolate Crinkle Cookies
Okay, I know many of you are watching macros, and while this recipe uses standard sugar, I wanted to give you a little peek at the numbers for one cookie. Keep in mind, this is just a guideline, and the real values depend heavily on exactly how you measure everything! For more tips on smarter baking, check out my guide on making budget-friendly meals.
Based on 36 cookies, in every single one you’ll find:
- Calories: 87
- Carbohydrates: 15g
- Protein: 1g
- Fat: 3g
Please remember that baking variables mean these are just starting estimates, not exact science!
Share Your Festive Chocolate Crinkle Cookies Creations
Well, that’s it! You’ve made the perfect batch of Chocolate Crinkle Cookies! I really hope your kitchen smells as amazing as mine does right now. Truly, I think these are going to disappear fast once you put them out.
I’m like a proud parent when you all bake my recipes. Honestly, seeing your snowy chocolate creations makes my day! So please, pretty please, come back here and leave a star rating for future bakers who visit the page. Don’t be shy about the comments either!
Did you try adding the espresso powder? Did your chilling time go overnight? Tell me everything! I love hearing how you adapted the recipe or if you just stuck to the classic approach. It helps build up that wonderful community feeling we’re all part of.
And if you took a photo—and I know you did because these are so photogenic—tag me on social media! I’d absolutely love to feature your beautiful cookies on my feed. You can always send direct messages or reach out through my contact page if you want to share photos privately!
Happy baking, friends! I can’t wait to see those crinkles!
Chocolate Crinkle Cookies
Ingredients
Equipment
Method
- In a large mixing bowl, combine the sugar, cocoa powder, and oil. Beat on medium speed until well combined and shiny.
- Add the eggs one at a time, beating until well combined. Beat in the vanilla.
- Combine the flour, baking powder, and salt in a medium bowl, stirring to combine. Add the flour mixture to the cocoa mixture and mix on low speed just until combined.
- Cover the dough in plastic wrap and refrigerate for at least 4 hours or up to overnight.
- Once the dough has chilled, preheat oven to 350°F. Line two large baking sheets with parchment paper. Place the powdered sugar in a small bowl.
- Using a small ice cream scoop or tablespoon, scoop the chilled dough and roll into roughly one-inch balls. Roll the dough balls in powdered sugar until well coated and place on the prepared baking sheet about 2 inches apart. Refrigerate the remaining dough balls and roll in powdered sugar just before baking.
- Bake for 10 to 12 minutes or until the edges of the cookies are firm and the center is puffed but still appears slightly wet. Let them cool on the baking sheets for a few minutes then transfer to a wire rack to cool completely.
Nutrition
Notes
Tried this recipe?
Let us know how it was!