
When you crave something truly decadent, something that looks absolutely stunning on the table, only a perfect chocolate creation will do. I’m Thomas, a biochemist who loves turning classic recipes upside down, and believe me when I say this rigourously tested Chocolate Mousse Layer Cake is pure magic. The first time I tackled this, it was for my sister’s birthday—she needed a keto-friendly dessert that didn’t compromise on deep flavor. Watching her delight in each smooth, rich bite proved that the intersection of science and dessert is truly beautiful. We’re going to achieve that airy mousse, that perfect structure, without any fuss!
Meet Your New Favorite Chocolate Mousse Layer Cake: Why This Recipe Works
Honestly, folks, this isn’t just another recipe you toss together on a Tuesday. This Chocolate Mousse Layer Cake is built for those moments when you need dessert to absolutely wow people. We’re getting that deep, almost bittersweet chocolate flavor that screams elegance but is surprisingly easy to manage.
Why should you make this specific Chocolate Mousse Layer Cake right now? Well, I’ve broken down the science of indulgence:
- It manages to be incredibly rich without feeling heavy—that’s the keto magic working for us!
- It’s the ultimate special occasion stunner.
- The components freeze beautifully, making it perfect for planning ahead.
Achieving the Perfect Layered Dessert Texture
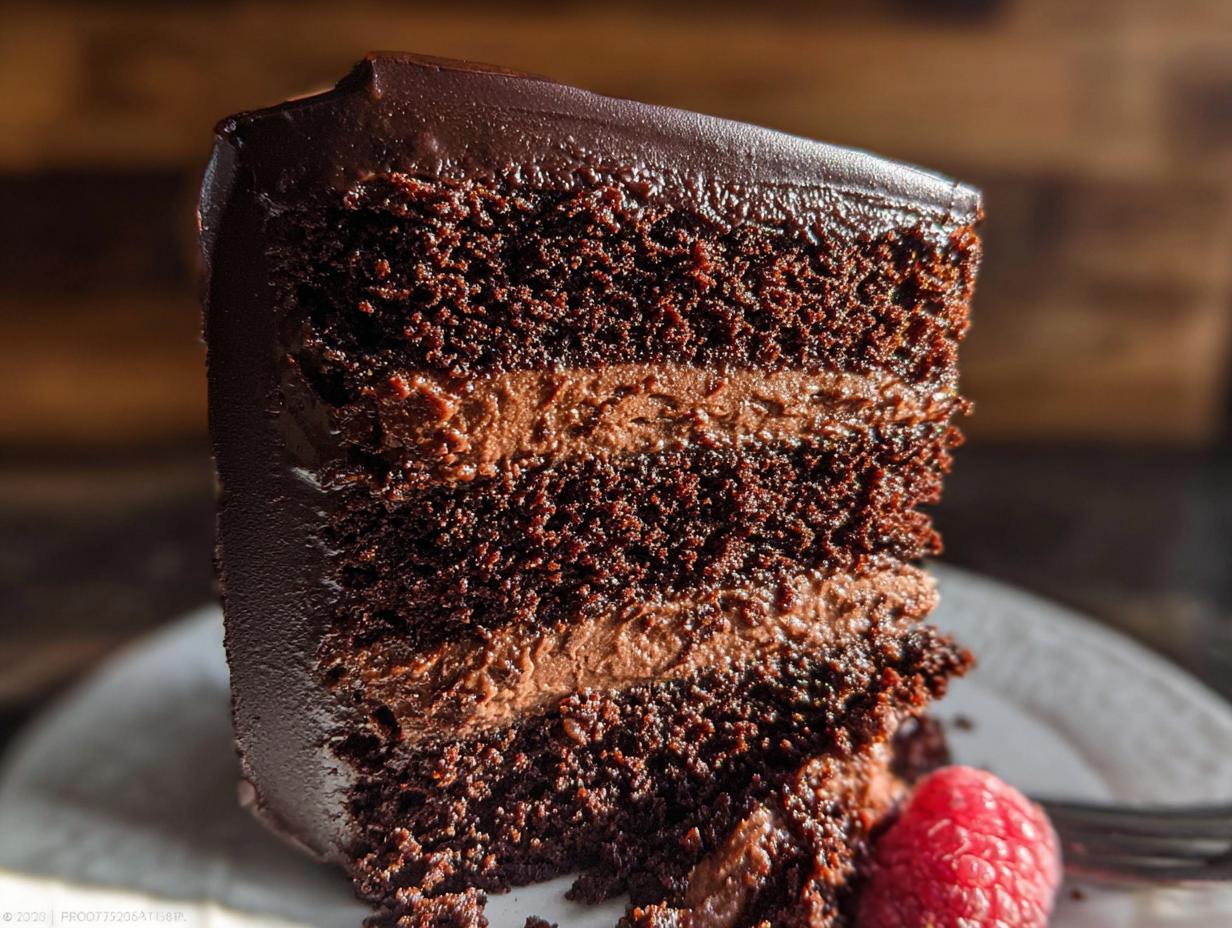
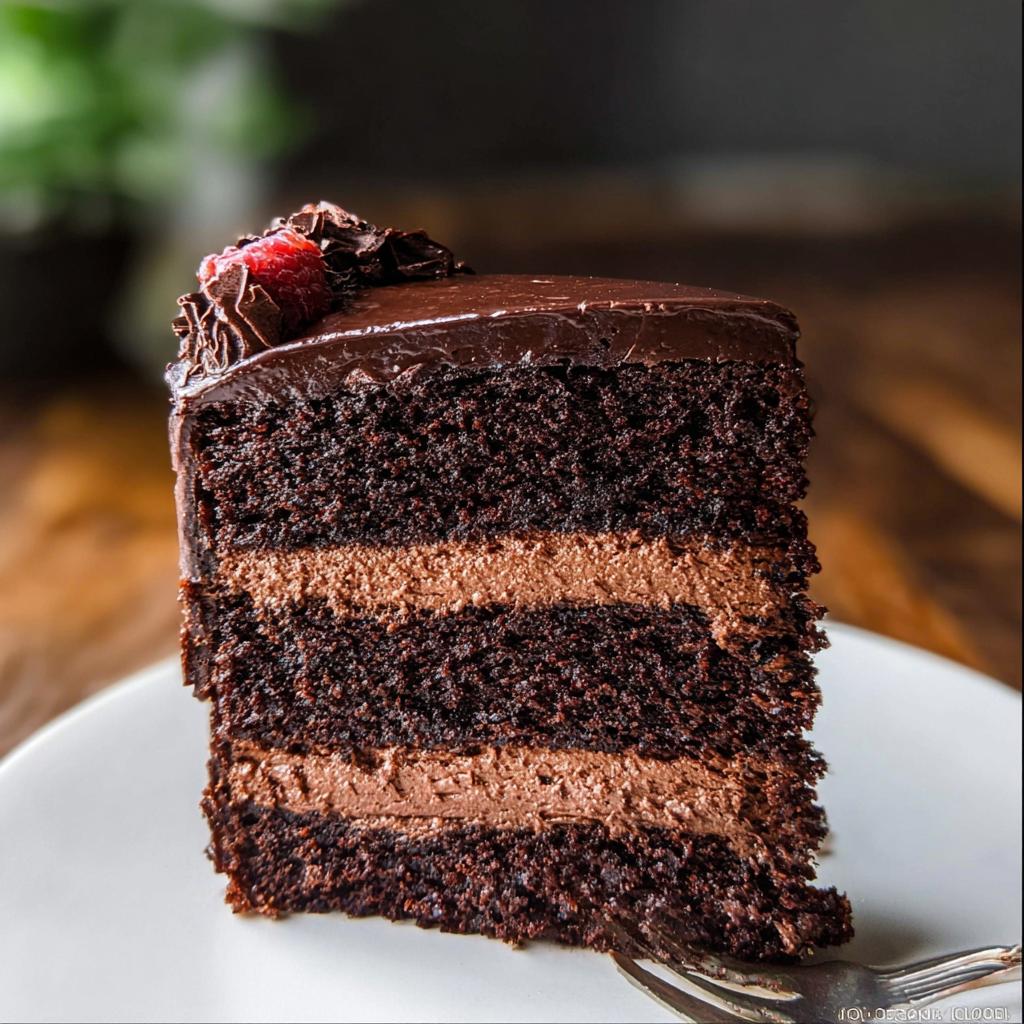
The structure here is key. We’re pairing intensely moist, nearly fudgy cake layers with that unbelievably light, airy chocolate mousse. This contrast is exactly what makes it a show-stopping Layered Dessert
. The cake base is sturdy enough to hold the weight of the filling, so you get that satisfying structure in every single slice. Trust me, the mousse won’t collapse on you!
Essential Equipment for Your Chocolate Mousse Layer Cake
Before we dive into mixing those beautiful textures, let’s get your station ready! As a scientist in the kitchen, I know the right tools make all the difference between a happy baking session and a total disaster. Don’t stress, though; you probably have most of this stuff already lying around. Having everything lined up means we can move fast when temperatures matter!
Here’s the rundown of what you’ll definitely need assembled before you even preheat the oven:
- Your oven, obviously!
- Two to four 8-inch or 9-inch cake pans. I use four often so the layers bake faster, but two is fine if you don’t mind slicing them in half later.
- Parchment paper is non-negotiable for easy release.
- Two large bowls—one for dry stuff, one for wet stuff.
- A reliable whisk for initial mixing.
- A sturdy handheld mixer or, ideally, a stand mixer for whipping that cream into perfect mousse structure.
- A cooling rack so those cakes cool evenly without getting soggy bottoms.
- A heat-proof bowl, especially for melting that gorgeous quality chocolate.
- A spatula for folding—you need a gentle touch for the mousse!
- Your cake stand or serving plate ready to go.
- An icing spatula for smoothing that final, elegant ganache coating.
- A small saucepan for heating the cream for the ganache.
See? Totally manageable. Getting the right equipment ready turns this potentially intimidating layered dessert into a straightforward adventure!
Ingredients for the Ultimate Chocolate Mousse Layer Cake
Alright, let’s talk components. Making an Elegant Cake
like this means being thoughtful about what goes into it, especially when we’re counting macros but not flavor! We need three distinct sections here: the sturdy cake layers, the light mousse, and the rich ganache topping. Everything has to work together beautifully. Keep your chocolate close—you’ll want the highest quality semi-sweet bars you can find for the mousse and ganache. That’s where the real decadent flavor comes from, trust me! If you’re focusing on saving while cooking incredible things, check out my guide on cheap keto meals, though for this showstopper, quality chocolate is worth the splurge!
For the Cake, we mix:
- 1.75 cups all-purpose flour (spooned & leveled, please!)
- 1.75 cups granulated sugar
- 0.75 cup unsweetened natural cocoa powder
- 2 teaspoons espresso powder (optional, but it really makes the chocolate pop)
- 2 teaspoons baking soda and 1 teaspoon baking powder
- 1 teaspoon salt
- 0.75 cup full-fat sour cream, at room temperature
- 0.5 cup vegetable oil
- 2 large eggs, also at room temperature
- 0.5 cup buttermilk, room temperature is important here!
- 2 teaspoons pure vanilla extract
- 0.5 cup hot water or black coffee (coffee deepens the chocolate!)
- Optional: 1 cup of semi-sweet mini chocolate chips, tossed lightly in flour.
Then for the Chocolate Mousse:
- 0.5 cup hot water whisked with 0.25 cup cocoa powder
- 8 ounces quality semi-sweet chocolate, finely chopped
- 2 cups cold heavy cream
- 2 Tablespoons confectioners’ sugar
- 0.5 teaspoon pure vanilla extract
And finally, for the Chocolate Ganache layer:
- 8 ounces quality semi-sweet chocolate, finely chopped
- 1 cup heavy cream
For inspiration, I often look at classic techniques, like those shared over at Sally’s Baking Addiction, to ensure my base cake structure is solid before adding that airy mousse!
Ingredient Notes and Substitutions for This Chocolate Mousse Layer Cake
This is where the science background comes into play! Temperature control is everything. Make sure those eggs, sour cream, and buttermilk are sitting out for a bit before you start. Cold ingredients emulsify poorly, and we want a smooth batter, not a curdled mess! This attention to detail guarantees we get that perfect, light mousse structure.
Regarding the cocoa powder, I found it best to use a mix—some natural cocoa powder and some Dutch-process if you have it. Please use high-quality chocolate bars, not chips, for the mousse and ganache; the stabilizers in chips can make the texture grainy instead of glossy and smooth. If you don’t have buttermilk, you can whip up a quick substitute by adding 1 teaspoon of vinegar or lemon juice to your measuring cup and topping it off with milk to the 1/2 cup line. Let it sit for five minutes, and you’re good to go! Don’t skip the espresso powder if you can help it; it doesn’t taste like coffee, it just screams deep chocolate
louder!
Step-by-Step Instructions for Baking the Chocolate Mousse Layer Cake
Okay, this is truly the fun part, but we need precision here to make sure our layers stack beautifully! Baking is chemistry, and timing is the catalyst. I remember the first time I assembled this Chocolate Mousse Layer Cake
; I rushed the chilling, and the mousse just slid! We are not doing that today. Follow these steps exactly for a stunning result that impresses everyone.
Baking and Cooling the Chocolate Cake Layers
First up, get that oven preheating to 350°F (177°C). Always grease your pans well, line them with parchment circles, and then lightly grease the paper too—this double layer of defense ensures zero sticking. Whisk your dry ingredients in one big bowl, mix the wet stuff (sour cream, eggs, buttermilk) in another, and then slowly combine them, finishing with the hot water or coffee. Divide that batter evenly among your prepared pans.
Bake them for only about 19 to 23 minutes. You’re looking for that clean toothpick test. Let them cool in the pans for a full hour before trying to turn them out onto the rack. Don’t panic if the centers sink a little bit; that slight dip is actually helpful later when we load them up with mousse!
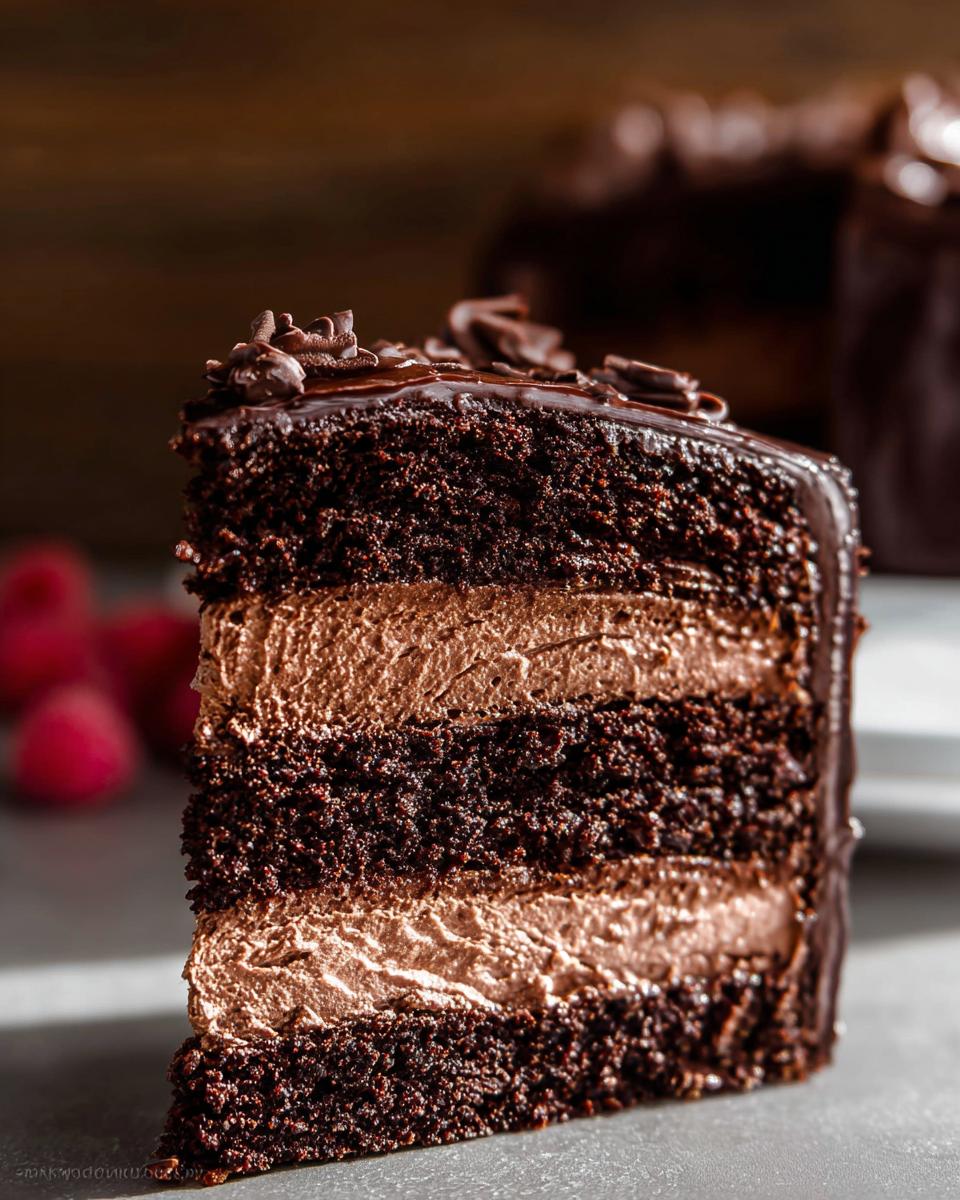
Creating the Silky Chocolate Mousse Filling
While those cakes are cooling, we whip up the star! You start by dissolving your cocoa into hot water, then melting that quality chocolate until it’s perfectly smooth. This has to cool down slightly so it doesn’t melt your whipped cream later. In a separate, clean bowl, whip your heavy cream, sugar, and vanilla until you hit medium peaks—they should hold their shape but still be slightly floppy.
Now, the crucial fold: gently incorporate the slightly cooled chocolate mixture into the whipped cream. Use a spatula and cut down the middle, sweeping under, then folding over. We must maintain that aeration! Cover this beauty and stick it in the fridge for at least 2 hours. Seriously, don’t cheat this 120-minute chilling time, or your mousse will weep when you try to assemble your Elegant Cake
.
Assembling Your Elegant Cake with Mousse and Ganache
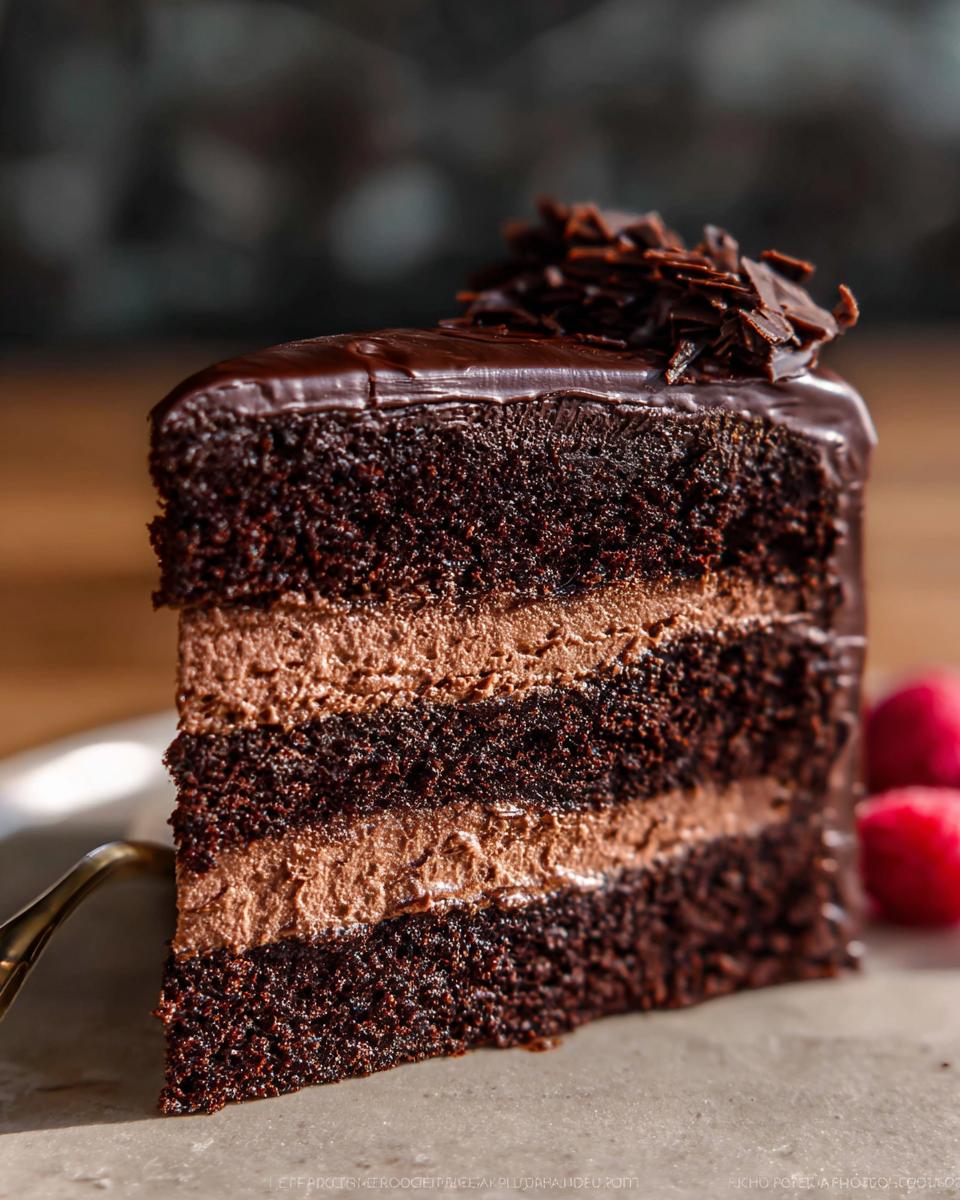
Time to build! Make sure those cakes are totally cool, and use a serrated knife to level any domes off the tops. Place layer one down, and spread about 1.5 cups of the chilled mousse evenly over it. Stack layer two upside down, spread more mousse, and repeat until all layers are stacked. Next, apply a thin layer of mousse over the entire outside—we call this the crumb coat. This seals in any loose crumbs!
Chill the entire structure again for at least an hour. This firming step prevents disaster when you pour the ganache. After that hour, you’ll make and slightly warm your ganache (check the instructions on how to heat the cream until just simmering!) and pour it right over the top center, letting gravity pull it down the sides for that gorgeous, dripping finish. Remember to check out some of my favorite keto baking plans here: real keto diet meal plan!

Tips for Success When Making a Chocolate Mousse Layer Cake
Baking science is all about controlling variables, right? If you follow my steps for the cake layers and the mousse, you are already way ahead of the game. But let me give you a few extra little tricks I learned through trial and error—mostly error when I was first trying to perfect this for my sister!
Here are the three keys to turning this into a verifiable Crowd Pleaser
every single time:
- Don’t Skimp on Tempering the Chocolate: When you melt that quality chocolate for the mousse, it needs to cool down a bit before hitting the whipped cream. If it’s too hot, poof! Your beautifully whipped peaks deflate instantly. You want it warm enough to mix smoothly but cool enough that it doesn’t melt the fat in the cream you just worked so hard to whip. I test mine by dipping my finger in quickly—it should feel barely warm, not hot.
- The Power of Room Temperature: I know I mentioned it in the ingredients notes, but I’m stressing it again because it’s vital for the cake batter. Cold sour cream and cold buttermilk create lumps because they don’t mix evenly with the fat (oil) and sugar you creamed. Lumps mean uneven baking, and nobody wants an unevenly baked
Chocolate Mousse Layer Cake
! - Gentle Folding is Your Goal: When you combine the chocolate mixture into the whipped cream, think “lightly merging,” not “stirring vigorously.” This is where you introduce air into the mousse. Overmixing is the number one way to get dense, heavy, sad mousse instead of the airy cloud we are aiming for. Slow, deliberate folding saves the texture!
These critical steps elevate what you’re making from good to truly great. If you want to read more about avoiding common recipe pitfalls, check out my post on keto mistakes that sabotaged my progress—many apply to high-end baking too!
Make Ahead and Storage for Your Chocolate Mousse Layer Cake
One perk of creating an Elegant Cake
that involves chilling is how fantastic it is for planning parties! You absolutely want to make this ahead of time so you aren’t frantic right before guests arrive. This is where the Make Ahead
secondary keyword really shines.
I suggest making the chocolate cake layers first. Once they are completely cooled down, wrap each layer individually, super tightly, in plastic wrap. You can refrigerate these wrapped layers for up to two days, or if you plan way out (which I often have to do!), freeze them for up to three months! Just remember: if you freeze them, you must thaw the layers slowly overnight in the refrigerator before you even attempt to assemble the cake.
The filling components are amazing for advance prep too! The chocolate mousse needs that long chill time anyway—up to two days in the fridge works perfectly fine. You can even make the ganache ahead of time! Just let it sit at room temperature for a bit if it gets too stiff, or warm it very gently if it sets up too hard in the fridge. If you need help planning your grocery shopping for this massive undertaking, I put together a great cheap keto grocery list that should help!
Once the whole glorious Chocolate Mousse Layer Cake is assembled, it should chill again for at least an hour before the ganache pour, but you can store the fully frosted cake in the refrigerator for up to five days. Keep it covered loosely so the mousse doesn’t dry out. It tastes even better on day two once all those intense chocolate flavors have really married together. Honestly, the make-ahead nature of this dessert is what makes it a total lifesaver for big gatherings!
Serving Suggestions for This Crowd Pleaser Chocolate Mousse Layer Cake
Once this towering Chocolate Mousse Layer Cake is done, it truly doesn’t need much help to shine, but pairing it right makes it an epic Crowd Pleaser
! Because the cake itself is so incredibly rich and satisfying—especially for my fellow keto friends—I always lean toward beverages that cut through that richness.
Think about serving this with a very strong, unsweetened black coffee or a dark roast espresso. The slight bitterness is the perfect counterpoint to all that decadent chocolate. If you want something cold, skip the sugary sodas. A glass of sparkling water with a squeeze of lime or lemon zest works wonders to cleanse the palate between bites.
If you use those optional fresh berries on top, lean into low-carb options like raspberries or strawberries—their slight tartness is unbeatable. For tracking success later, don’t forget to use my free food journal template!
Frequently Asked Questions About the Chocolate Mousse Layer Cake
Whenever I tackle a big recipe like this incredible Chocolate Mousse Layer Cake
, I always end up with a few questions swirling around in my head. Based on my experience transforming these classics, I’ve gathered the most common things people ask. Let’s get these last lingering doubts cleared up so you can enjoy your baking! If you want to know more about me, the person who brought you this recipe, you can always check out my About Page!
Can I skip the espresso powder in the Chocolate Mousse Layer Cake?
You absolutely *can* skip it if you need to, but honestly, I wouldn’t recommend it if you’re going for that deep, rich chocolate experience we talked about earlier. The espresso powder doesn’t make the cake taste like coffee; it acts as a flavor enhancer. It just boosts the natural bitterness and richness of the cocoa powder, making the chocolate taste much more intense. If you have to skip it, just know your cake will still be delicious, but maybe not quite as dramatic!
How long does the Chocolate Mousse Layer Cake need to chill before serving?
This depends on what you prioritize! For structural integrity—which is necessary before adding that final ganache top—you need the mousse to set up firmly, which takes at least 2 hours in the fridge. If you want the absolute best flavor, though, you should aim for longer. Allowing this to chill for 4 to 6 hours, or even overnight, lets the mousse layers really meld with the cake layers. It transforms from a great cake into an absolutely sublime Layered Dessert
!
Is this Chocolate Mousse Cake recipe suitable for freezing?
Yes, it freezes beautifully, especially because we want this to be a great Make Ahead
option! I find it’s actually easiest to freeze the cake layers *before* assembly. Wrap those cooled, unfrosted layers tightly in plastic wrap, maybe even a layer of foil over that, and they’ll be perfect for months. If you freeze the fully assembled cake, make sure the ganache is fully set, and cover it extremely well to prevent freezer burn on the mousse. Always thaw assembled cakes slowly in the refrigerator overnight before letting them warm up slightly on the counter for serving!
Share Your Chocolate Mousse Layer Cake Creations
Well, we made it! We navigated the science, we mastered the folding, and now you have this incredible, multi-layered Chocolate Mousse Layer Cake sitting in your kitchen. I truly hope you taste the effort and the joy in every single bite. Honestly, knowing that my detailed recipe helped you create something so luxurious and elegant makes all my testing worth it.
Now, I absolutely live for seeing your bakes! When you pull off that perfect ganache drip or get those mousse layers looking razor-sharp, I want to see it. Please, take a picture when you serve this gorgeous dessert.
If you’ve gotten to the end of this, I’d be thrilled if you gave the recipe a rating—five stars if you loved the deep chocolate flavor! Also, drop a comment below and tell me how it went. Did your sister love it? Did your brunch guests devour it? And if you want to reach out directly with a question or maybe a baking triumph, you can always use my Contact Page. Happy baking, friends!
Chocolate Mousse Layer Cake
Ingredients
Equipment
Method
- Preheat your oven to 350°F (177°C). Grease four 8-inch or 9-inch cake pans, line them with parchment paper rounds, and then grease the parchment paper. Parchment paper helps the cakes release from the pans easily.
- Make the cake: In a large bowl, whisk together the flour, sugar, cocoa powder, espresso powder, baking soda, baking powder, and salt. Set this aside.
- In another large bowl, use a handheld or stand mixer to combine the sour cream, oil, and eggs on medium-high speed until mixed. Add the buttermilk and vanilla and mix until combined. Pour the dry ingredients into the wet ingredients, add the hot water or coffee, and whisk or beat on low speed until combined. Fold in the floured mini chocolate chips, if you are using them. Divide the batter evenly among the prepared pans.
- Bake for 19–23 minutes. Baking times can vary, so monitor your cakes. They are done when a toothpick inserted into the center comes out clean. Let the cakes cool in the pans on a cooling rack for 1 hour. Run a knife around the edges to loosen the sides, remove the cakes from the pans, peel off the parchment, and place them on the rack to finish cooling. The cakes may sink slightly in the middle as they cool, which is normal.
- Make the chocolate mousse: In a small bowl, whisk the hot water and cocoa powder until smooth. Melt the chopped chocolate in a double boiler or using the microwave. If using the microwave, place the chopped chocolate in a medium heat-proof bowl and microwave in 20-second increments, stirring after each, until completely melted and smooth. Pour the hot water and cocoa mixture into the melted chocolate and stir until thick and smooth. Set aside. In a large bowl, use a handheld or stand mixer to whip the heavy cream, confectioners’ sugar, and vanilla extract on medium-high speed until medium peaks form, about 3 minutes. Medium peaks are between soft peaks and stiff peaks. Pour in the chocolate mixture and gently fold together with a spatula. Do not overmix, as this can deflate the mousse. Cover the mousse and refrigerate for at least 2 hours or up to 2 days. This makes about 4.5 cups.
- Assemble the cake before preparing the chocolate ganache: Level the cakes if needed by slicing a thin layer off the tops with a large serrated knife to create a flat surface. Place one cake layer on your cake stand or serving plate. Spread about 1.5 cups of chocolate mousse evenly over the top. Top with the second layer, upside down, and spread with the same amount of mousse. Add the third cake layer, right side up, and cover with mousse. Top with the final cake layer. Spread the remaining mousse on the top and sides of the cake as a crumb coat. Use a bench scraper to smooth the sides. Refrigerate for at least 1 hour and up to 4 hours. Prepare the ganache while the cake is chilling.
- Make the chocolate ganache: Place the chocolate in a medium heat-proof bowl. In a small saucepan, heat the cream over medium heat just until it begins to gently simmer. Do not let it boil rapidly. Pour the warm cream over the chocolate and let it sit for 2–3 minutes to soften the chocolate. Stir slowly with a metal spoon or small spatula until the chocolate has melted and the mixture is smooth. The finer you chopped the chocolate, the quicker it will melt. Refrigerate the ganache for at least 30 minutes or up to 1 hour to thicken.
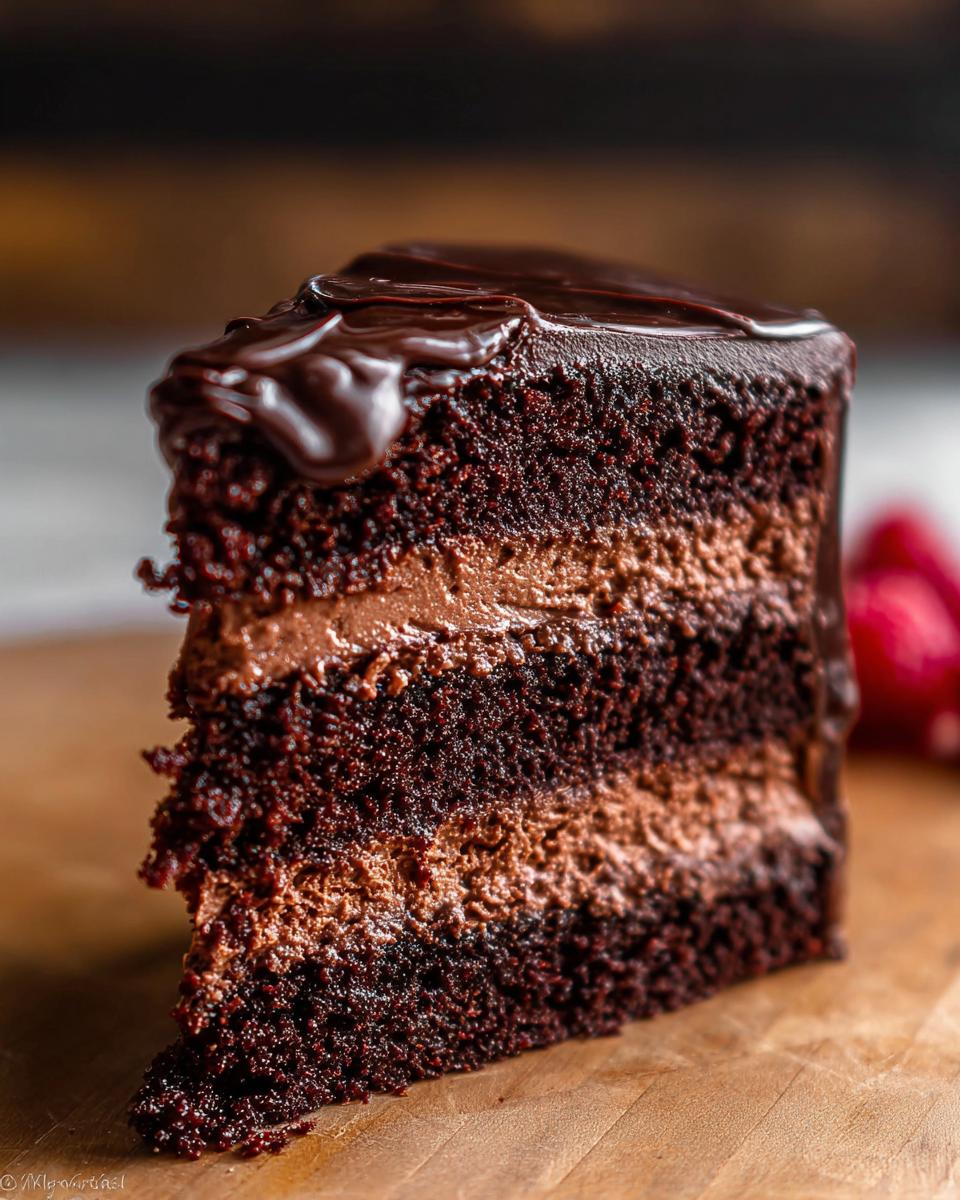
- Pour or spoon the thickened ganache over the chilled cake. Smooth the top and sides with an icing spatula. Add optional garnish such as fresh berries and/or chocolate shavings. Serve the cake immediately or chill, uncovered, for up to 4–6 hours before serving. The cake can be served at room temperature or chilled. Cover leftover cake tightly and store in the refrigerator for up to 5 days.
Notes
Tried this recipe?
Let us know how it was!
Precision Keto Scientist
Numbers don’t lie, and neither do my recipes. I’m a biochemist who fell into keto cooking through my own metabolic research—and I approach recipe development like a lab experiment, complete with macro calculations precise to the tenth of a gram.
My journey started in diabetes research labs at Johns Hopkins, where I spent six years studying how different macronutrient ratios affected insulin sensitivity. Personal experimentation with therapeutic ketosis for cognitive enhancement led me down a rabbit hole of recipe testing that eventually consumed more hours than my actual day job.
While other cookbook authors describe flavors and textures, I quantify ketone elevation curves and glycemic impact data. My recipe database contains 340+ formulations, each tagged with detailed nutritional analysis, predicted ketosis timing, and optimal meal spacing. I measure salt by weight, time cooking processes to the minute, and log ingredient sourcing obsessively for consistent results.
My breakthrough research on fat-protein ratios for sustained ketosis got published in the Journal of Nutritional Biochemistry. My “Macro Math Mastery” workshops have trained over 5,000 people in precision meal planning. I even collaborated with continuous glucose monitor manufacturers to create the first real-time feedback system for recipe optimization.
I left my pharmaceutical research position at Merck three years ago to focus on metabolic nutrition consulting. Now I work with professional athletes, biohackers, and medical professionals seeking therapeutic ketosis protocols. When I’m not in my lab-kitchen, I’m competing in chess tournaments or documenting my daily biomarker measurements with true data scientist obsessiveness.
Cooking is just applied chemistry—and chemistry follows predictable rules. Master the variables, control the outcomes.