

Have you ever looked at a plain chocolate cake mix and thought, "You deserve better than that"? Me too! I’m Alexandra, and I live for taking the simplest kitchen staples and turning them into something show-stopping. I’m here to share my secret to the ultimate Box Mix Glow-Up: Fancy Finishes. We aren’t just adding pudding mix here; we are talking about serious culinary elevation using easy techniques like a creamy soak and decadent toppings.
I remember the first time I decided to dress up my usual box mix cupcakes for a family gathering. It was a rainy Saturday afternoon, and I was feeling particularly adventurous in the kitchen. Instead of merely following the instructions, I whipped up a homemade raspberry swirl buttercream to top my vanilla cupcakes. The bright pop of color and flavor was not just delightful to taste, but beautiful to behold. When my family took their first bites, their eyes lit up in surprise—it felt incredible to bring a bit of gourmet flair to something so simple. That moment ignited my passion for finding playful ways to elevate everyday baking! This recipe does exactly that, transforming a humble box cake into something truly party-ready.
Why This Box Mix Glow-Up: Fancy Finishes Recipe Works
Okay, let’s talk about why this simple process is such a huge jump forward for your baking game. You get all the convenience of using your favorite store-bought mix, but you sidestep all its typical weaknesses. It’s the perfect Box Mix Upgrade, truly. The greatest part is how little extra effort it takes to achieve such a massive flavor and texture payoff. This is total Easy Elevation in a pan, I promise you! If you love these kinds of quick recipe enhancements, you should see what else we have going on over at my main recipe page here: check out more simple recipe hacks.
Moisture Boost with a Syrup Soak
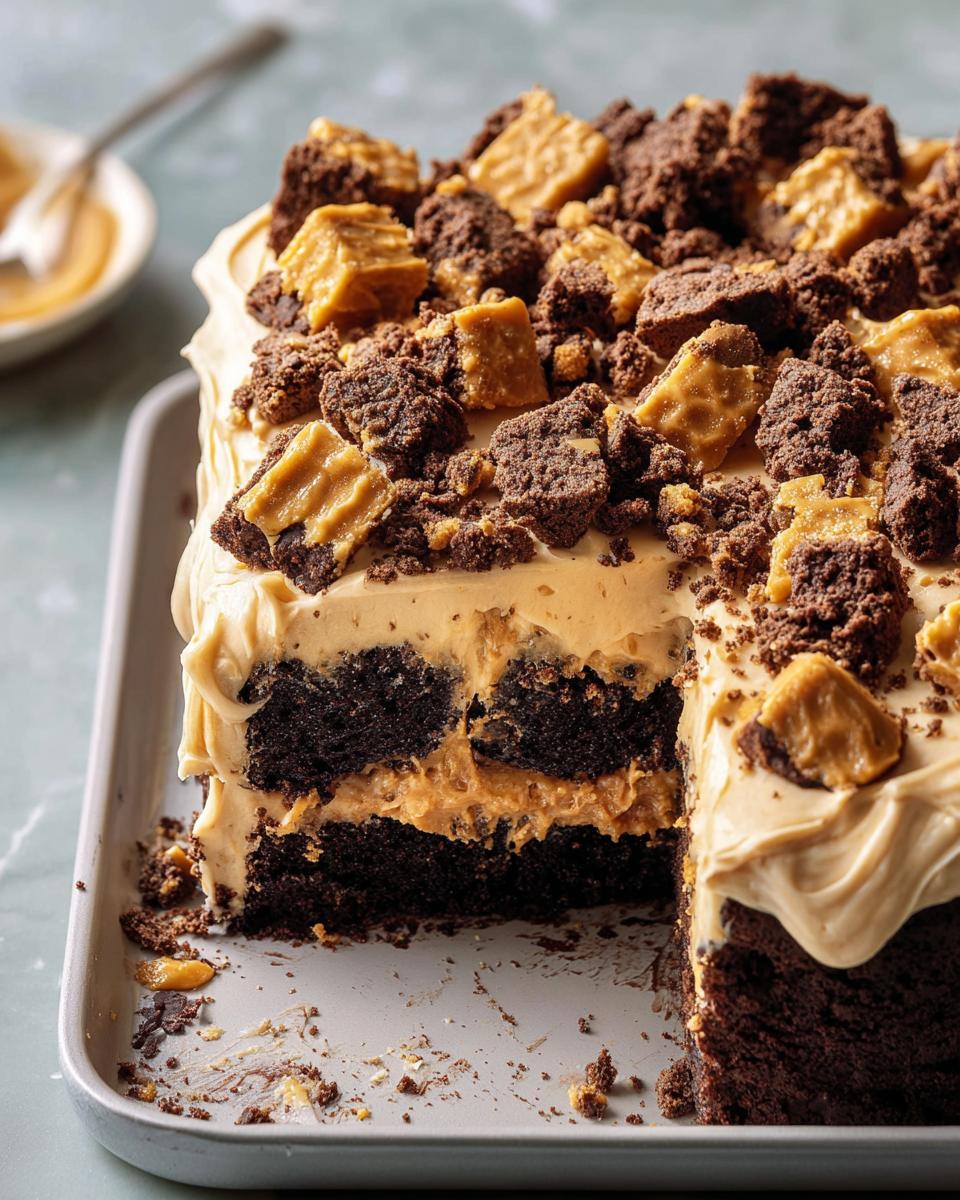
Box mixes, especially chocolate ones, can sometimes turn out a little… sad and dry. Not this one! The peanut butter mixture we use acts as a magnificent Syrup Soak. As soon as the cake cools, we poke it full of holes and let that rich liquid seep right down into the crumbs. It keeps the whole thing incredibly moist for days—way better than just adding an extra egg or oil.
Achieving Party-Ready Cake Status
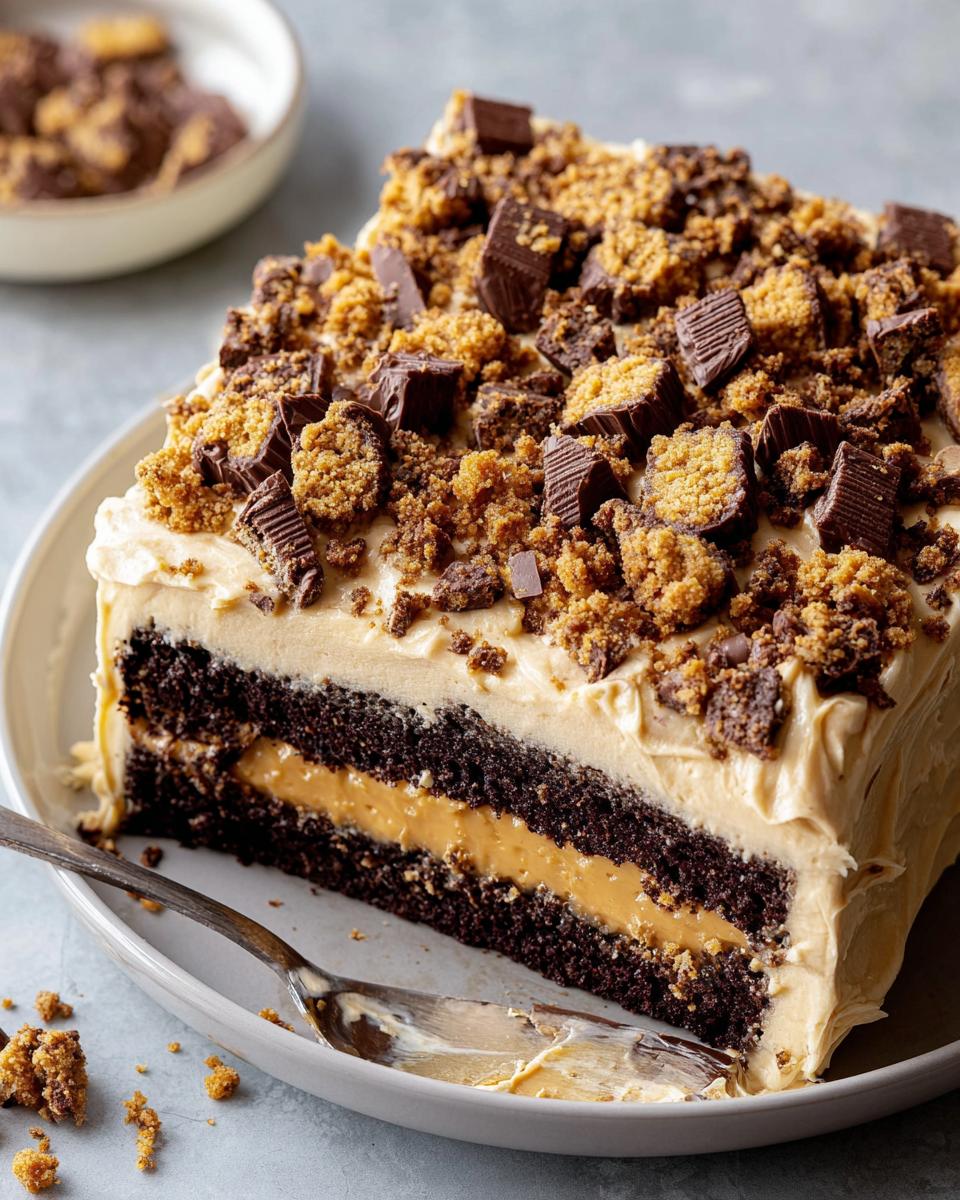
Once that cake is soaked and chilled, we cover it in this dreamy, creamy peanut butter frosting. Suddenly, that plain chocolate base looks like you spent hours fussing over it in a fancy bakery! The final topping of crushed cookies is the last touch that instantly makes this dessert Party-Ready Cake material. When people ask where you got it, you just smile mysteriously.
Essential Ingredients for Your Box Mix Glow-Up: Fancy Finishes
You know I love keeping it simple, right? But simple doesn’t mean boring! The list of ingredients here is surprisingly short, but every single item plays a huge role in taking that drab box mix up to championship level. We need components for three main parts: the cake base, the amazing soak that keeps it moist, and then the toppings that really sell the gourmet vibe. Trust me, getting these specific items ready is half the secret to this wonderful Box Mix Glow-Up: Fancy Finishes.
For the Cake Components
This is where we start our upgrade. Grab that standard chocolate cake mix, but don’t just follow the box! You need to add just a little something extra to boost the flavor profile right from the start. We’re sneaking in extra vanilla and a touch of salt—it makes the chocolate flavor pop, I swear!
- 1 package chocolate cake mix (just the regular size package)
- 1 teaspoon vanilla extract (added to the mix)
- 1 dash salt (added to the mix)
For the Peanut Butter Soak and Frosting
This is the rich, decadent heart of the recipe. That sweetened condensed milk is key here; it creates such a smooth, luxurious texture when mixed with the peanut butter—not exactly light, but definitely worth every single bite!
- 2/3 cup creamy peanut butter
- 2 cans (14 ounces each) sweetened condensed milk
- 1 cup confectioners’ sugar (you might need a touch more for the final frosting)
- 1 teaspoon vanilla extract (reserved for the frosting)
For the Final Fancy Finishes Topping
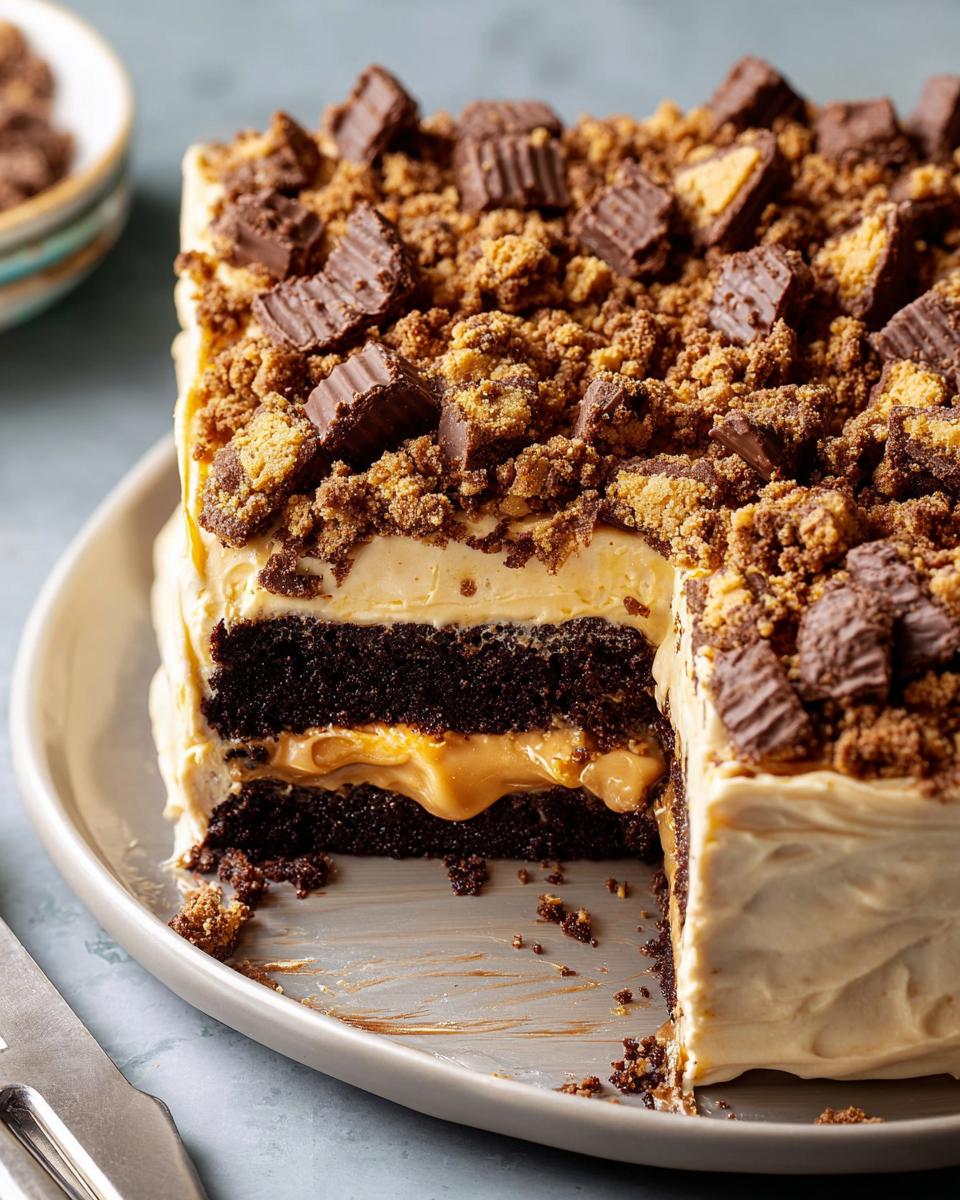
Now for the real fun! This is where you customize based on what you love or what you have left over from movie night. I always chop whatever I use—whether it’s peanut butter cups or those sandwich cookies—because I want texture contrast. We don’t want the topping to dissolve into mush!
- Chopped peanut butter-filled sandwich cookies, or peanut butter cups, or a combination of both!
Step-by-Step Instructions for Box Mix Glow-Up: Fancy Finishes
Getting this upgraded cake into the oven and making sure it absorbs all that goodness is super straightforward! I know we rely on the box for speed, but we have to respect the cool-down time before we start adding moisture. Don’t rush the cooling part—if you pour the soak onto a warm cake, you end up with a weird, gummy texture instead of that perfect dense base. Once it’s cooled, the real magic of our Box Mix Upgrade begins!
Baking the Base and Initial Soak
First things first: crank that oven up to 350°F (175°C). Mix up your chocolate cake according to the box, but remember what we talked about! Stir in that extra teaspoon of vanilla and that little dash of salt right into the batter before you pour it into your greased 13×9 pan. Bake it according to the box instructions, usually around 30 to 35 minutes. Once it’s out, let it cool *completely* on a rack. That’s non-negotiable!
While it’s cooling, start your soak. Whisk your creamy peanut butter and the two cans of sweetened condensed milk together until they look uniformly smooth. Now, grab a wooden spoon handle—the blunt end works perfectly. Poke holes all over that cooled cake, about two inches apart. Slowly drizzle about 2 cups of that peanut butter mixture over the entire top, making sure to let it dribble down into those holes you made.
Chilling for Maximum Flavor Absorption
This is the hardest part, honestly, because this cake smells amazing already! But you have to cover the cake and cover the remaining peanut butter mixture separately. Pop both of them into the fridge. You need them to chill together for a minimum of 2 to 3 hours. This cold time is crucial because it lets the soak fully integrate and settle into the cake’s structure without turning it into soup. Patience rewards you here!
Creating the Spreadable Frosting and Applying Fancy Finishes
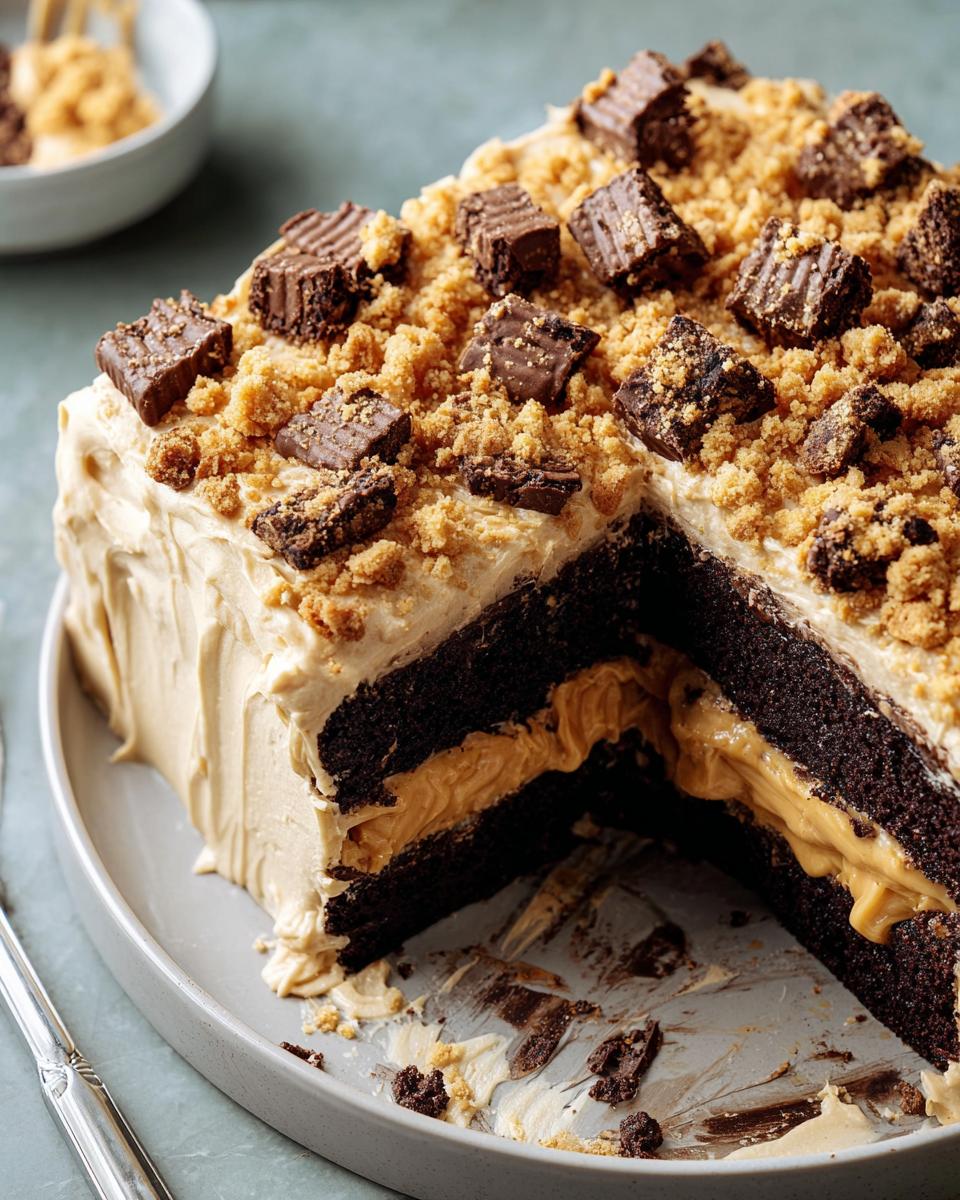
After chilling, pull out that remaining peanut butter mixture from the fridge. Stir in the remaining teaspoon of vanilla. Now, start beating in the confectioners’ sugar a little at a time. Keep mixing until you reach a thick, spreadable consistency. If it’s too loose, add more sugar; if it gets too stiff, add just a teeny splash of milk. Spread this lovely frosting evenly over your chilled, soaked cake base. This is your canvas for the final step—the Fancy Finishes!
Take your chopped cookies or peanut butter cups and scatter them generously over the top. Don’t be shy! Give it a final little press so they stick nicely, then pop the whole thing back into the fridge until you’re ready to serve. For instructions on preparing the base and links to other great recipes, take a look here: delicious cake mix inspiration, and check out some fun trending ideas!
Tips for Box Mix Glow-Up: Fancy Finishes Success
Even though this is a quick upgrade, a couple of little tricks will make sure your cake looks professional and tastes absolutely incredible. These aren’t complicated; they are just the things I learned the hard way over many, many batches! Following these small guidelines really makes the difference between a good cake and a stellar cake when you’re dealing with a Box Mix Glow-Up: Fancy Finishes look.
Troubleshooting Frosting Consistency
When you are mixing up that final frosting layer, you might find it’s a little too runny. Don’t panic! If it feels too soft to hold any peaks, just add confectioners’ sugar, one spoonful at a time, until it’s nice and thick. On the flip side, if you add too much sugar and it gets stiff and crumbly, a tiny splash of milk or even heavy cream will bring it right back to a beautifully spreadable stage. You want it firm enough not to run off, but soft enough to glide smoothly over that chilled cake.
The Importance of Cooling Before Soaking
I mentioned it before, but seriously, heed this warning: the cake must be completely cool before you start poking holes and pouring the peanut butter soak in. If that cake is even slightly warm, the high fat and sugar content in the soak will melt right into the cake structure, turning that delightful sponge into one big, dense, gummy mess. We want deep moisture absorption, not a structural collapse! Wait until it’s totally room temperature or even slightly chilled before you start poking.
If you want to explore more about my philosophy on baking and sourcing ingredients, you can always read up on my little corner of the world here: Read more about my kitchen philosophy.
Variations on Your Box Mix Glow-Up: Fancy Finishes
Part of the fun of doing a Box Mix Glow-Up: Fancy Finishes is making it completely yours! Since we’re already going off-book with the soak, why stop there? This formula is so adaptable that you can totally change up the base flavor profile while keeping that amazing, moist texture we worked hard to achieve. It’s about unleashing your inner artist in the oven!
Swapping the Cake Base and Soak Flavor
If peanut butter isn’t your absolute favorite thing, don’t worry! You can swap out that chocolate mix for a nice yellow cake mix or spicy autumn spice mix. When you do that, you’ll want to change the soak, too. Imagine using a rich, buttery caramel sauce as your soak instead of peanut butter. Or maybe a slightly tangy cream cheese-based soak for a white cake? Wow, the possibilities are endless when you start thinking outside the box!
Creative Topping Ideas for Easy Elevation
The whole point is to reach that state of Easy Elevation, right? So, if peanut butter cups aren’t calling your name this week, try something totally different! Crushed pretzels sprinkled over a slightly salty caramel frosting add the most fantastic crunch. Or maybe grab some contrasting dark chocolate shavings or even some tart dried cherries for a pop of color.
For more ways to make your baking lighter without sacrificing flavor, take a peek at some of my calorie-smart ideas! Every little switch makes it uniquely yours.
Storage and Reheating for Your Box Mix Glow-Up: Fancy Finishes
Because this cake relies on that super rich peanut butter soak, it needs to be stored correctly to keep that gooey texture perfect. You have to keep leftovers covered tightly in the refrigerator. Seriously, don’t leave it out on the counter—it’s too moist and rich. It keeps really well in the fridge for about four or five days, which is amazing for leftovers!
Now, about reheating? Skip it! Trying to microwave this will ruin the beautiful texture of the frosting and probably make the soaked cake part a little weird. I always just serve a slice cold, straight from the fridge, so you get that lovely, firm texture contrast between the cake and the creamy topping. Enjoy it cool, trust me!
Frequently Asked Questions About Box Mix Upgrade
It’s totally normal to have questions when you start tinkering with a recipe, even when it’s a super easy Box Mix Upgrade like this one! I’ve gathered the ones I get asked most often below. Hopefully, this helps you feel super confident when you start decorating!
Can I use a different type of cake mix for this Box Mix Upgrade?
Oh, absolutely you can! That’s the beauty of this method. You could use a yellow cake mix or a spice cake mix for a completely different vibe. The only thing I’d urge you to do is adjust your soak and frosting flavors to match the cake. For example, if you use a yellow cake, perhaps swap the peanut butter for a really nice salted caramel sauce for the soak, and use a caramel-flavored buttercream for the frosting. Keeps everything tasting cohesive!
How thick should the frosting be before spreading?
This is important for that lovely smooth top! You want the frosting to be about the consistency of really thick hummus or maybe soft paste that holds its peaks when you lift your whisk or spoon out of it. It needs to be firm enough that when you spread it over the chilled cake, it doesn’t just immediately run down the sides. If it’s too soft, it’ll just smear the cake instead of sitting nicely on top. Keep adding that confectioners’ sugar until you’re happy with the body!
Do I need to use the full amount of the peanut butter soak?
I wrote the recipe to call for the full amount because I love a cake that is absolutely saturated with flavor and moisture—I want that soak to feel decadent! However, if you find yourself worried about the cake getting too heavy or you prefer a slightly lighter texture, you can definitely pull back. Maybe only use 1.5 cups of the mixture for the poke holes instead of the full 2 cups. Just test it as you pour; you want the holes filled, but you don’t want a puddle forming on the surface of the cake!
If you have any other burning questions about making the best cake from a box, feel free to reach out to me anytime using the contact form! You can send me a note here.
Estimated Nutritional Information
Now, let’s talk fuel! Because we added that rich peanut butter soak and decadent frosting, this cake is certainly an indulgence, not a light snack. These numbers are just estimates based on the typical ingredients we used, so if you swap out the cookies, the totals might shift a bit. Remember, this is a special occasion treat, made with love! Always check your own ingredient labels if you have strict dietary needs.
- Calories: 360 per piece
- Fat: 16g
- Protein: 7g
- Carbohydrates: 49g
- Sugar: 40g
Enjoy every rich bite!
Share Your Box Mix Creations
Look, I poured my heart into showing you how to jazz up that humble box mix, but the real fun starts when you take these ideas and make them your own! Have you tried making this peanut butter delight? I truly hope it was a hit for you and your crew.
Don’t keep this amazing little secret to yourself! I absolutely love hearing about what you change up. Did you go wild with the toppings? Maybe you swapped the chocolate cake for vanilla and used something totally unexpected in the soak? Tell me everything! Drop a comment below and let me know how your Box Mix Glow-Up: Fancy Finishes turned out and what your favorite personal touch was.
If you snap a picture of your incredible creation—don’t forget to tag me! Seeing your beautiful, gourmet-looking cakes gives me such a thrill. It proves that anyone can bring a little bit of art into their kitchen!
If you’re on the hunt for even more simple techniques and flavor boosters, you can always bounce back over to the main recipes page. Happy baking, and I can’t wait to see what you’ve made! Check out more easy baking projects here.

Box Mix Glow-Up: Fancy Finishes
Ingredients
Equipment
Method
- Preheat your oven to 350°F (175°C). Prepare the cake mix according to the package directions. Add 1 teaspoon of vanilla extract and the salt to the batter before mixing. Pour the batter into a greased 13×9-inch baking pan. Bake and cool the cake completely as directed on the package.
- In a mixing bowl, whisk together the creamy peanut butter and the sweetened condensed milk until well blended. Using the blunt end of a wooden spoon handle, poke holes in the cooled cake about 2 inches apart. Slowly pour 2 cups of the peanut butter mixture over the cake, ensuring it fills each hole.
- Cover the cake and the remaining peanut butter mixture. Refrigerate both for 2 to 3 hours, until the cake is cold.
- In a separate bowl, combine the remaining 1 teaspoon of vanilla extract with the reserved peanut butter mixture. Gradually beat in enough confectioners’ sugar to achieve a spreadable consistency. Spread this frosting evenly over the chilled cake.
- Decorate the top of the cake with your chosen toppings, such as chopped peanut butter-filled sandwich cookies or peanut butter cups. Refrigerate any leftovers.
Nutrition
Notes
Tried this recipe?
Let us know how it was!
Urban Forager & Hyperlocal Ingredient Specialist
My Brooklyn apartment balcony tells my story: vertical gardens packed with wild edibles, fermentation crocks bubbling with city-foraged greens, and the constant hum of dehydrators preserving herbs I’ve collected from unexpected urban corners. What started as weekend escapes to my aunt’s upstate farm during my Columbia botany studies turned into something bigger after I earned my Urban Ecology Master’s from The New School.
Instead of following traditional academic paths, I discovered that cities are actually amazing edible ecosystems—rooftop weeds, park-edge wild greens, vacant lot treasures that perfectly complement keto eating. Who knew that some of the best low-carb foods were growing right under our noses in Manhattan?
My recipe collections celebrate city seasons: spring dandelions and plantains, summer purslane from rooftops, autumn rose hips from community gardens, winter wild onions and cress. I’m certified through the New York Mycological Society and trained by Brooklyn Botanic Garden to forage safely and ethically. Over 180 of my recipes feature at least one urban-foraged ingredient—from sidewalk plantains to sumac berries and wild mint thriving in vacant lots.
My “Metropolitan Wild” column went viral after my dandelion coffee substitute hit social media. Now my weekend “Urban Wild Walks” through Central Park and Prospect Park sell out faster than I can schedule them. I teach city dwellers to spot safe, keto-friendly wild foods hiding in plain sight.
Currently, I’m partnering with local chefs to bring urban foraged elements to restaurant menus and developing an app that maps safe foraging spots across all five boroughs. Evenings find me tending my sourdough starters, pressing flowers for natural dyes, or weaving baskets from willow branches I collect during park maintenance.
Cities are wild food sanctuaries hiding in plain sight—keto eating becomes urban rebellion when you realize how much free, perfect nutrition grows right under our feet.