
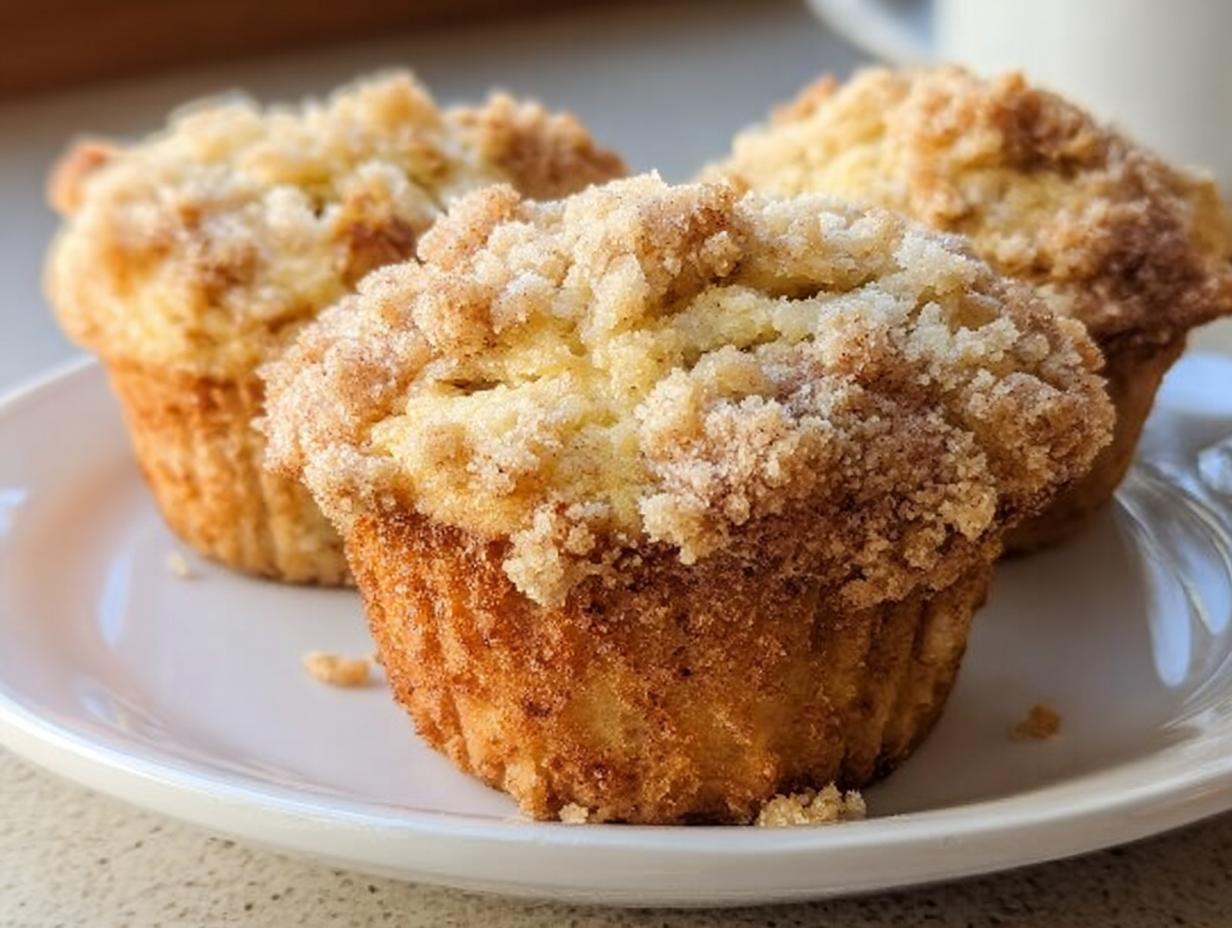
Doesn’t it just make your heart sing when you bite into a muffin that tastes exactly like your favorite local bakery? You know, the kind with that gorgeous, high, slightly cracked dome? Most home recipes just fall flat, but not this one! Achieving that perfect texture and incredible height is actually way easier than you think, I promise. I still remember the first time I stepped into my aunt’s upstate kitchen; the rich scent of freshly baked banana muffins was wafting through the air. It was a sensory reprieve that ignited my passion for baking. Now, when I bake Banana Muffins (Bakery Style) in my tiny Brooklyn kitchen, it’s a tribute to those memories, filling my home with warmth and pure joy.
Why These Banana Muffins (Bakery Style) Are Your New Favorite Breakfast Muffins
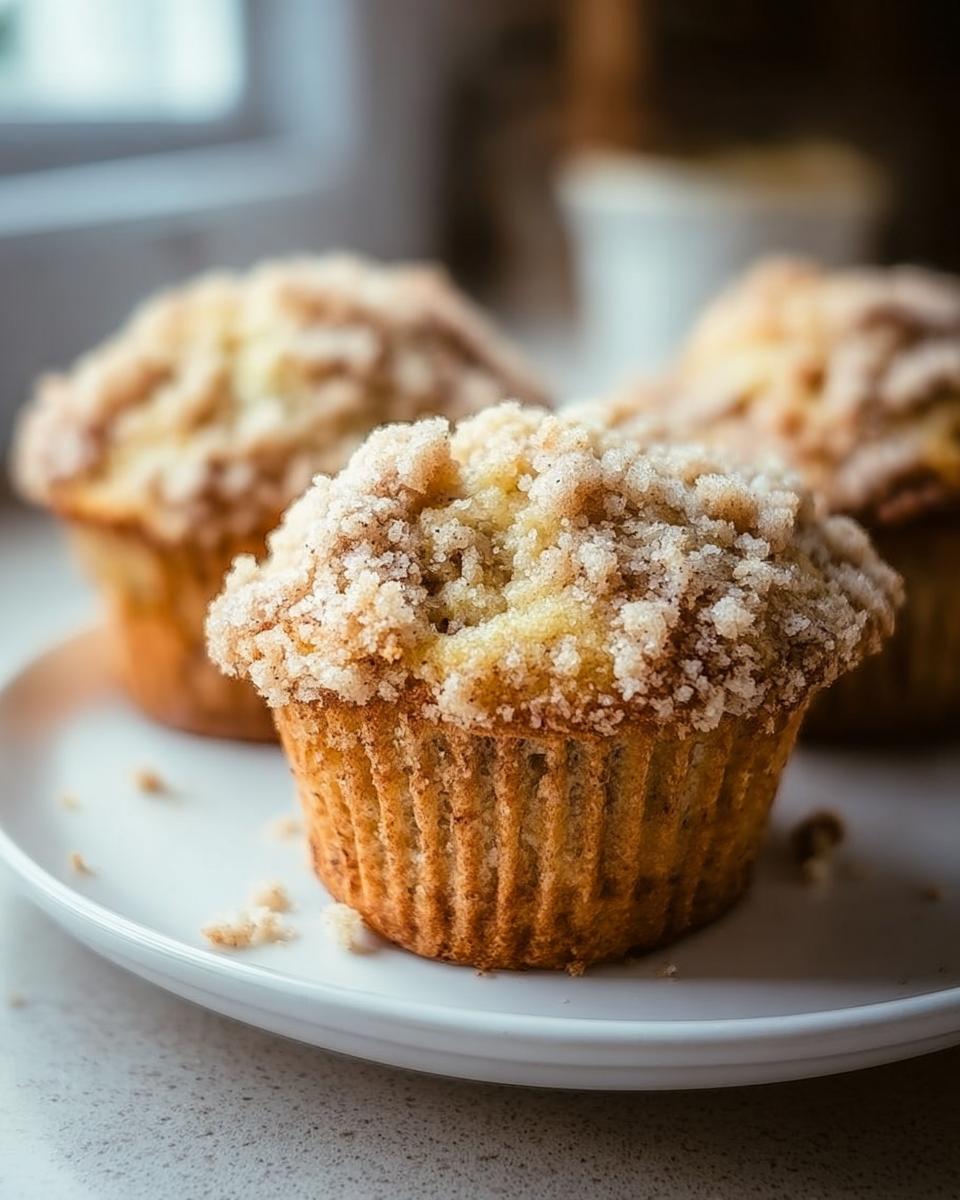
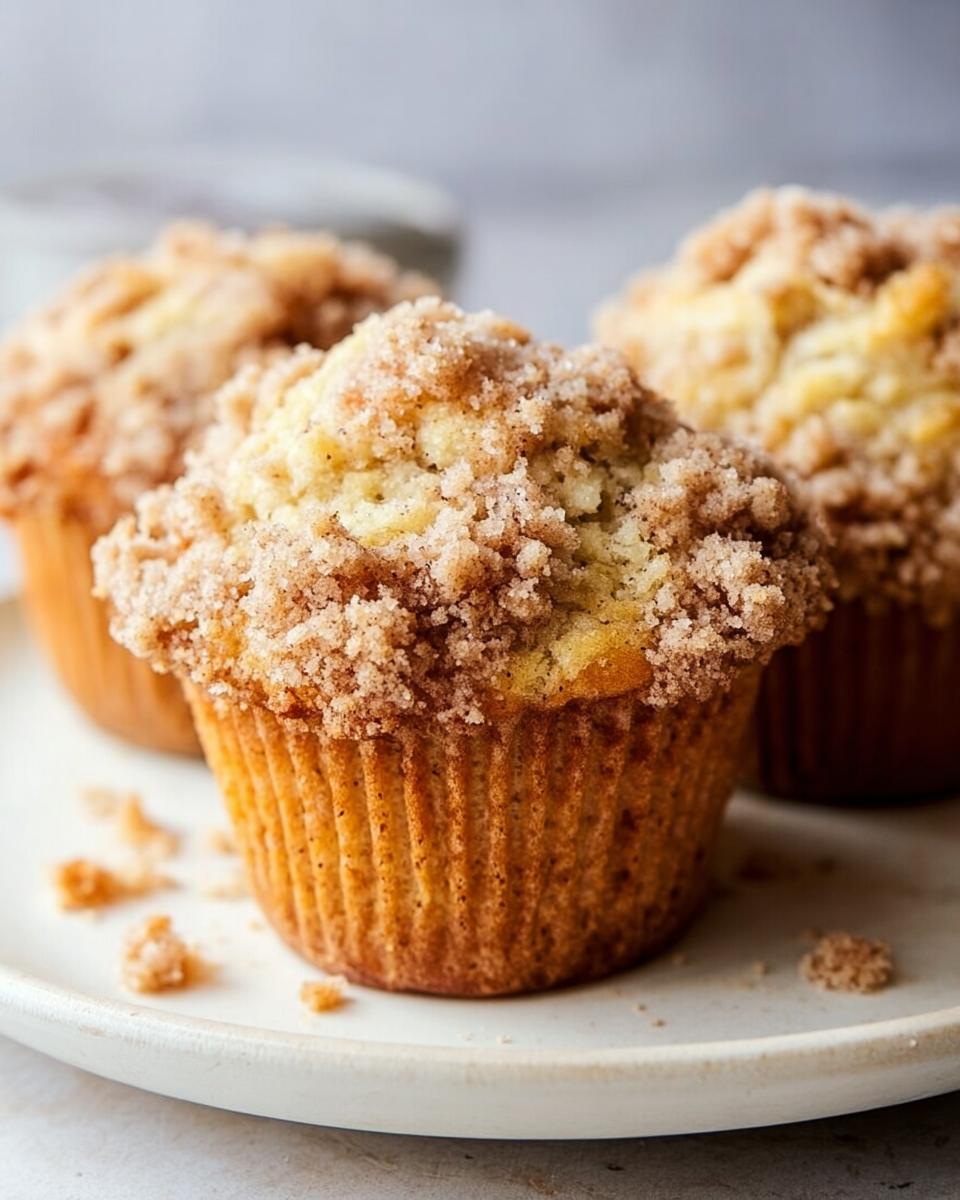
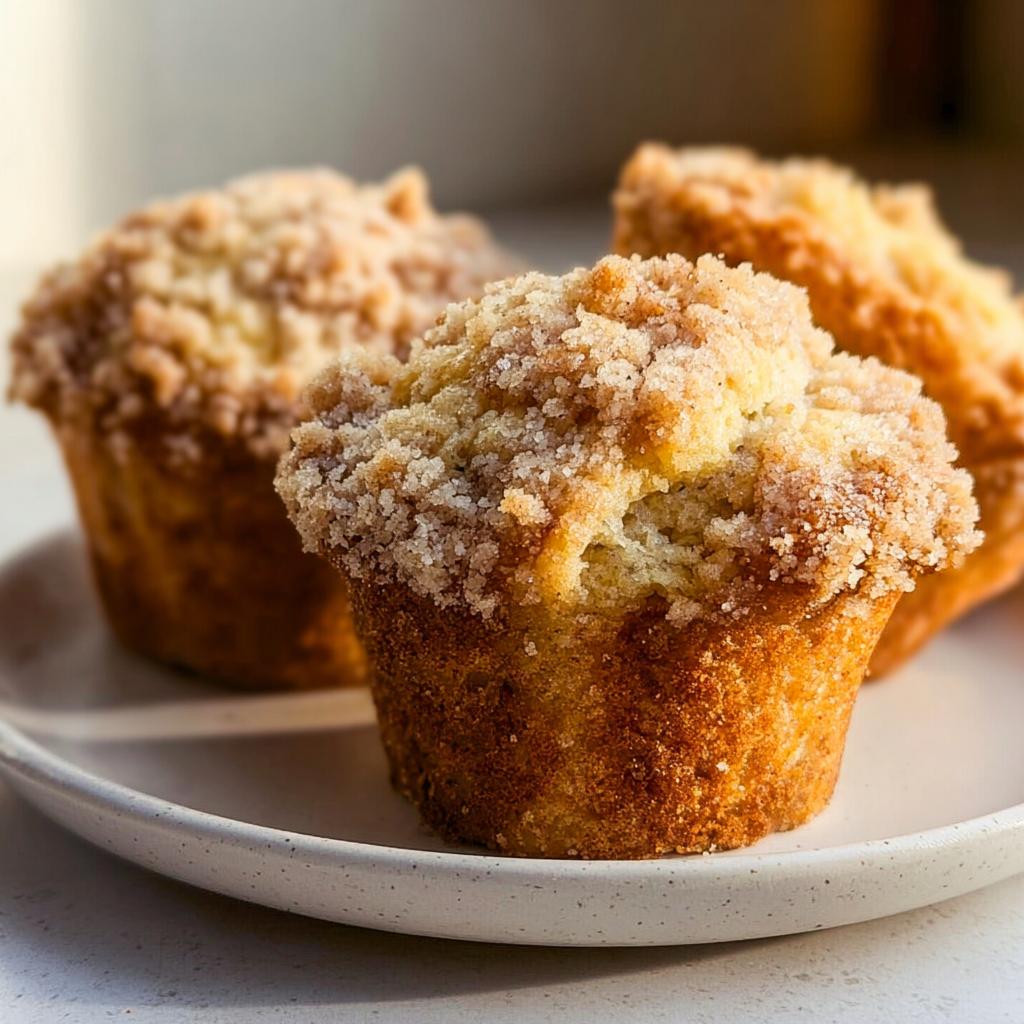
If you’ve ever felt let down by a muffin that was too small or crumbled apart before you even got a fork in it, get ready to rest easy! These Banana Muffins (Bakery Style) hit every single mark: they are rich, unbelievably moist, and they smell just like the best local spot down the street.
- You get that stunning, high dome every single time.
- The flavor is deep and perfectly banana-forward, never tasting bland.
- They stay fresh for days, which is perfect for quick breakfasts.
Achieving Perfect Tall Domes
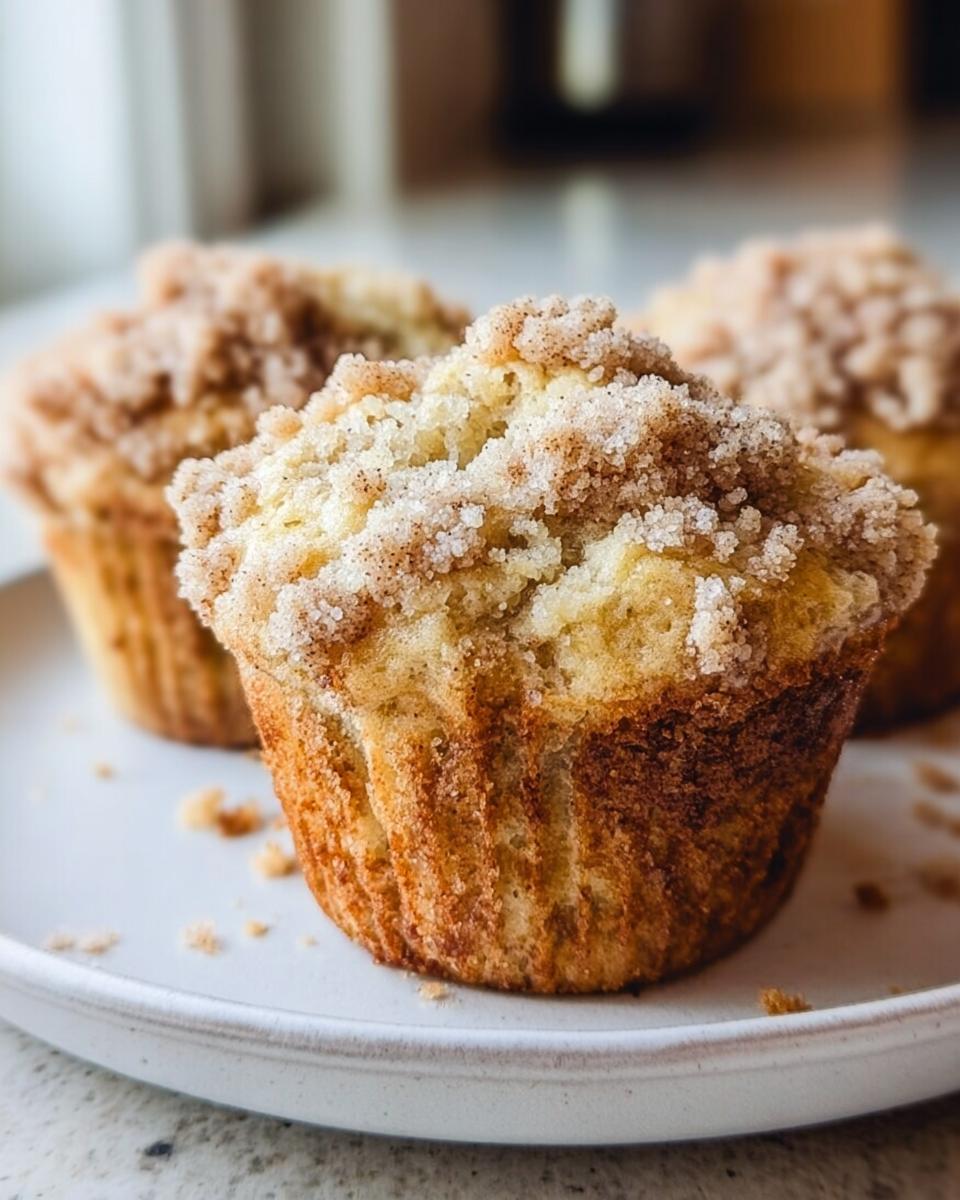
That impressive height comes down to two things we do in the instructions: a very hot oven blast at the start, and making sure your baking powder and soda are fresh! That initial blast of heat sets the outer structure fast, forcing the center up before it has a chance to deflate. It’s pure oven magic, honestly.
Moisture Secured: The Secret to Great Banana Muffins (Bakery Style)
The secret weapon for serious moistness in these Banana Muffins (Bakery Style) is actually twofold. First, we use buttermilk—that little bit of acid reacts beautifully with the baking soda. Second, we use both oil *and* melted butter. The oil keeps things tender long-term, while the butter gives us that irreplaceable richness that makes them taste totally homemade and luxurious!
Essential Equipment for Bakery Style Banana Muffins
You don’t need a commercial kitchen to get bakery results, thankfully! But setting yourself up with the right tools does make the whole process smoother and helps us achieve those gorgeous, even bakes. Because we are aiming for that professional look, having the right containers is crucial, even for a quick bake like this!
Here’s what you absolutely need on your counter before you even start peeling those bananas:
- You’ll definitely need a standard muffin tin—don’t skip lining it!
- Grab some paper liners. While you *can* grease the tin, those liners help the muffins bake higher and release cleaner.
- A large bowl for all the wet ingredients once they’re combined.
- A simple fork for getting the mashing process started.
- A reliable potato masher. This guy is essential for smoothing out the banana lumps that a fork leaves behind.
- A medium-sized bowl dedicated just to whisking your dry components together.
- If you’re making the streusel, a pastry cutter is your best friend for cutting that cold butter into the flour mixture evenly.
See? Nothing too crazy! Having everything measured and ready streamlines the whole process so you can go from mixing to the hot oven in literally fifteen minutes flat.
Ingredients for the Ultimate Banana Muffins (Bakery Style)
Measurements are everything when you’re chasing that bakery feel, and the right ingredients make all the difference in these Banana Muffins (Bakery Style). I’ve learned that fussy ingredients sometimes aren’t the secret—it’s how you treat the basics! Make sure you have your bananas perfectly ripe—black spots are your friend here—and definitely measure your brown sugar correctly; it needs to be packed tightly into the cup for that caramel depth.
Here is what you need for a batch of about 15 gorgeous muffins. Remember to let your melted butter cool for just a few minutes before adding it to the wet ingredients, or you might scramble those eggs!
For the Muffins:
- Well-mashed ripe bananas: 1.5 cups (This is usually about 3 large bananas for me.)
- Oil (Avocado, vegetable, or canola): 0.25 cup
- Unsalted Butter: 0.25 cup, melted and cooled at least 5 minutes
- Sugar: 0.5 cup
- Light Brown Sugar: 0.5 cup, tightly packed
- Eggs: 2 large, room temperature preferred
- Buttermilk: 0.25 cup, room temperature preferred
- Vanilla Extract: 1 Tablespoon
- All-Purpose Flour: 2 cups
- Baking Powder: 1.5 teaspoons
- Baking Soda: 0.5 teaspoon
- Salt: 0.5 teaspoon
We are aiming for maximum flavor here, which is why we use both sugars and that little bit of buttermilk to wake everything up. Trust me, this combination is what separates a good muffin from the best muffin you’ve ever had! If you want to see other inspiring recipes, check out this one for ideas!
For the Streusel Topping (Optional)
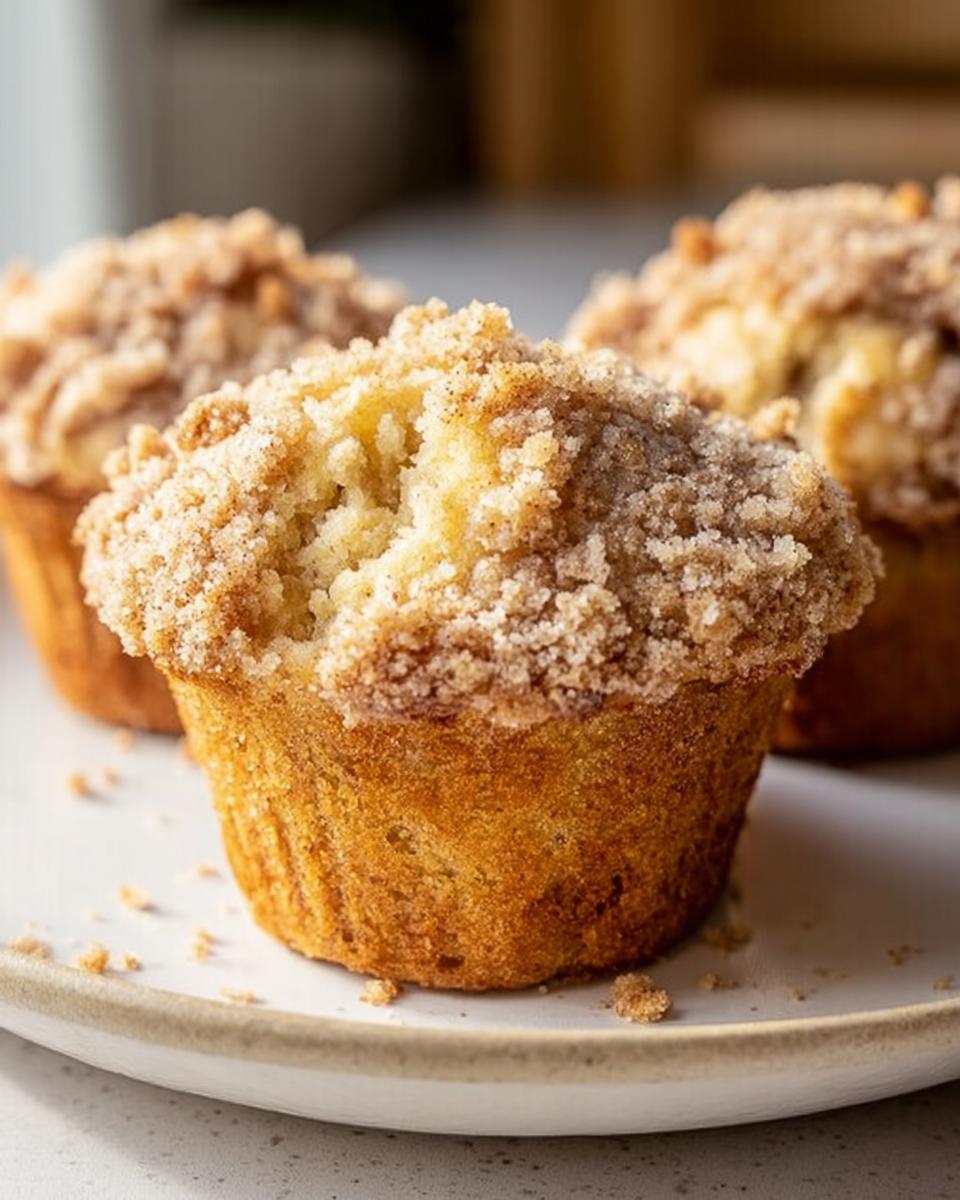
This topping is totally optional, but why skip out on crunch? If you are feeling fancy, whip this up while your oven preheats. The absolute most important thing here is using cold butter. When you cut that cold butter into the flour and sugar mixture with a pastry cutter, you get those tiny, lovely chunks that melt into glorious little crunchy pockets on top.
- All-Purpose Flour: 0.5 cup
- Brown Sugar: 0.5 cup
- Salt: 0.25 teaspoon
- Unsalted Butter: 0.25 cup, cold
Step-by-Step Instructions for Quick Bake Banana Muffins (Bakery Style)
We’re aiming for speed here! Seriously, you can have these ready to go in about 35 minutes total time—prep and bake included. That’s why we call them our quick bake favorites! The key to getting those beautiful, towering tops on your Banana Muffins (Bakery Style) starts with mixing, but it ends in the oven. Follow these steps precisely, and you’ll see why they taste like they came straight from a professional oven.
Mixing Wet and Dry Components
First, you need to mash those bananas really well in a large bowl. I find using a fork for the initial mash, then hitting it hard with a potato masher, gets that perfect consistency. Mix in your oil, slightly-cooled melted butter, and sugars. Then, toss in your eggs, buttermilk, and vanilla, stirring everything until it looks happy.
Now for the dry stuff! Whisk your flour, baking powder, baking soda, and salt in a separate bowl. This is where you have to be gentle. Add the dry mix to the wet batter and fold it in—and I mean fold! You are just aiming to combine everything. As soon as you don’t see big streaks of flour anymore, STOP. Over-mixing develops gluten, and gluten is the enemy of a tender muffin. We want tender!
Scoop that batter into your prepared liners, filling them about ¾ full. If you are using the streusel, sprinkle it evenly over the top now.
The Critical Two-Temperature Bake Technique
This part is non-negotiable if you want those amazing vertical domes! Start by preheating your oven to a screaming hot 425F (220C). Bake the muffins there for exactly 8 minutes. This high heat acts like a spring, forcing the edges to set quickly. It’s vital you don’t touch them in this phase!
Right after those 8 minutes are up, without opening the door if you can help it, drop the temperature down to 350F (175C). Reduce the heat and bake for another 7 to 8 minutes. Do not open that oven door during the second baking phase! If you let that hot air escape, those beautiful domes you worked so hard to create are going to collapse flat. Check with a toothpick when done, and you’re ready to pull them out. You’ll find more baking inspiration over at this link.
Tips for Success with Bakery Style Banana Muffins (Bakery Style)
Baking is science, but it’s also gut feeling, right? When you’re aiming for those perfect Banana Muffins (Bakery Style), the little details matter way more than you think. I’ve tested this recipe dozens of times, swapping out temperatures and ingredients, and I found that a few simple preparatory steps make the difference between a good muffin and a showstopper.
The single biggest tip I can give you for moisture and even rising involves temperature. You’ll notice I specifically called for room-temperature eggs and buttermilk. Why? Cold ingredients shock the creamed butter and sugar mixture, which deflates those tiny air bubbles we worked so hard to incorporate during creaming. When the ingredients are the same temperature, they blend smoothly into one cohesive, happy batter.
Another huge factor is your bananas. If your bananas are just yellow, they won’t give you that deep, rich flavor or enough liquid. You are looking for bananas that are basically turning black, spotted with deep brown goo. Those are the champions! If they aren’t quite there, don’t panic. You can speed-ripen them! Just pop the unpeeled bananas onto a baking sheet and bake them at 300F for about 15 to 20 minutes until the skins are totally black. Let them cool completely before peeling and mashing. It concentrates the sugar and moisture beautifully.
Don’t forget the mixing rule we talked about! When you introduce the dry ingredients, treat them delicately. Folding is key. If you stir until everything is perfectly smooth, you’re going to end up with tough, dense little hockey pucks instead of light, lofty Banana Muffins (Bakery Style). Stop mixing when you still see a few dry streaks. Those streaks disappear as the batter rests and steams in the oven, keeping things super tender.
If you want great ideas for using up extra ingredients, check out how I make a fantastic weeknight meal over at this link. Happy baking!
Storage and Reheating Instructions for Banana Muffins
Okay, you’ve successfully baked a batch of these glorious, tall-domed beauties! Now, the real struggle begins: how do you make sure they stay tasting just as amazing tomorrow morning? Because we packed so much moisture into these muffins, they actually hold up really well, but you still need a little strategy.
Rule number one—and this is important for any really moist baked good—is to let them cool completely before you even think about putting them away. Putting warm muffins into a sealed container is just asking for soggy bottoms and possible mold growth later. Set them on a wire rack until they feel completely cool to the touch, which usually takes about 20 minutes after they come out of the pan.
For storage, I always go for an airtight container. You can keep them on the counter at room temperature for about 3 days, and they honestly stay soft the whole time because of that oil and buttermilk. If you end up with more than you can eat in three days (lucky you!), they freeze like a dream! Just wrap each individual muffin tightly in plastic wrap, then pop them all into a freezer-safe bag. They last great for up to three months.
When it’s time to enjoy a frozen treat, just pull one out and let it defrost on the counter for an hour or so. If you’re impatient like me, a quick zap in the microwave—maybe 10 to 15 seconds—will bring back that fresh-from-the-oven warmth like magic. If you managed to make a batch that didn’t quite get as brown as you wanted, try searching for my recipe on quick turkey skillets right here for dinner inspiration!
Frequently Asked Questions About Banana Muffins (Bakery Style)
I get so many wonderful messages about this recipe, and honestly, most of the questions circle back to the same few things! We definitely want you to have success achieving those glorious Banana Muffins (Bakery Style). Here are the answers to what I hear most often.
Can I make these Banana Muffins without the streusel topping?
Absolutely, you can! If you’re short on time, or maybe you just aren’t a huge fan of the crunchy texture, skip the streusel entirely. Just sprinkle the tops with a tiny bit of coarse sugar or cinnamon sugar before baking. What you’ll notice, though, is that the tops might not rise quite as dramatically without the streusel holding them in place during that initial high heat blast. They will still be delicious, moist Breakfast Muffins, just slightly less of a showstopper visually!
What is the best way to ripen bananas quickly for these Breakfast Muffins?
This is such a common kitchen emergency! If I look in my fruit bowl and my bananas are still pale yellow when I’m craving these muffins, I use my oven trick. It mimics Nature doing the hard work but in about twenty minutes. Lay your unpeeled bananas right on a baking sheet—yes, skins and all—and pop them into a 300F (150C) oven. Keep an eye on them; you want the skins to turn completely black and look bruised, maybe about 15 to 20 minutes. Once they are cool enough to handle, you peel them, and they are mushy, sweet perfection, ready to go into your batter for amazing flavor!
If you’re looking for other amazing, time-saving comfort foods for busy weeknights, you might enjoy my lightened-up recipe for creamy turkey stroganoff over at this link. Happy baking!
Estimated Nutritional Information for Banana Muffins (Bakery Style)
Now listen, I’m a baker, not a nutritionist, so please take this information with a grain of salt—or maybe a pinch of that delicious streusel topping! These numbers are just the best guesstimate based on the ingredients listed in the recipe for one of these gorgeous Banana Muffins (Bakery Style). If you start swapping out oil for applesauce or using almond flour, these values are obviously going to change big time.
I always look at the nutrition label just to make sure I’m not eating ten of them in one sitting, but honestly, knowing these are packed with real fruit and butter makes them better than the store-bought stuff, right?
Based on our ingredient list (and yielding about 15 muffins total), here is what one muffin estimates:
- Calories: 281
- Carbohydrates: 43g
- Protein: 3g
- Fat: 11g
- Saturated Fat: 5g
- Cholesterol: 42mg
- Sodium: 173mg
- Fiber: 1g
- Sugar: 24g
If you are looking for something heartier for dinner after you’ve had a couple of these muffins for breakfast, you might want to try my one-pot turkey taco skillet recipe over at this link. It’s a lifesaver on busy days!
Remember, this is just a guideline! If you’re baking for specific dietary needs, you’ll want to run the exact ingredients you used through your favorite tracking app. But generally speaking, these homemade Banana Muffins (Bakery Style) are a wonderfully rich breakfast treat!
Share Your Homemade Bakery Creations
Okay, now it’s your turn! Seeing those gorgeous, towering domes on your own batch of Banana Muffins (Bakery Style) is the absolute best reward for all this hard work. I really, truly want to see what you create in your kitchen!
Please don’t keep all that deliciousness a secret. Snap a photo when they come out of the oven—those tall tops are begging for a picture! Tag me on social media so I can cheer you on. It makes my entire day to know that something I shared helped bring that wonderful, comforting bakery smell into your home.
Tell Me What You Think!
If you followed along, I would be so grateful if you could drop a rating on the recipe down below! Letting others know that this technique worked for you helps build our little baking community. Were the domes as high as you hoped? Did your family devour them before breakfast was even over?
And please, leave a comment! Tell me what modifications you made—did you add chocolate chips like I sometimes do? Did you stick with the streusel or skip it? Every comment helps me refine these recipes and keeps the conversation going.
If you finish your last muffin and suddenly realize it’s only 5:00 PM and you need another recipe to tackle, don’t stress! You can check out my incredibly easy recipe for turkey meatballs in marinara right here. Happy cooking, and I can’t wait to see those beautiful bakery bakes!
Banana Muffins (Bakery Style)
Ingredients
Equipment
Method
- Preheat your oven to 425F (220C) and line a muffin tin with paper liners.
- Place peeled bananas in a large bowl and mash them with a fork or potato masher until well-mashed.
- Add oil and melted butter, then stir well.
- Stir in sugars until well-combined.
- Add eggs, buttermilk, and vanilla extract, then stir well. Set this mixture aside.
- In a separate bowl, whisk together the dry ingredients: flour, baking powder, baking soda, and salt.
- Add the dry ingredients to the wet batter and gently fold them in until just combined. Do not over-mix the batter.
- Portion the batter into the prepared muffin tin, filling each liner ¾ of the way full. Set aside and prepare your Streusel topping.
- For the Streusel Topping: Combine flour, brown sugar, and salt in a medium-sized bowl and stir with a fork.
- Using a pastry cutter, cut in the cold butter until the mixture resembles coarse crumbs.
- Sprinkle the streusel topping evenly over each muffin.
- Bake the muffins at 425F (218C) for 8 minutes. Then, reduce the oven temperature to 350F (175C) and bake for another 7-8 minutes. Do not open the oven door or remove the muffins during this time.
- Test for doneness by inserting a toothpick into the center of the largest muffin. It should come out clean or with a few moist crumbs, but no wet batter.
- Allow the muffins to cool before enjoying.
Nutrition
Notes
Tried this recipe?
Let us know how it was!
Urban Forager & Hyperlocal Ingredient Specialist
My Brooklyn apartment balcony tells my story: vertical gardens packed with wild edibles, fermentation crocks bubbling with city-foraged greens, and the constant hum of dehydrators preserving herbs I’ve collected from unexpected urban corners. What started as weekend escapes to my aunt’s upstate farm during my Columbia botany studies turned into something bigger after I earned my Urban Ecology Master’s from The New School.
Instead of following traditional academic paths, I discovered that cities are actually amazing edible ecosystems—rooftop weeds, park-edge wild greens, vacant lot treasures that perfectly complement keto eating. Who knew that some of the best low-carb foods were growing right under our noses in Manhattan?
My recipe collections celebrate city seasons: spring dandelions and plantains, summer purslane from rooftops, autumn rose hips from community gardens, winter wild onions and cress. I’m certified through the New York Mycological Society and trained by Brooklyn Botanic Garden to forage safely and ethically. Over 180 of my recipes feature at least one urban-foraged ingredient—from sidewalk plantains to sumac berries and wild mint thriving in vacant lots.
My “Metropolitan Wild” column went viral after my dandelion coffee substitute hit social media. Now my weekend “Urban Wild Walks” through Central Park and Prospect Park sell out faster than I can schedule them. I teach city dwellers to spot safe, keto-friendly wild foods hiding in plain sight.
Currently, I’m partnering with local chefs to bring urban foraged elements to restaurant menus and developing an app that maps safe foraging spots across all five boroughs. Evenings find me tending my sourdough starters, pressing flowers for natural dyes, or weaving baskets from willow branches I collect during park maintenance.
Cities are wild food sanctuaries hiding in plain sight—keto eating becomes urban rebellion when you realize how much free, perfect nutrition grows right under our feet.