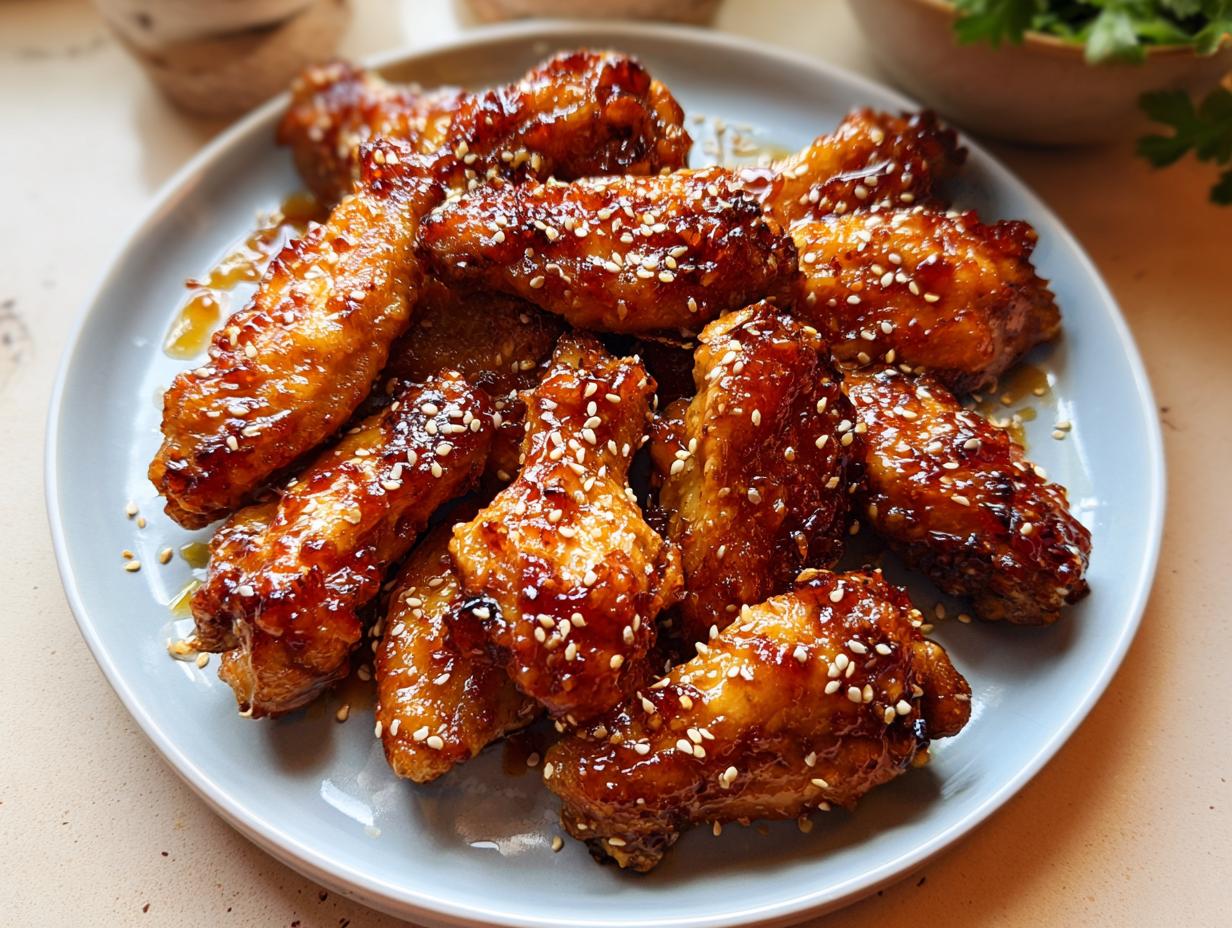
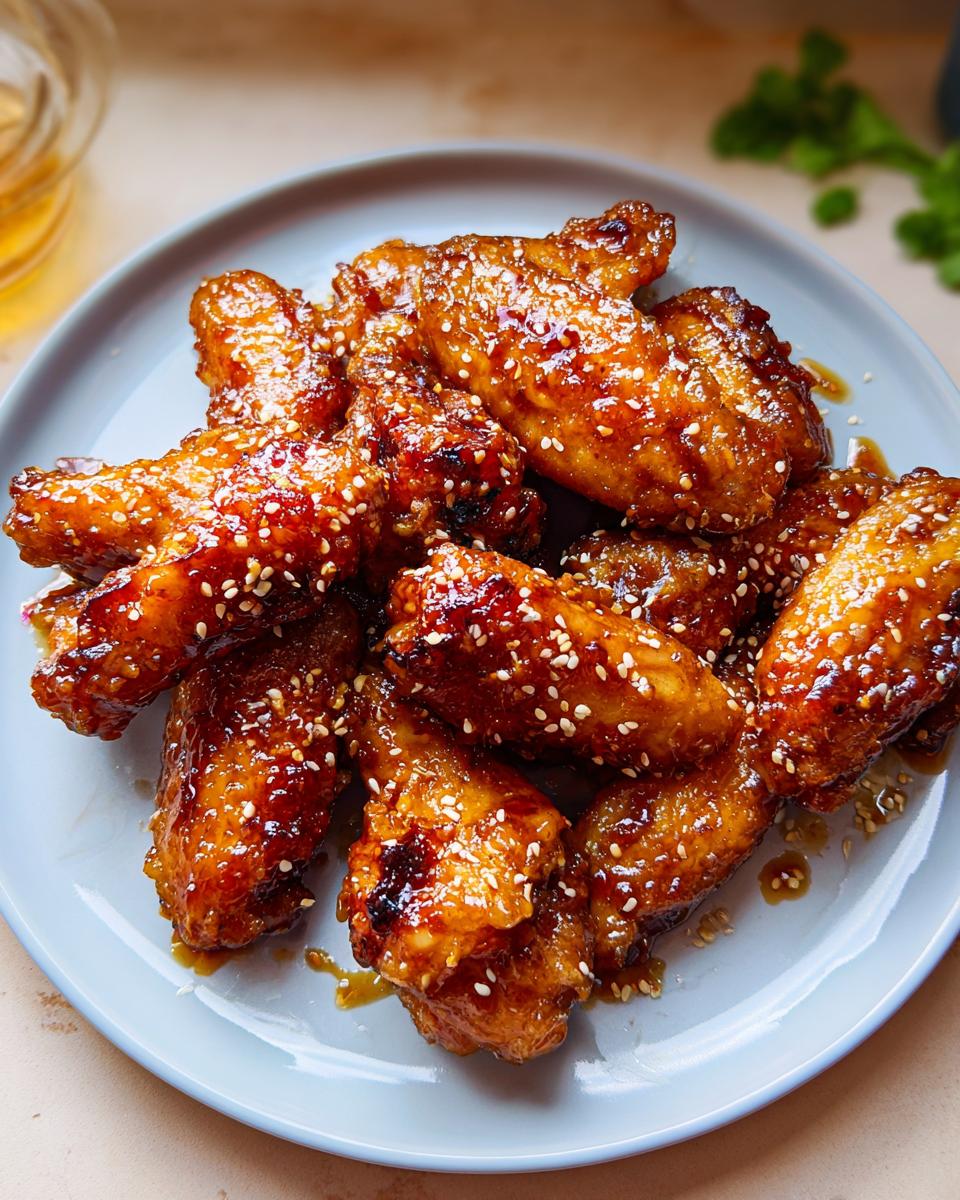
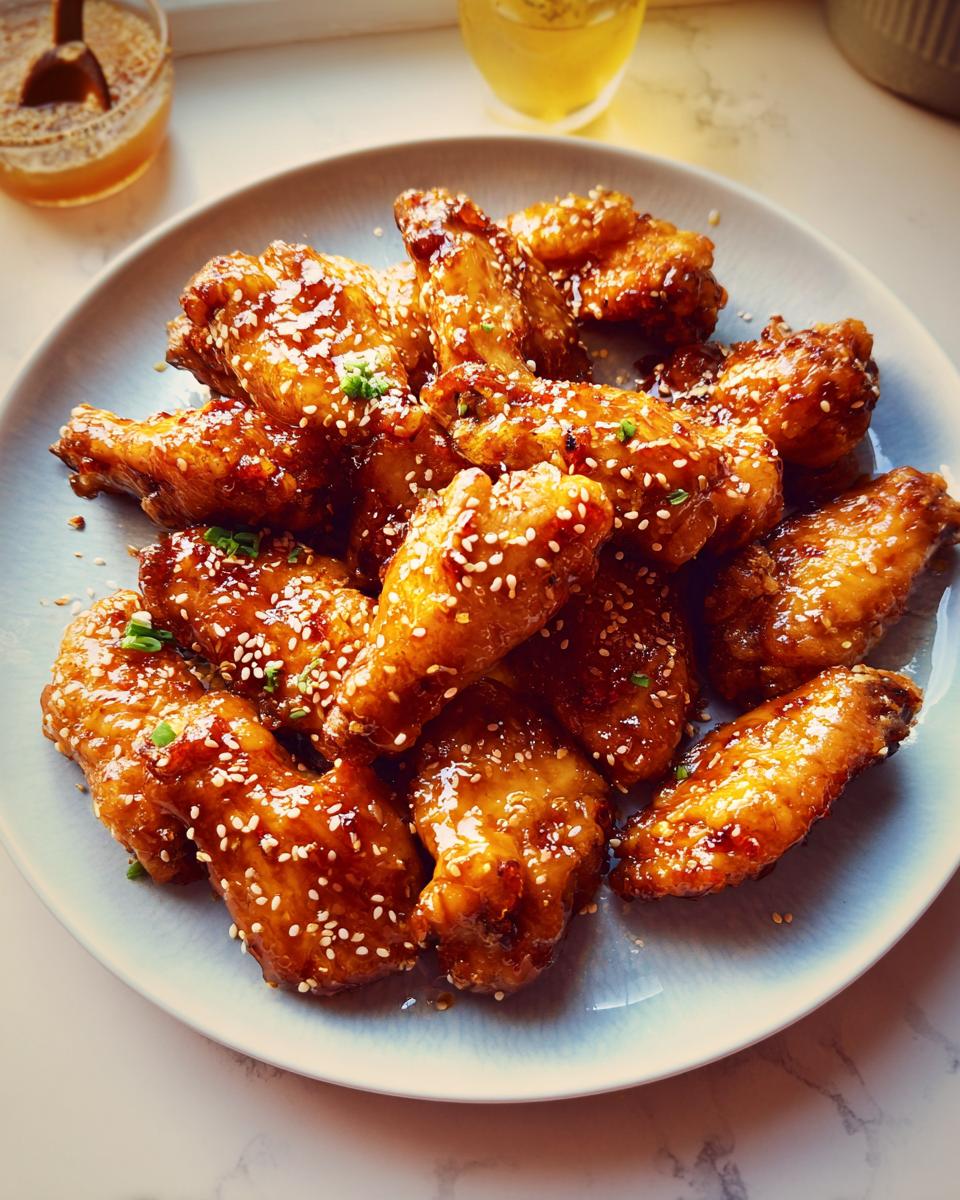
Oh, that moment when that savory, sweet craving hits you, right? You know the one—the sticky, glazed goodness of wings that instantly makes you feel like you’re at the best summer barbecue ever. I know I do! That memory of laughing with friends over messy fingers is what drove me to perfect my version of Honey Garlic Sticky Chicken Wings. When I switched things up for dietary reasons, recreating that classic, flavor-packed experience felt crucial. Trust me, seeing those wings come out perfectly golden and absolutely dripping with that amazing sauce makes all the effort worth it. I can’t wait for you to try this recipe, which is perfect for any home cook! You can find more of my flavor adventures anytime over at my recipe index.
This version is packed with flavor but simple enough for a weeknight or a party centerpiece. Cooking is all about recreating those happy food memories, and this recipe delivers that nostalgia in spades. I poured so much love (and testing!) into getting that perfect balance of sweet honey and sharp garlic.
Why You Will Love These Honey Garlic Sticky Chicken Wings
Honestly, once you nail the technique, these wings fly off the plate! I keep them in my easy rotation for a reason. You’re going to fall in love with how simple they are to handle, even though they taste super gourmet. Here are the main reasons I think you’ll keep coming back to this specific recipe:
- They actually get crispy! We manage texture without deep frying, which is huge for me.
- The sauce is perfectly balanced—sweet without being cloying, savory with a nice punch.
- They are absolute show-stoppers, making them classic crowd pleasing appetizers for any gathering.
- The whole recipe comes together faster than you think, which is great for those busy nights.
- It’s an incredibly reliable sweet and savory recipe; you get that authentic flavor every single time.
Essential Equipment for Perfect Honey Garlic Sticky Chicken Wings
You don’t need a ton of fancy gadgets for these wings, which is the best part! I always pull out my reliable oven and a sturdy baking sheet first. For the sauce, you’ll need a small saucepan to get that sticky texture just right. Don’t forget a good mixing bowl too!
Here’s my little secret for max crispiness: if you have a wire rack that fits inside your baking sheet, use it! Elevating the wings lets the air circulate completely underneath. You can see more great tips for kitchen tools over at my guide!
- Oven
- Baking Sheet (with a handy wire rack if you own one!)
- Small Saucepan
- Mixing Bowl
Gathering Ingredients for Your Honey Garlic Sticky Chicken Wings
Alright, let’s talk ingredients! This is where we set ourselves up for success. Before you touch anything, and I mean *anything*, grab a stack of paper towels. You absolutely must dry those wings completely! Any moisture left clinging to them is the enemy of crispiness. Seriously, pat them down like they insulted your favorite chef; it pays off big time later. You can find some other quick ingredient list inspiration over at my favorite 5-ingredient meals!
We’re going to organize everything into three simple groups so your workflow in the kitchen is smooth as that finished sauce.
For the Chicken Wings Preparation
This is the foundation for that amazing texture. We’re keeping it simple here so the sauce can really shine later on. Make sure you have:
- 2.5 Pounds Chicken Wings (That’s about 24 pieces, give or take!)
- 1/4 Cup Flour or Gluten-Free Flour (Whatever works for you!)
- Sea Salt, To taste
- Black Pepper, To taste
- Olive Oil or Avocado Oil Spray (Don’t skip the spray!)
If you have a mountain of wings, please don’t crowd the pan! You might need to pull out that second baking sheet. Crowding traps steam, and we are trying to bake dry, crispy wings here, not boil them!
Creating the Sticky Wing Sauce
This is the magic part that brings in the sweet and savory explosion. The starch element here is key—it’s what turns this runny mix into a proper glaze.
- 1/2 Cup Honey
- 1/3 Cup Soy Sauce or Coconut Aminos (Use coconut aminos if you’re looking for that lower-carb swap!)
- 4 Cloves Garlic, mashed very well
- 2 Tablespoons Ginger, grated fresh—don’t skimp here!
- 1 Tablespoon Tapioca Flour, Arrowroot Starch, or Corn Starch (This thickens everything up!)
- 1/2 Teaspoon Crushed Red Pepper Flakes (For just a little hidden kick!)
Optional Garnishes
When they are all sauced up, these make them look restaurant-quality. Totally optional, but highly recommended for parties:
- 1 Tablespoon Sesame Seeds
Step-by-Step Instructions to Make Honey Garlic Sticky Chicken Wings
Now for the action sequence! Getting the timing right here is what separates a great batch of wings from an absolutely unforgettable one. Remember, we’re aiming for maximum crunch before we introduce that glorious sticky wing sauce. You can check out my guide on making foolproof dinners if you get nervous when the timer starts dinging!
Preparing and Baking the Wings for Crispiness
First things first, crank that oven up to 425 F right away. While it’s heating, we get mixing. After you’ve patted those wings super dry—don’t forget that crucial step!—toss them gently in a bowl with the flour, salt, and pepper until they look fully powdered. Then, shake off the excess flour and lay them in a single layer on your prepared baking sheet. Give them a good, even spray with oil.
Bake them for 30 minutes, then flip them over and bake for another 20 minutes. Once that second timer goes off, this is critical: switch the oven to the broiler setting for just 2 minutes. Keep your eye glued to the oven door during this time because the honey in the sauce residue can burn fast! We just want them nicely browned and bubbling before they come out.
Making the Flavorful Sticky Wing Sauce
While the wings are happily doing their second bake cycle, let’s whip up that sticky coating. Grab your small saucepan, dump in all the sauce components—honey, soy sauce, mashed garlic, grated ginger, your choice of starch, and those red pepper flakes. Heat it all over medium heat.
Stir constantly! You need to cook this mixture for about 6 or 7 minutes. You’ll notice it getting thicker and glossier—that’s the starch working its magic to create that perfect glaze texture. As soon as it coats the back of your spoon nicely, pull it right off the heat and set it aside while the wings finish up. Too much heat after it thickens and it can seize up on you!
Coating and Finishing Your Honey Garlic Sticky Chicken Wings
When those wings emerge from the broiler looking perfect, immediately transfer them (sauce and all residual juices) into that large mixing bowl you used earlier. Pour that warm, thick sticky wing sauce right over the top. Now use tongs—or your very brave, clean hands!
Toss everything together until every single one of those honey garlic wings is glistening and completely coated. If you’re using them, sprinkle those sesame seeds over the top now while the sauce is fresh and tacky. That’s it! You can see a great technique for getting crispy wings like this over at Kalejunkie if you want another view on the baking process!
Tips for Success with Your Honey Garlic Wings
Listen, I’ve made these so many times I practically dream in honey and garlic. Getting that perfect contrast—super crispy skin holding onto a thick, gooey layer of sauce—takes a couple of small tricks that aren’t always written down in the main steps. These are the little things I figured out so you don’t have to waste a batch!
First up, let’s talk about that initial dry-off again. I can’t stress this enough: you need bone-dry wings. If you pat them dry and they still feel damp, let them sit on paper towels for an extra 10 minutes while your oven preheats. Moisture equals steam, and steam prevents frying, which is the opposite of what we want!
Secondly, when you toss them in the flour mix, don’t just stir them around; actually *massage* the flour onto the skin. But, critically, after coating, shake off everything that looks like excess powder. We just need a clinging film, not clumps of uncooked flour. Those clumps burn before the wing cooks. I have more tips on getting that signature texture in my guide to crispy dinners.
My third tip is about the sauce application. Never sauce the wings until they are completely out of the oven and the broiler step is done. If you sauce them before baking, the sugars burn long before the chicken cooks through. Toss them immediately after they leave the heat. The residual heat from the wings helps the sauce adhere perfectly, making sure your final product is sticky, not soggy!
And finally, for the starch slurry in your sauce—if you are using cornstarch, make sure you fully dissolve it in a tiny bit of *cold* water before adding it to the hot saucepan. If you toss the dry starch right into the simmering sauce, you’ll end up with little rubbery balls instead of a smooth, thick glaze. Nobody wants that!
Ingredient Notes and Substitutions for Honey Garlic Sticky Chicken Wings
I get so many questions about swapping ingredients, especially when people are trying to make this recipe work for their specific needs. That’s totally fine! The core flavor of these honey garlic wings holds up really well even if you make a few tweaks. The secret is knowing what each ingredient *does* so you can swap it smartly.
Let’s talk about the soy sauce first. If you’re aiming for a lower-carb approach or dealing with gluten sensitivities, you can absolutely use coconut aminos instead of traditional soy sauce. They bring a similar salty, umami depth, though coconut aminos are slightly sweeter, so you might need to hold back just a touch on the honey if you notice the sauce becoming too sweet for your liking. I think using coconut aminos works just beautifully, and I’ve linked some other flexible recipes that utilize them too!
Now, about the thickener—that tiny bit of tapioca flour, arrowroot, or corn starch. That little teaspoon is absolutely crucial for achieving that signature *sticky wing sauce* texture. If you skip it, the sauce will just be thin honey-garlic liquid, and it’ll drip right off the wings instead of clinging to them the way it should! If you forget to slurry it first (mixing it with cold liquid before adding to heat), don’t panic! Just take the sauce off the simmering heat for a minute, whisk that powder in really well, and then return it to low heat until it thickens up again. It usually comes back around for you.
Also, a quick note on the honey itself: if you’re trying to keep the sugar way down, some folks have experimented with monk fruit syrup blends, but be warned! Syrups don’t thicken quite the same way as real honey does, so you might need to slightly increase the starch in the sauce if you swap out the primary sweetener. If you do stick with honey, know that it contributes not just sweetness but also that beautiful sheen on the finished wings.
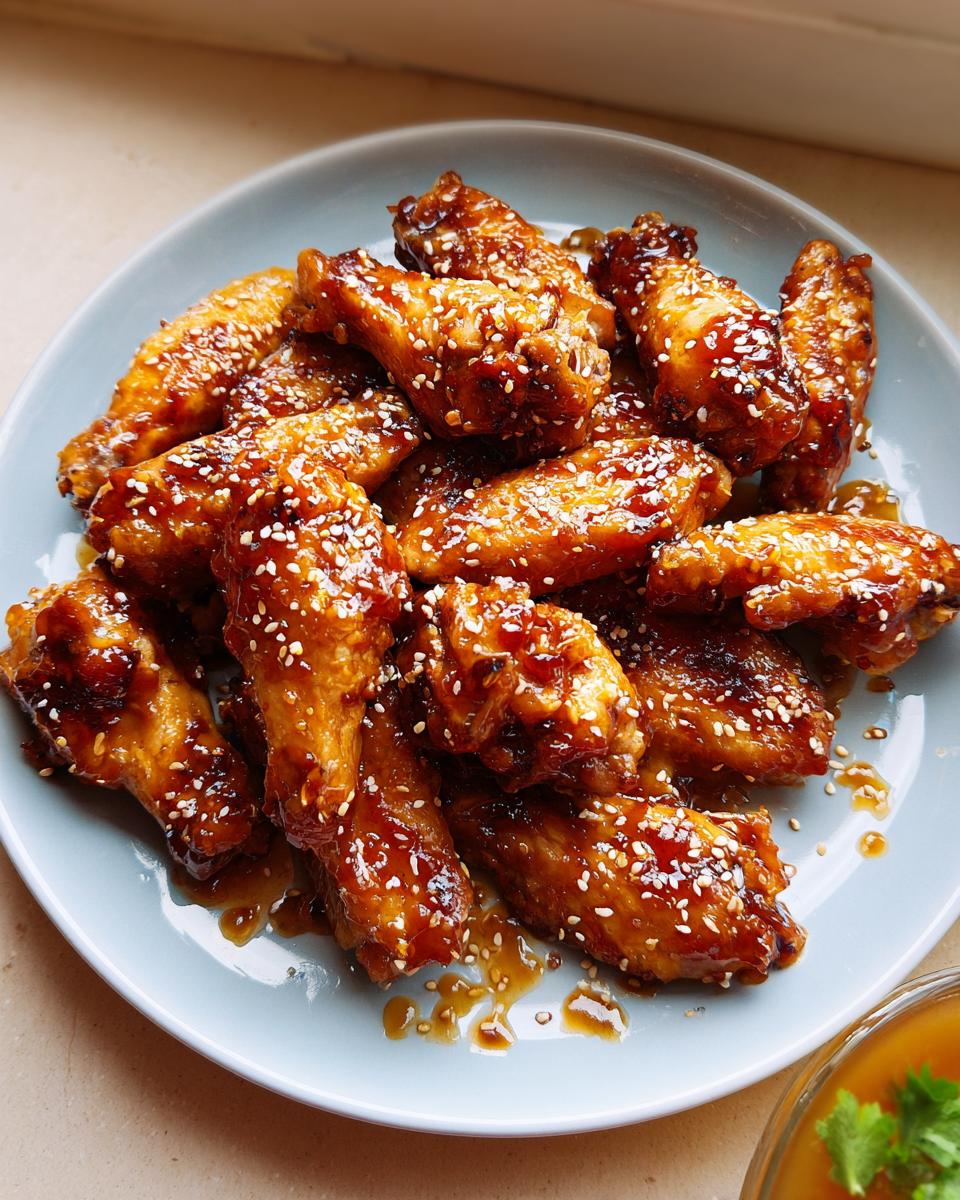
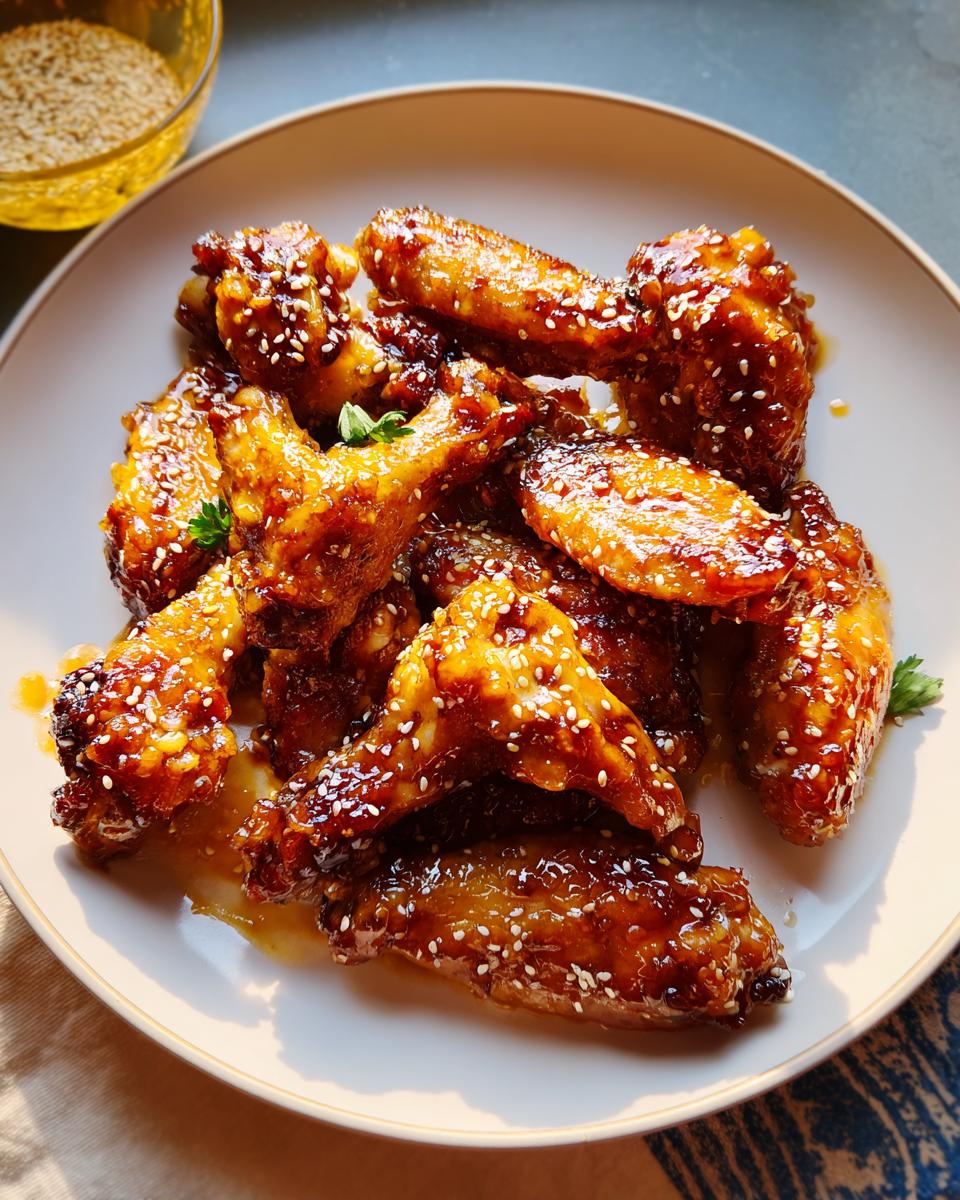
Serving Suggestions for These Crowd Pleasing Appetizers
Okay, my friends, we have successfully created the ultimate batch of sticky, sweet-and-savory wings! But what do we serve them with? Because these Honey Garlic Sticky Chicken Wings are so powerfully flavored, you don’t want sides that fight them—you want things that cool things down or offer a nice crunch contrast. They are definitely meant to be the star of the show, those perfect crowd pleasing appetizers!
I usually keep the sides super simple because, let’s be real, everyone ends up just reaching for more wings anyway. But here are a few things that always go beautifully on the table with them:
Cooling Sides for Zing
- Simple Celery and Carrot Sticks: You absolutely must have something cool and crunchy to break up the richness and the spice. Dip them in ranch or blue cheese dressing—it’s classic for a reason!
- A Crisp Asian Slaw: I love making a quick cabbage slaw dressed with just rice vinegar, a little sesame oil, and maybe some fresh cilantro. The vinegar cuts right through the sweetness of the honey garlic sauce so your palate stays refreshed for the next wing.
- Steamed or Roasted Broccoli: If you’re serving these as part of a slightly bigger meal, slightly charred broccoli tossed with flaky sea salt is my go-to. It’s healthy, it’s easy, and it doesn’t steal the spotlight from our beautiful wings.
Honestly, if you lay these out next to dipping sauces and a pile of napkins, they will disappear in minutes. Enjoy every messy, delicious bite of these sweet and savory recipes!
Storage and Reheating Instructions for Leftover Honey Garlic Sticky Chicken Wings
Oh, leftovers! If you happen to have any of these incredible honey garlic wings left over, you’ve got to store them right to keep the magic alive. Pop them into an airtight container—no plastic wrap tenting here—and keep them in the fridge for up to three days. Seriously, they don’t last that long in my house!
Now, for reheating, please, please, please skip the microwave. It turns that beautiful crispy skin totally rubbery. The best trick is spreading them back on a baking sheet and warming them in a 350 F oven for about 8 to 10 minutes. If you have an air fryer, even better! Just a few minutes at 375 F gets them wonderfully sticky and crispy again. That’s how you resurrect these sweet and savory beauties!
Frequently Asked Questions About Honey Garlic Sticky Chicken Wings
I know when you read a new recipe for something beloved, like classic honey garlic wings, you always have a few burning questions! Don’t worry, I’ve answered the top ones below. Cooking is all about experimenting, but sometimes sticking to the basics guarantees that perfect, crowd-pleasing flavor we’re aiming for.
Can I bake the Honey Garlic Sticky Chicken Wings without flour?
You absolutely can try! If you skip the flour toss altogether, the wings will still be delicious, but they won’t achieve that signature ultra-crispy skin we’re aiming for. The flour (or starch) actually helps dry out the skin slightly during those first 30 minutes of baking and gives the sauce something substantial to cling to later. They’ll be less crunchy and more tender, but certainly still tasty!
How do I adjust the spice level in the sticky wing sauce?
That little bit of heat from the crushed red pepper flakes is totally optional, but I highly recommend keeping at least a pinch in there for balance! If you want things spicier, just bump up the red pepper flakes to a full teaspoon or even slightly more. If you want absolutely zero heat, just leave them out entirely! The honey and garlic flavor will still dominate.
What is the best way to get that thick, sticky wing sauce texture?
This is all about the final moments on the stove. The absolute best way to ensure you get that perfect glaze is using that tablespoon of starch (cornstarch, arrowroot, or tapioca). Mix it well with the cold ingredients before you even turn on the heat! Then, you must let it simmer gently for those full 6 or 7 minutes, stirring until it coats your spoon. If you pull it off too early, it’ll be thin, runny goo that just drips off your beautiful honey garlic wings!
Share Your Honey Garlic Sticky Chicken Wings Creations
Whew! We made it! Now that you have perfected your batch of these incredible, glistening, sweet and savory wings, I genuinely want to see them! Food tastes even better when you share the experience, so don’t be shy!
Please scroll down and leave the recipe a rating—did you nail that crispiness? Did the sauce adhere perfectly? Let me know what you think! If you tried making these for a big game day or just a quiet Tuesday night treat, drop a comment below and tell me your favorite part. Was it the garlic punch? The honey sweetness? Did you sneak a few before everyone else arrived?
I love hearing how my recipes shine in your kitchens! If you snapped a picture of your sticky masterpiece, tag me on social media so I can admire your handiwork. Happy cooking!
If you ever need to reach out with a quick question about swapping out ingredients or temperature settings, you can always find my contact information right here at the contact page!
Honey Garlic Sticky Chicken Wings
Ingredients
Equipment
Method
- Preheat your oven to 425 F.
- Dry the chicken wings very well using a paper towel. This helps make them crispy.
- Add the dried wings to a bowl with the flour, sea salt, and black pepper. Toss each wing until it is fully coated in the flour mixture.
- Transfer the coated wings to a baking sheet lined with foil or parchment paper. You can layer foil first, then parchment paper to keep the sheet clean. You might need more than one baking sheet depending on wing size.
- Spray the coated wings with oil and bake them in the oven for 30 minutes. Flip the wings and bake for an additional 20 minutes.
- While the wings bake, prepare the sauce by adding all sauce ingredients to a small saucepan or pot on the stove.
- Heat the sauce mixture over medium heat, stirring for 6-7 minutes until the sauce thickens. Remove it from the heat and set it aside.
- After the 20 minutes of the second bake time are complete, turn the broiler on for 2 minutes to give the wings a brown color. Watch them closely to prevent burning.
- Remove the wings from the oven when they are done.
- Pour the sauce over the wings and use tongs or your hands to coat the wings evenly in the sauce.
- Top with sesame seeds if you want to garnish. Serve the wings.
Nutrition
Notes
Tried this recipe?
Let us know how it was!