
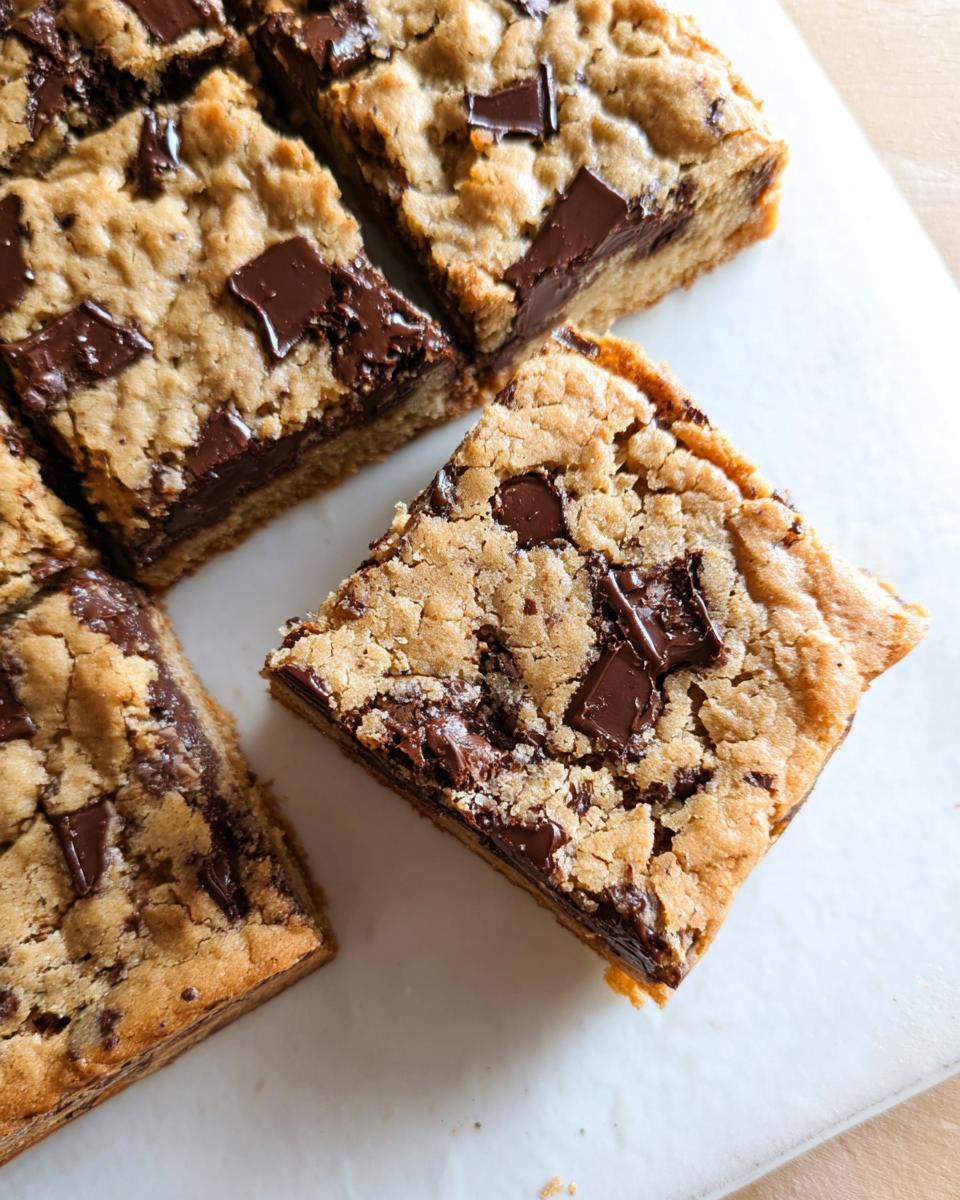
You know that slightly panicked feeling when you realize you are responsible for dessert for twenty people? I totally get it! That’s why I became obsessed with creating recipes that deliver huge flavor and huge portions without turning the kitchen into a disaster zone. Say hello to my absolute favorite solution for feeding large groups: these incredible, super-simple Bar Cookies for a Crowd. They really are my lifeline for any party.
I still remember the day I brought a batch of my homemade bar cookies to a community potluck. I was nervous, mixing my usual keto-friendly flavors with classic tastes, hoping everyone would enjoy them. Watching people gather around the dessert table, their faces lighting up as they tasted the fudgy edges and perfect sweetness—that feeling is why I bake! That positive feedback is exactly what inspired me to focus on recipes everyone can enjoy. Since that day, bar cookies have been my secret weapon, and trust me, as a Precision Keto Scientist, I know a thing or two about precision, but mostly, I know about making food that brings people together.
Why These Bar Cookies for a Crowd Are Your New Go-To
When you’re cooking for a big group, you need reliability, and these bar cookies deliver maximum payoff for minimal effort. They are my secret weapon for making hosting utterly stress-free!
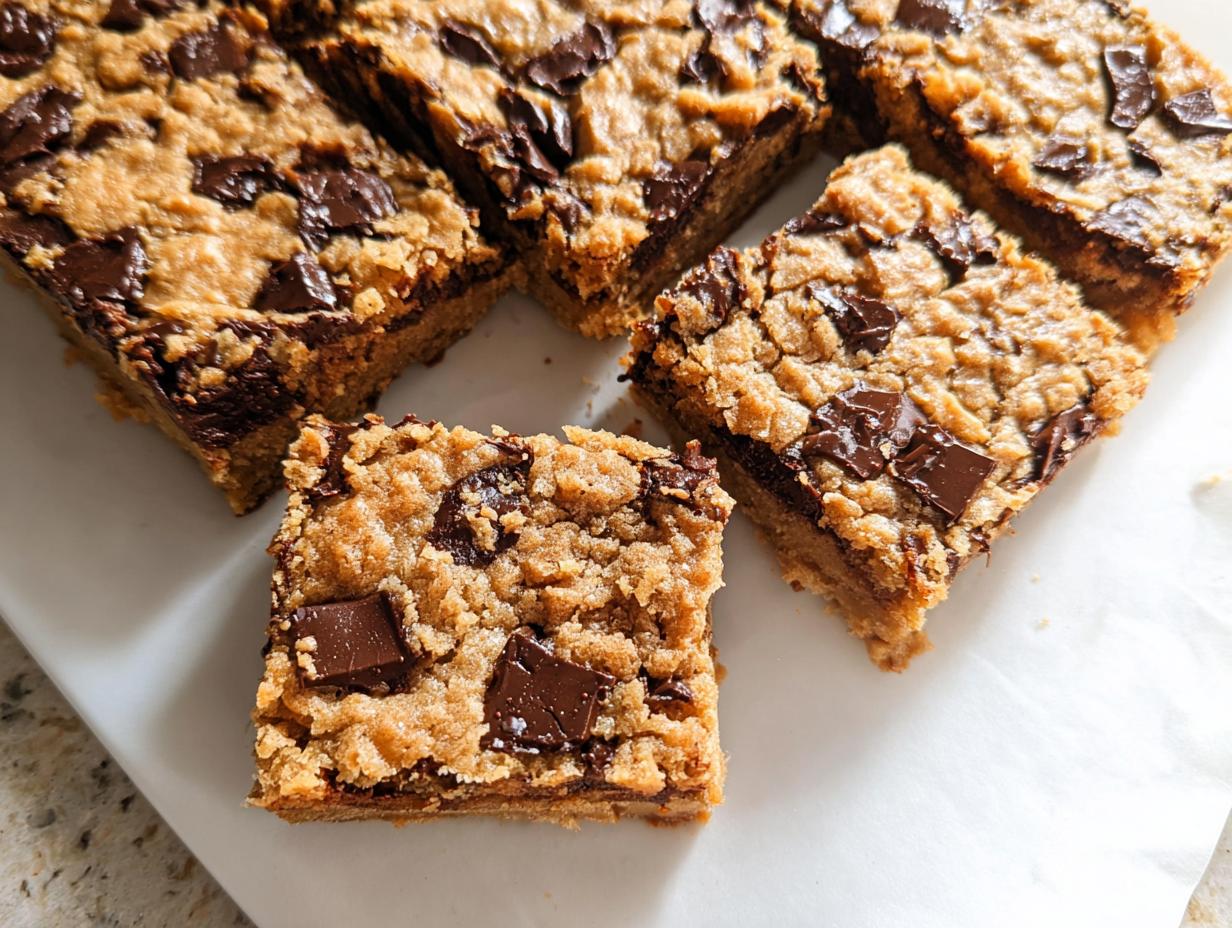
- They are truly Crowd Friendly—no messy scooping or worrying if everyone got the same size portion. Everyone just grabs a perfectly crafted square.
- You get a wonderfully satisfying texture that feels rich, making them an instant Easy Dessert favorite.
Simple Ingredient List for Large Groups
Forget hunting down twelve obscure things! The list here is shockingly manageable. Knowing you don’t need a million special items makes starting a large batch less scary, which is a huge bonus when you’re trying to bake for twelve people, let alone twenty!
The Sheet Pan Cookie Advantage for Bar Cookies for a Crowd
This is the game-changer, honestly. We aren’t doing individual drop cookies here; that takes forever! By using one big pan, you’re embracing the Sheet Pan Cookie method. You mix it, dump it, bake it once, and you’re done. Cleanup is a dream compared to worrying about two dozen trays!
Essential Equipment for Making Bar Cookies for a Crowd
When you’re scaling up for a crowd, having the right tools is half the battle won. You don’t need a commercial kitchen, but these items make sure your large batch baking goes smoothly. Trust me, getting the preparation right saves so much aggravation later!
We keep things simple here. For this recipe, you’ll rely on these handy tools:
- An 8-inch non-stick baking pan—this size is perfect for getting a nice, thick bar!
- A saucepan for melting and browning that amazing butter.
- A medium bowl and a whisk for mixing up the base.
- A rubber spatula for folding everything together gently.
- A sharp knife for cutting uniform pieces once they cool down.
Gathering Bar Cookie Ingredients For Large Groups
Okay, let’s talk ingredients! When you’re prepping for a bigger crowd, careful measurement is everything, right? I try to measure everything out beforehand so I can just dump and go when it’s time to mix. Since I often plan my meals alongside these baking projects, I actually have a great trick for keeping costs down for large batches; you can check out my little cheat sheet on creating a cheap keto grocery list if you need budget tips!
For these specific bars, the fat content is key to that perfectly chewy texture, so don’t skimp on the quality of your butter or chocolate!
For the Cookie Bars
Here’s what you need to pull together for the base of these delicious cookie bars:
- Unsalted butter: 150g (Make sure this is cold, it matters for the browning!)
- Light or dark brown sugar: 100g
- Granulated sugar: 60g
- Egg: 1 large
- Vanilla bean paste or vanilla extract: 0.5 tsp
- All-purpose flour: 150g
- Baking powder: 0.25 tsp
- Salt: 1 tsp
- Dark chocolate: 220g (Make sure you have this chopped coarsely!)
Step-by-Step Instructions for Perfect Bar Cookies for a Crowd
This is where the magic happens! Now that you have gorgeous ingredients ready, let’s get this sheet pan cookie into the oven. Honestly, that brown butter step is a little fussy—it requires you to pay attention—but if you want that incredible depth of flavor that sets these bars apart from basic recipes, you absolutely must follow it closely. Check out my whole collection of easy recipes right here if you need more baking inspiration after these are done!
Preparing the Pan and Oven
First things first: fire up that oven to 350°F (180°c). While it warms up, tackle your 8-inch non-stick pan. You need to grease it well and then line it with parchment paper. Here’s the trick to easy removal later: make sure that parchment hangs over the sides! You want to create little handles, almost like a sling. If you’re worried about it slipping while you pour the dough in, you can use a couple of binder clips to hold the paper down on the sides.
Mastering Brown Butter for Rich Flavor in Your Bar Cookies for a Crowd
We need to melt that cold butter in a saucepan over medium heat. Keep watching it; it’s going to foam up, and then you’ll notice those little brown bits start forming at the bottom. You need to swirl and whisk constantly for about 3 to 4 minutes until it smells totally nutty. That smell means it’s done! Now, carefully weigh out 110g of that beautiful brown butter into a medium bowl. This is crucial! You have to let it cool for about 15 to 20 minutes before adding your sugars, or that hot butter will cook your egg, and we don’t want scrambled bits in our dough!
Mixing the Dough and Baking
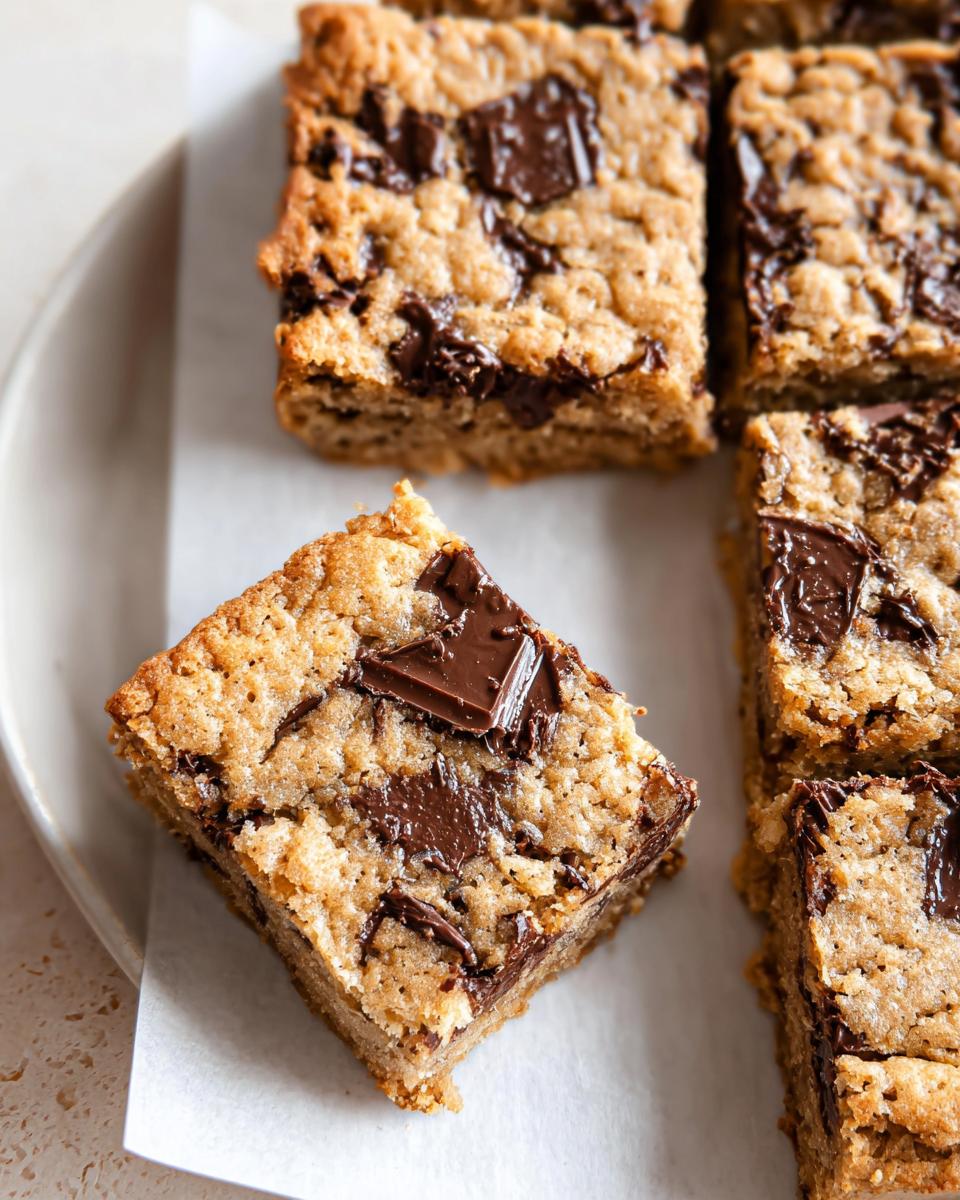
Once the butter is cool enough, whisk in both the brown sugar and granulated sugar until they combine nicely. Then, add your egg and whisk enthusiastically for a full minute or two until the mixture looks lighter and kind of thick. Stir in the vanilla. Next, ditch the whisk and switch to your rubber spatula! Gently fold in the flour, baking powder, and salt; stop mixing just as you see the last streaks of flour disappear—don’t overdo it, or you lose that tender texture. Fold in those chopped dark chocolate pieces. Press the dough evenly into your lined pan, smooth it out, and bake for 20 to 22 minutes. The top should be golden and feel set, and the edges will start firming up beautifully. If you like extra-crispy edges, like my friend over at Cloudy Kitchen does sometimes, leave them in for an extra minute or two!
Tips for Success When Making Bar Cookies for a Crowd
Baking a big batch of anything means you have to be a little more patient than usual, but the payoff is so worth it! The biggest temptation when these emerge from the oven is to cut them immediately. Don’t do it! I know it smells amazing, but you absolutely must let these cool completely in the pan on a wire rack. If you cut them warm, they’ll crumble right apart, and you’ll end up with a tray of sweet rubble instead of perfect squares.
If you’re aiming for that delicious contrast—chewy in the middle and slightly crisp on the outside—you have to watch that baking time like a hawk. If you prefer things fuss-free and chewy all the way through, pull them out right when that toothpick test comes out with just a few moist crumbs clinging to it. If you leave them in too long, even a minute extra can transition them from chewy to hard, and nobody wants a stale-tasting bar, even on day one!
Another thing I learned early on when scaling up is to make sure your mix-ins, like those rich chocolate chunks, are distributed evenly. Give the dough a gentle toss with your spatula right before you press it into the pan for the final time. This guarantees that every single serving has that perfect crunch and melt factor. Consistency is everything when you are trying to wow a crowd!
Storage and Serving Suggestions for Crowd Friendly Cookie Bars
Okay, you’ve baked the perfect batch! Now, how do you keep these beauties fresh until the party starts, or even the next day? Because these are such great Crowd Friendly Cookie Bars, making them ahead of time is totally practical. It cuts down on so much stress the day of the event; trust me on this one.
Once these are completely cooled—seriously, cool them all the way down!—you want to handle the storage just right. Keep them in a single layer if you can, or stack them carefully with small pieces of parchment paper separating the layers. An airtight container works best. If you just leave them on the counter, they’ll stay fantastic at room temperature for up to three days. That’s perfect for making game-day snacks or prep for a weekend barbecue!
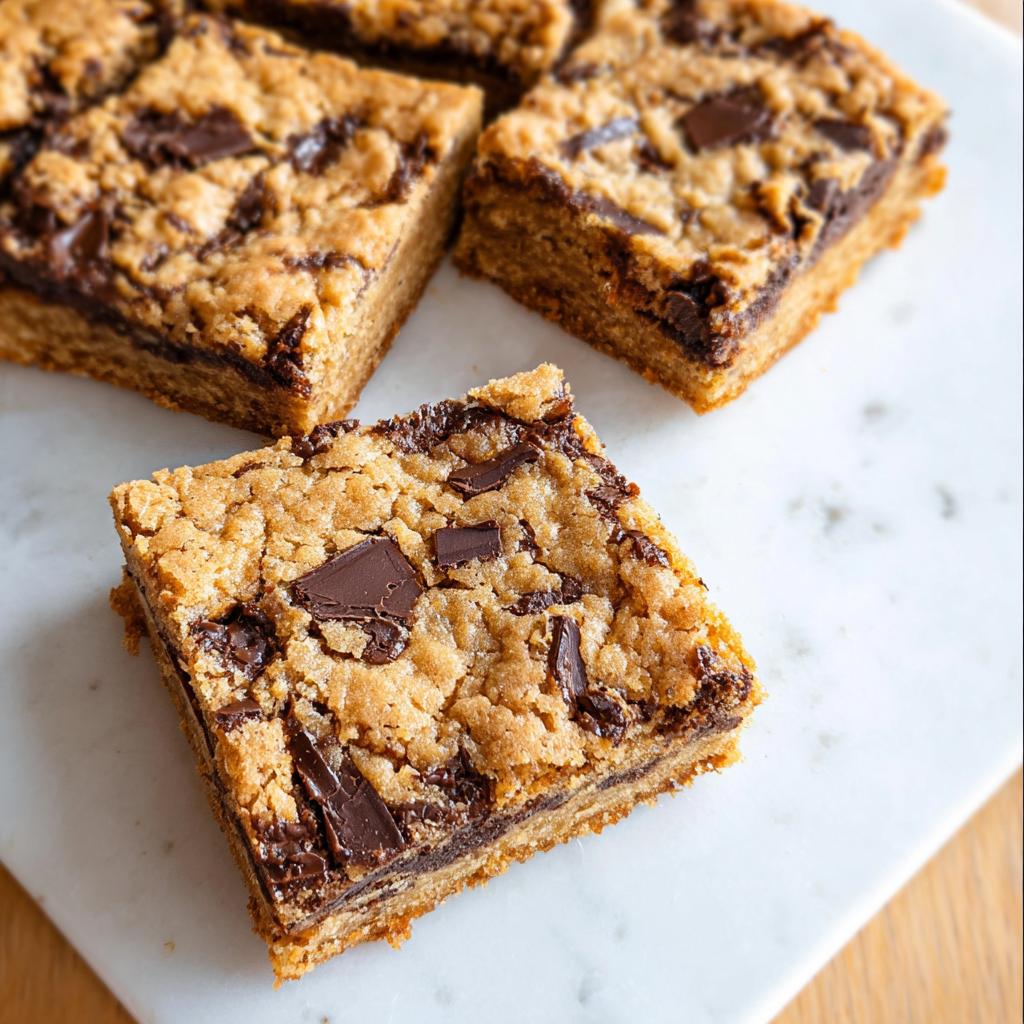
For serving at a big event, remember these are simple finger food, which is why they’re so popular. I usually cut mine into smaller 24 squares, but if the crowd is huge, you can totally slice them a bit thinner. If you are ever dealing with leftovers and want to make them feel a little extra special later on, I have some ideas on making calorie-smart adjustments that sometimes inspire fun ways to repurpose desserts, though these bars rarely last long enough to worry about leftovers!
If you want to dress them up a tiny bit for a slightly fancier spread, you don’t need a full frosting job. Just a quick drizzle of melted white chocolate or even a light dusting of fine powdered sugar right before you set them out on the dessert table makes them look professionally done. Easy peasy!
Variations on Classic Bar Cookies for a Crowd
One of the best things about a sturdy base recipe like this is how easy it is to switch things up for repeat parties! While this version with dark chocolate is perfection, I find that catering to different tastes without making three separate batches is the ultimate hosting hack. Since I spend a lot of time thinking about ingredient swaps for my keto work, I always have ideas ready for texture and flavor changes!
If you’re looking for some simple flavor twists, don’t feel like you need to change the whole structure. Changing just one or two mix-ins can make the batch feel totally different. You can see some of my go-to modifications for making desserts fit various dietary needs over on my Keto Desserts page, but for non-keto crowd-pleasing fun, try these!
Don’t overthink it; these are meant to be easy adaptations for large batch baking:
- Nut Lovers Rejoice: Toss in about 1/2 cup of chopped walnuts or pecans right along with the chocolate. They add an awesome textural contrast that everyone always digs. Just make sure you are aware of allergies if you bring these to a gathering!
- Swapping the Chocolate: If you aren’t a huge fan of dark chocolate, swap half of it out for milk chocolate chips or even butterscotch chips. Use white chocolate chips for a beautiful color contrast, though they are softer and might get a little melty if you live somewhere hot.
- A Bit of Zest: Zest one whole orange and fold it in with the vanilla. The bright citrus note cuts through the richness of the brown butter beautifully. It makes the whole cookie bar taste lighter and perfect for spring or summer parties.
Remember, the core technique—especially that brown butter—is what keeps the texture amazing no matter what mix-in you choose. Keep those fundamentals solid, and you can’t go wrong!
Frequently Asked Questions About Bar Cookies for a Crowd
It’s totally normal to have questions when you start baking these big batch treats! When you’re focused on feeding a whole group, you want everything to turn out perfectly, especially texture and size. I’m happy to share what I’ve learned from making these over and over again for parties.
Can I double this recipe for an even larger crowd?
You absolutely can, but I have to give you a friendly warning! If you double the batch, don’t try to cram it all into one giant pan. You’ll end up with bars that are super thick in the middle and raw on the bottom. When you double up, split the dough between two separate 8-inch pans, or move up to a 9×13 inch pan for the full batch. This way, the heat distributes correctly, and everything cooks evenly!
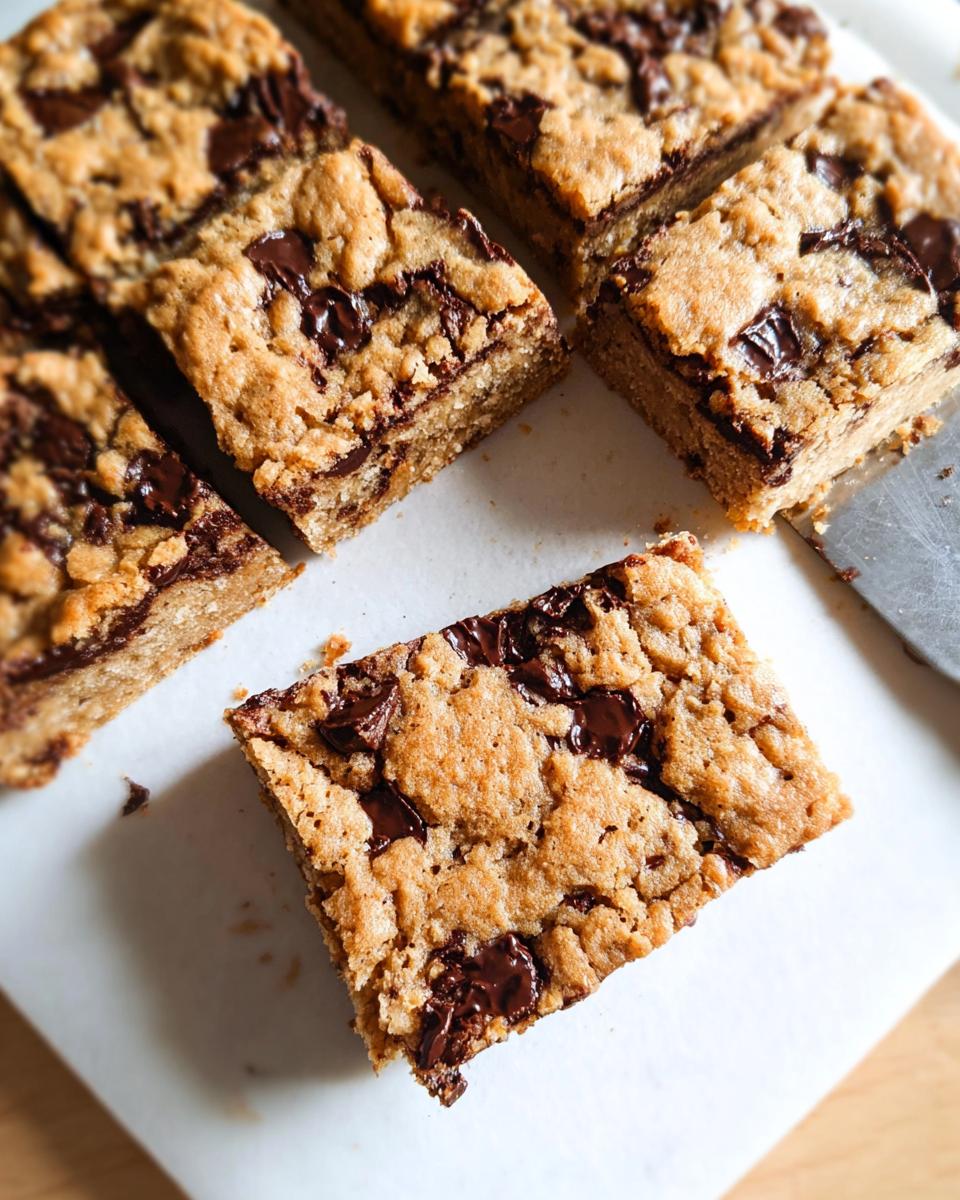
How do I get the fudgiest texture in these Cookie Bars?
Fudgy is the goal, always! The key here is honestly about the baking time; you can’t overbake these. You want the edges set, but the center should still look a little soft, maybe shiny. As they cool in the pan, they firm up beautifully. Also, use really good quality dark chocolate—the bits that melt down into the butter create that incredible, dense, fudgy center that makes these Cookie Bars addictive.
For more insight into how I nail these details, you can peek over at my About Me page!
Share Your Experience Baking Bar Cookies for a Crowd
Now that you have all the secrets to baking these beautiful, easy dessert bars, I’m crossing my fingers that you’ll try them out for your next big event! There is nothing that makes me happier than hearing from someone who used my recipe to bring smiles to their friends and family.
Did you bake these for a potluck, a school function, or maybe just a huge family movie night? Tell me all about it in the comments below! I always jump in there to chat with readers.
If you have a moment, please consider leaving a quick rating for this recipe—it helps other hosts find this lifesaver when they need an easy way to feed the masses. Or if you need to reach out directly for troubleshooting or partnership ideas, you can always connect with me via my contact page. Happy baking, and enjoy making those sweet memories!
Bar Cookies for a Crowd
Ingredients
Equipment
Method
- Preheat your oven to 350°f (180°c). Grease and line an 8″ (20cm) non-stick baking pan. Leave the parchment extending over the sides to form a sling. You can secure it with binder clips if you like.
- Place the butter in a medium saucepan over medium heat. Cook until melted, then continue cooking, swirling the pan often and stirring with a whisk, until the butter foams, turns golden brown, and becomes nutty. This should take 3-4 minutes.
- Weigh out 110g of the brown butter into a medium bowl. Let it cool for 15-20 minutes so it doesn’t scramble the eggs.
- Add the brown sugar and granulated sugar to the bowl with the brown butter and mix to combine.
- Add the egg and whisk well for 1-2 minutes, or use an electric mixer, until the mixture lightens in color and thickens.
- Add the vanilla and mix well.
- Add the flour, baking powder, and salt. Mix with a rubber spatula until some flour streaks remain. This prevents overworking the dough.
- Add the chocolate and mix to incorporate with a rubber spatula.
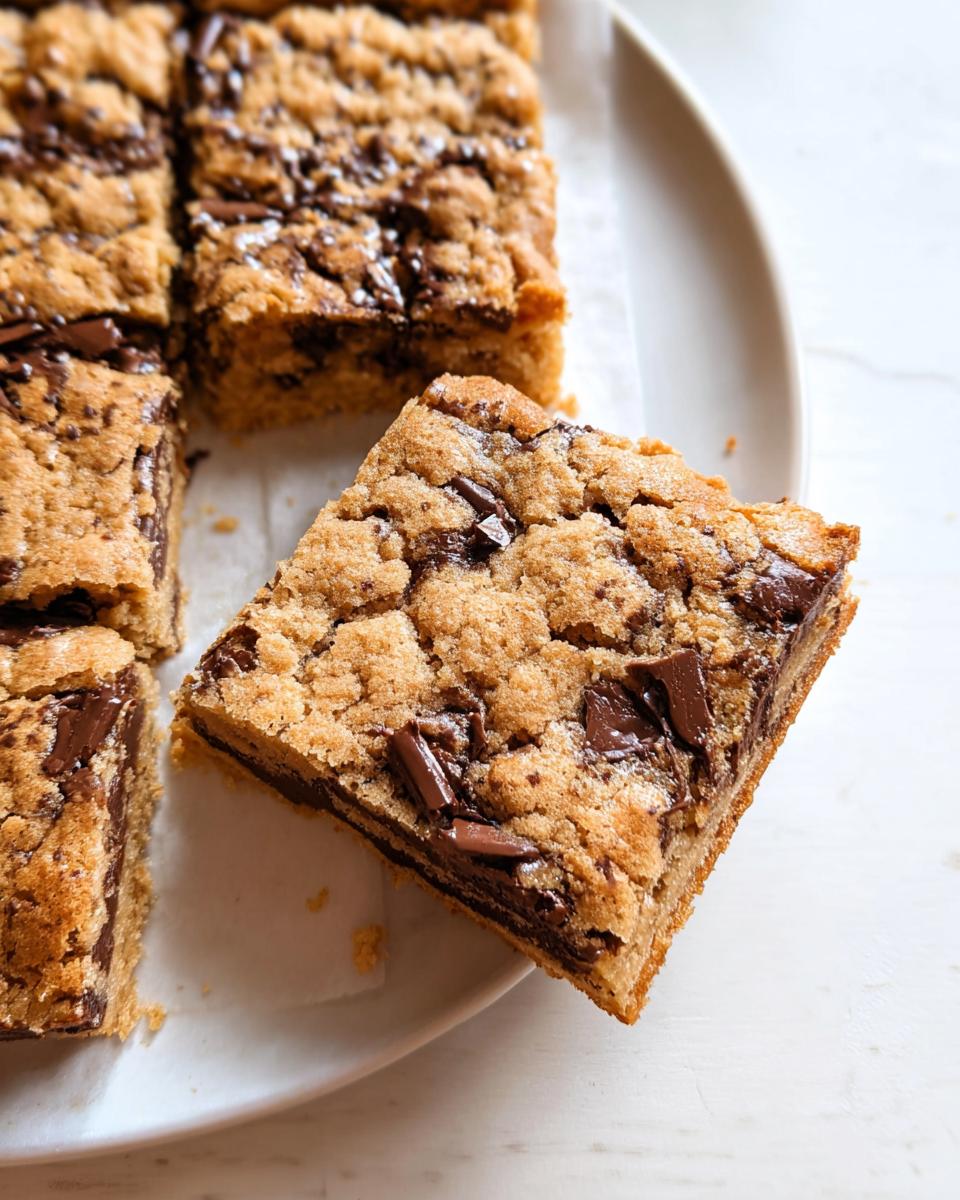
- Press the dough into the prepared pan, smoothing it down with an offset spatula. You can add a few extra chocolate chunks to the top if you wish.
- Bake for 20 to 22 minutes, until the top is golden brown and set, and the edges have started to firm up. For crispier edges, bake a little longer.
- Remove the cookie bars from the oven and let them cool in the pan on a wire rack. Use the parchment paper sling to lift them out of the pan. Cut into pieces with a sharp knife.
- Store the cookie bars in an airtight container at room temperature for up to 3 days.
Notes
Tried this recipe?
Let us know how it was!
Precision Keto Scientist
Numbers don’t lie, and neither do my recipes. I’m a biochemist who fell into keto cooking through my own metabolic research—and I approach recipe development like a lab experiment, complete with macro calculations precise to the tenth of a gram.
My journey started in diabetes research labs at Johns Hopkins, where I spent six years studying how different macronutrient ratios affected insulin sensitivity. Personal experimentation with therapeutic ketosis for cognitive enhancement led me down a rabbit hole of recipe testing that eventually consumed more hours than my actual day job.
While other cookbook authors describe flavors and textures, I quantify ketone elevation curves and glycemic impact data. My recipe database contains 340+ formulations, each tagged with detailed nutritional analysis, predicted ketosis timing, and optimal meal spacing. I measure salt by weight, time cooking processes to the minute, and log ingredient sourcing obsessively for consistent results.
My breakthrough research on fat-protein ratios for sustained ketosis got published in the Journal of Nutritional Biochemistry. My “Macro Math Mastery” workshops have trained over 5,000 people in precision meal planning. I even collaborated with continuous glucose monitor manufacturers to create the first real-time feedback system for recipe optimization.
I left my pharmaceutical research position at Merck three years ago to focus on metabolic nutrition consulting. Now I work with professional athletes, biohackers, and medical professionals seeking therapeutic ketosis protocols. When I’m not in my lab-kitchen, I’m competing in chess tournaments or documenting my daily biomarker measurements with true data scientist obsessiveness.
Cooking is just applied chemistry—and chemistry follows predictable rules. Master the variables, control the outcomes.