
Oh, get ready for a flavor explosion because we’re diving into something truly special: Chocolate Mousse Brownies! You know, the first time I ever whipped these up, it was for a ridiculously packed holiday party at my place. I’d promised something amazing, and after flipping through my fave cookbook, I found this gem that married my two absolute chocolate obsessions. As I was creaming everything together, folding that fluffy mousse into the fudgy brownie batter, I just felt this huge wave of joy, picturing all my friends sharing this treat. Seriously, the smell alone was incredible! That day taught me a dessert can totally turn any old gathering into a real celebration. I’m Alexandra Bennet, by the way, and I love digging up unique flavors, and believe me, these brownies are a game-changer you’ll want to share, too!
Why You’ll Love These Chocolate Mousse Brownies
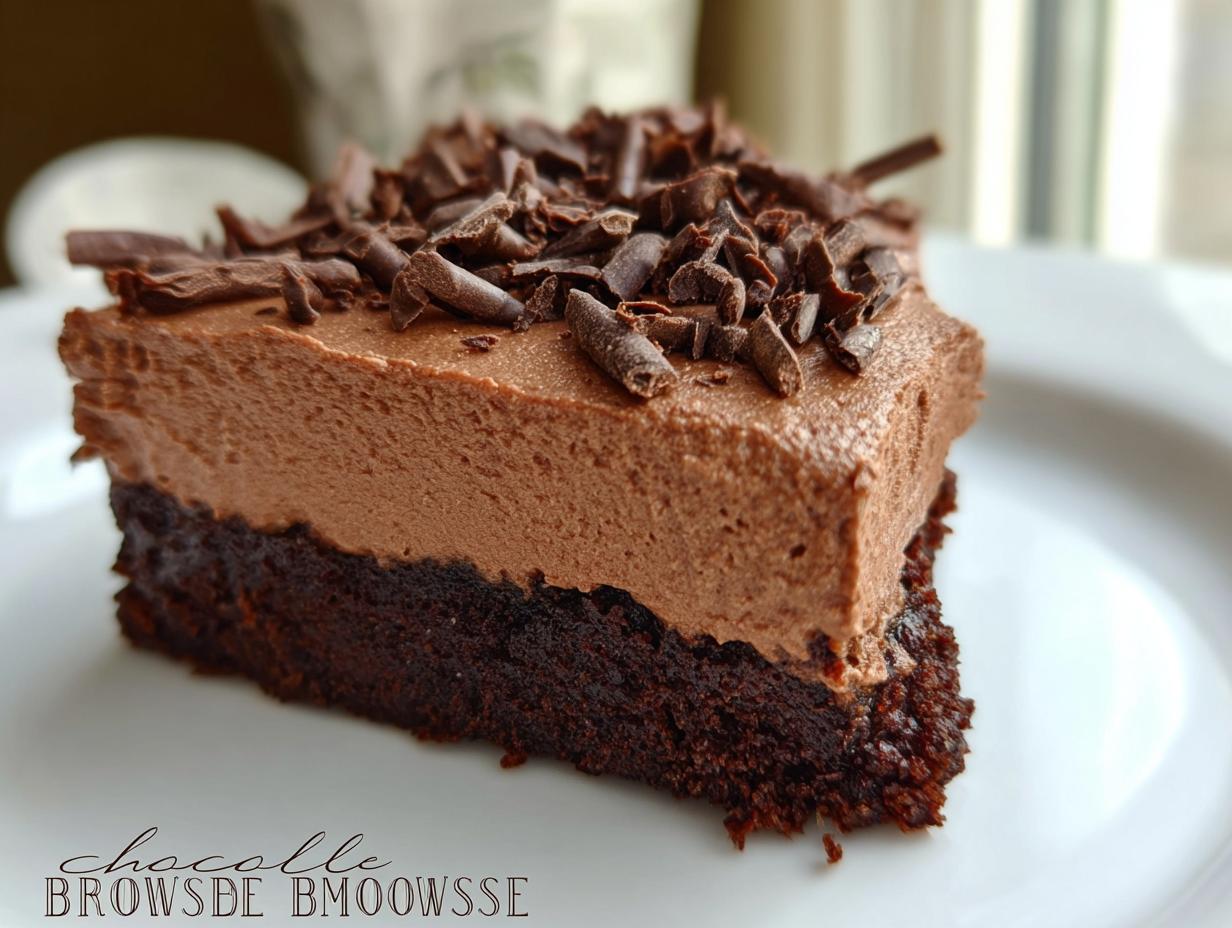
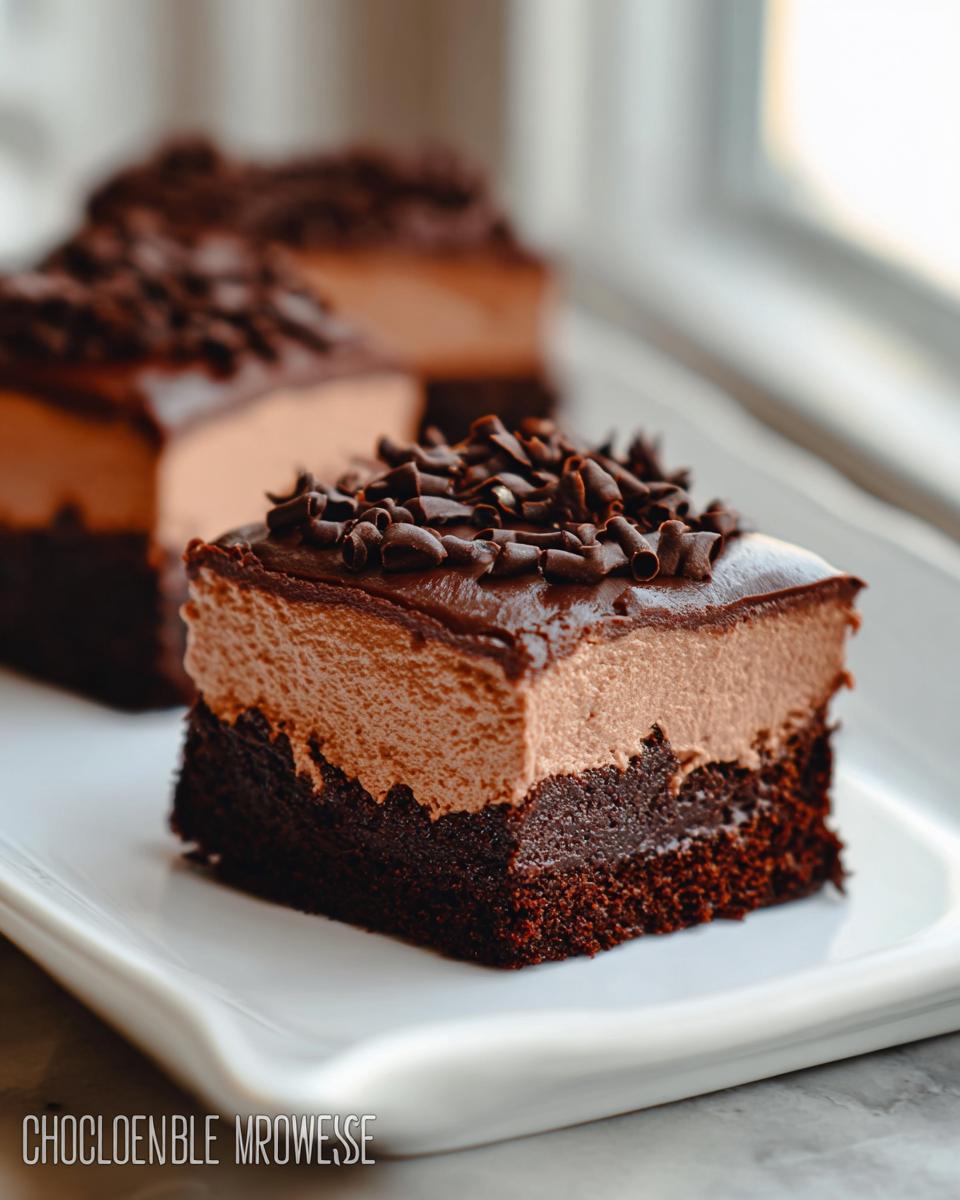
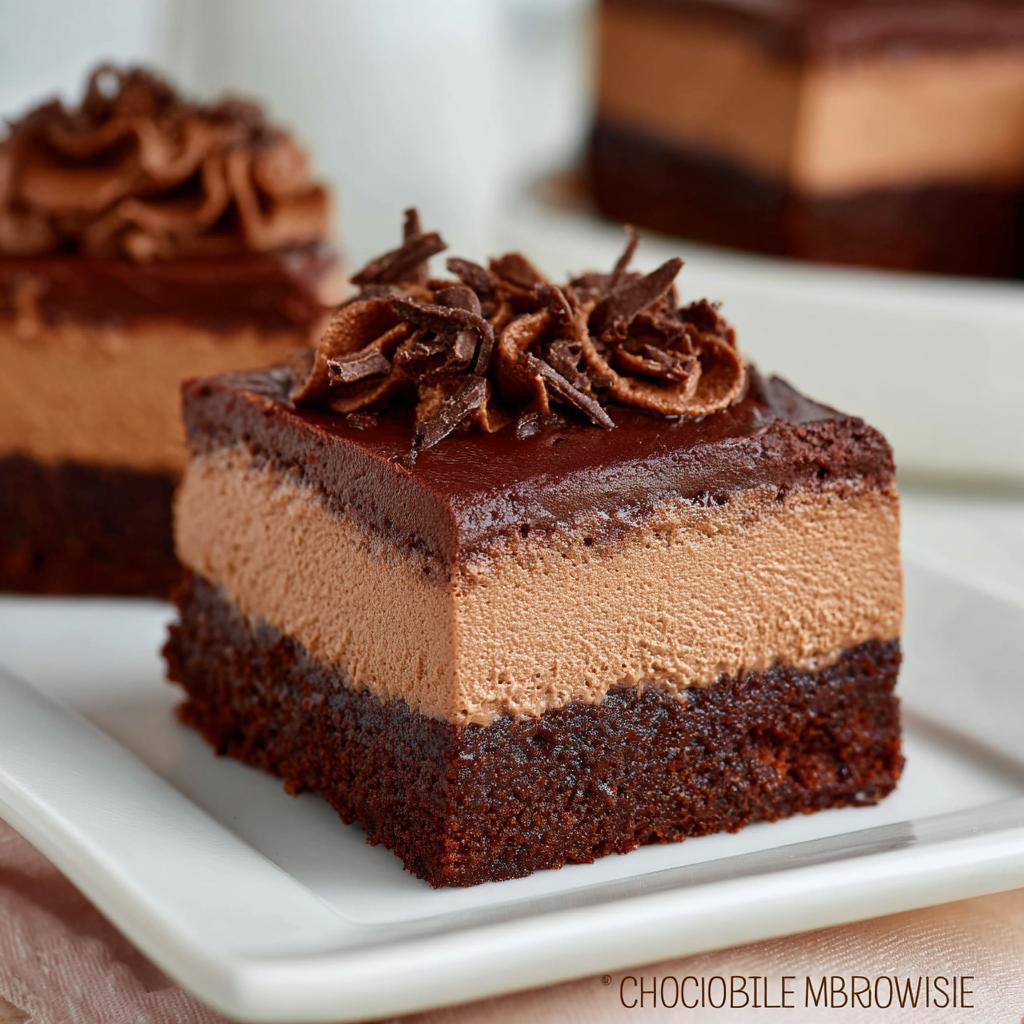
Honestly, why wouldn’t you love these? They’re like two amazing desserts decided to get married and have a chocolatey baby! You get that wonderfully dense, chewy brownie flavor at the bottom, and then you top it all off with this cloud-like, super-light chocolate mousse. It’s pure magic!
And guess what? They’re ridiculously easy to whip up. You don’t need to be a pastry chef to make these amazing Chocolate Mousse Brownies. Plus, they are the ultimate crowd-pleaser. I’ve never seen them last long at any gathering! They just hit that perfect spot for anyone who can’t get enough chocolate.
Gather Your Ingredients for Chocolate Mousse Brownies
Alright, let’s get our chocolatey goodness lined up! You’ll want to have everything ready to go before we even think about preheating the oven. It makes the whole process so smooth.
For the Brownies:
- 3/4 cup butter, all melted
- 1 1/2 cups sugar
- 1 tsp vanilla extract
- 2 eggs
- 1/2 cup cocoa powder
- 1/2 tsp salt
- 3/4 cup all-purpose flour
For the Mousse:
- 3/4 cup miniature marshmallows
- 4 oz semi-sweet chocolate, chopped up nice and small
- 1/4 cup milk
- 1 cup heavy whipping cream
And for that extra special touch, have some Chocolate ganache ready for drizzling, if you’re feeling fancy!
Step-by-Step Guide to Making Chocolate Mousse Brownies
Alright, let’s get down to business! Making these Chocolate Mousse Brownies is totally doable, and honestly, the most fun part is seeing it all come together. Just follow these steps and you’ll have a masterpiece in no time!
Preparing the Brownie Base
First things first, get that oven preheating to 350°F (that’s 175°C for my metric friends!). Grab your 9×9 inch baking pan and line it with foil, making sure there’s some extra hanging over the edges – this makes lifting them out a breeze later. Give that foil a good spray with cooking spray so nothing sticks. Now, in a big bowl, whisk together that melted butter and sugar until it’s nice and smooth. Crack in your eggs one by one, mixing well after each one. Stir in the vanilla. Then, just dump in the cocoa powder, salt, and flour. Mix it all up until you have a lovely, soft batter. Pour it into your prepared pan and spread it out evenly. You can even check out some ultimate fudgy brownies for tips on getting that perfect texture! Bake for about 22 to 25 minutes. You’ll know it’s ready when a toothpick stuck in the middle comes out clean, or with just a few moist crumbs clinging to it. Let those gorgeous brownies cool down completely in the pan before we do anything else.
Crafting the Chocolate Mousse Layer
While the brownies are doing their thing and cooling off, we’ll make that dreamy mousse! Grab a saucepan and combine your miniature marshmallows, chopped semi-sweet chocolate, and milk. Put it over low heat and stir it constantly until everything is melted and smooth as silk. Seriously, no lumps allowed! Once it’s all melty and gorgeous, take it off the heat and let it cool down completely. This is super important, it needs to be lukewarm, not hot, before we add it to the whipped cream. While that’s cooling, whip up your heavy cream in a stand mixer until you have nice, stiff peaks. Gently fold that cooled chocolate mixture into the whipped cream. Be careful not to overmix; we want to keep it light and airy like a cloud! You can find more ideas for this kind of layered treat over at The Domestic Rebel, they’ve got some great inspiration.
Assembling and Chilling Your Chocolate Mousse Brownies
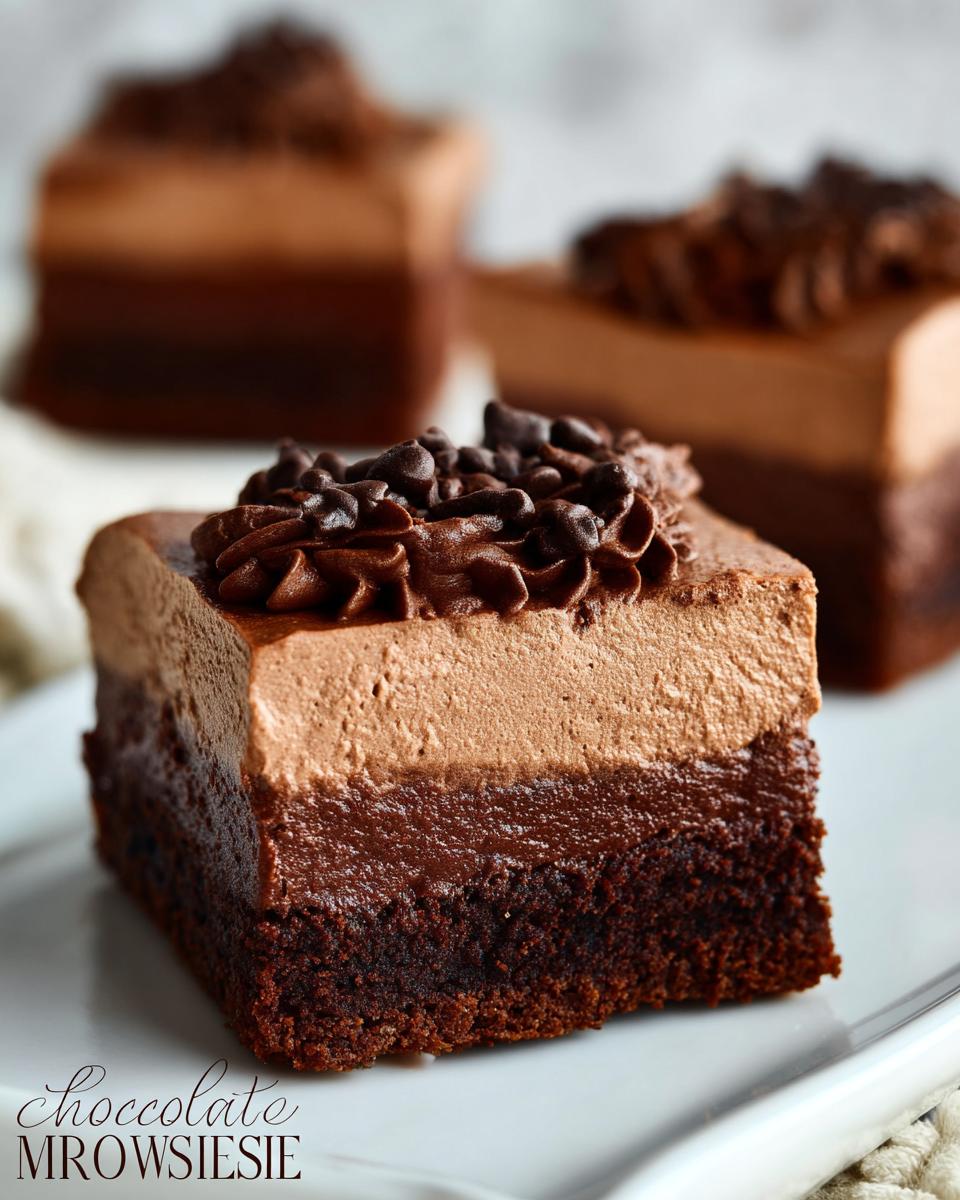
Okay, the moment of truth! Once your brownie base is totally cool, just spread that luscious chocolate mousse evenly over the top. Smooth it all out so you have a nice, even layer. Now, pop the whole pan into the refrigerator and let it chill for at least an hour. This part is crucial for the mousse to set up properly. Before you serve them, if you’re feeling extra decadent, drizzle some of that chocolate ganache over the top. It looks super fancy and tastes even better!
Tips for Perfect Chocolate Mousse Brownies
Alright, so you’ve got the recipe, but let’s talk about making these Chocolate Mousse Brownies absolutely, positively perfect every single time. It’s all in the little things, trust me! First off, the quality of your chocolate really matters. For both the brownie batter and the mousse, using a good semi-sweet chocolate makes a huge difference in flavor. Don’t skimp there if you can help it!
And for the brownies themselves, resist the urge to overbake them! That toothpick test is your friend, but remember, you want moist crumbs, not a dry scrub brush. A slightly underbaked brownie base is way better than a dry, crumbly one when you’re going for that fudgy texture. Also, make sure you let the brownie base cool *completely* before you even think about spreading the mousse on top. If it’s warm, the mousse will just melt into a chocolatey puddle, and we don’t want that! Patience is key here.
Ingredient Notes and Substitutions
Okay, let’s chat about some of these ingredients for our amazing Chocolate Mousse Brownies. Sometimes you might not have exactly what the recipe calls for, and that’s totally fine! For the milk in the mousse, any kind will work, really – whole milk gives it a richer feel, but even almond or oat milk can do the trick if that’s what you have on hand. And for the chocolate, I used semi-sweet here because it balances things out so nicely, but dark chocolate or even milk chocolate chips would be delicious too. Just adjust the sugar if you go super dark!
If you’re out of butter for the brownie base, you could try a neutral oil like vegetable or canola, though butter really brings that classic rich flavor. Just make sure to measure it the same! For the heavy whipping cream, if you can’t find it, sometimes a canned evaporated milk whipped up can work in a pinch, though it won’t be quite as fluffy. These little tweaks are what make recipes your own!
Frequently Asked Questions about Chocolate Mousse Brownies
Got questions about these incredible Chocolate Mousse Brownies? I’ve got you covered! Let’s dive into some of the things folks often wonder about.
How long do these brownies last, and how should I store them?
These beauties need to live in the fridge! Because of that lovely mousse layer, they stay freshest when kept chilled. Pop them in an airtight container, and they should last a good 3-4 days. They’re actually super yummy straight from the fridge, but letting them sit out for about 15-20 minutes before serving can make them even more melt-in-your-mouth delicious.
Can I make the Chocolate Mousse Brownies ahead of time?
Oh, absolutely! That’s one of the best things about this recipe. You can totally make the brownie base one day and then whip up the mousse and assemble them the next. Or, go ahead and make the whole batch the day before you need them. They actually taste even better after chilling for a bit, which is a nice heads-up if you love prepping ahead of time. You can find some great make-ahead tips that apply here too!
My mousse layer is a bit runny. What went wrong?
Don’t you worry, it happens! The most common culprit is that the chocolate mixture for the mousse wasn’t cooled down enough before folding it into the whipped cream. If it’s too warm, it’ll melt the cream. Also, make sure you whipped your cream to stiff peaks – that gives the mousse its structure. If it’s still a bit soft after chilling, just pop it back in the fridge for another 30 minutes or so. It’ll thicken up!
Can I use a different type of chocolate for the mousse?
You sure can! I love semi-sweet because it’s perfectly balanced, but feel free to experiment. Dark chocolate will give you a richer, more intense flavor, while milk chocolate will make the mousse a bit sweeter and creamier. Just remember that if you use a sweeter chocolate, you might not need as much sugar in the brownie part, but since this recipe doesn’t have a ton of sugar there, you’re probably safe to just swap it out!
Serving and Storage Suggestions
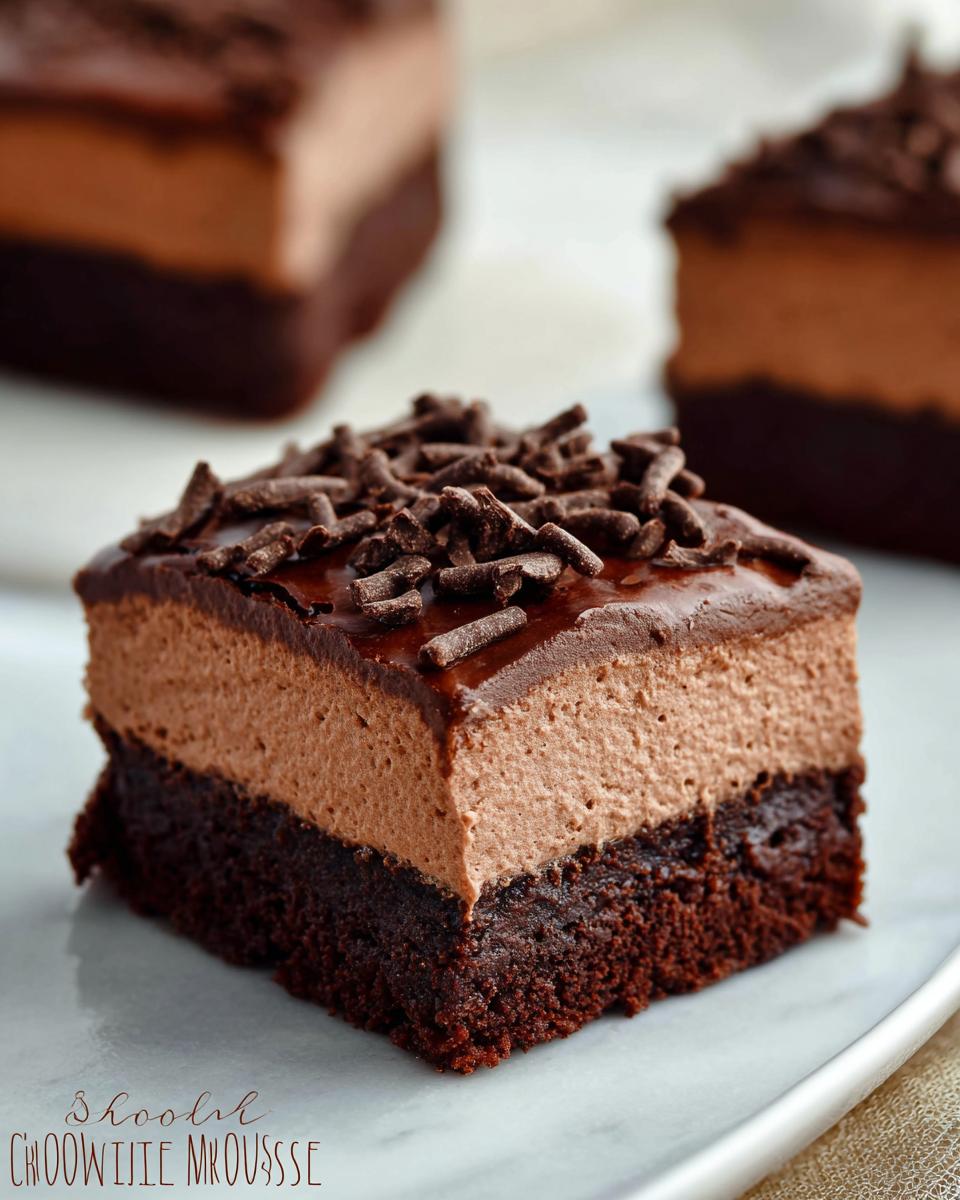
Alright, now that you’ve got these gorgeous Chocolate Mousse Brownies, let’s talk about making sure they’re perfect when you serve them and how to keep them tasting amazing. I find they are absolutely divine when served chilled. Take them right out of the fridge, cut them into squares, and just enjoy that incredible contrast between the fudgy brownie and the airy mousse. If you want them to be a little softer, you can totally let them sit on the counter for about 15-20 minutes before digging in – they’ll still be wonderfully cool!

Now, for storing any leftovers (if there *are* any, which is a big “if” in my house!), just pop them into an airtight container. They’ll keep beautifully in the refrigerator for about 3 to 4 days. Honestly, they’re so good, I doubt they’ll last that long, but it’s good to know you can stash them away for a little pick-me-up later!
Estimated Nutritional Information
So, about these amazing Chocolate Mousse Brownies! Since we all use slightly different ingredients and brands, the numbers can wiggle a bit. But, to give you a ballpark, each decadent piece usually rings in somewhere around 350-400 calories. Expect about 20-25g of fat, roughly 8-10g of protein, and around 40-45g of carbohydrates per serving. These are just friendly estimates, so think of them as a helpful guide, not a rigid rule! For more ideas on watching those numbers, check out some calorie-smart recipe ideas.
Chocolate Mousse Brownies
Ingredients
Equipment
Method
- Preheat your oven to 350 degrees F. Line a 9×9″ square baking pan with foil, letting the foil extend over the edges. Spray the foil with cooking spray and set aside.
- In a large bowl, mix the melted butter and sugar until smooth. Add the eggs one at a time, mixing well after each. Stir in the vanilla extract. Finally, add the cocoa powder, salt, and flour, mixing until a soft batter forms.
- Pour the batter into the prepared pan and spread it evenly. Bake for 22-25 minutes, or until a toothpick inserted near the center comes out clean or with moist crumbs. Let the brownies cool completely.
- To make the mousse: In a saucepan over low heat, combine the miniature marshmallows, chopped chocolate, and milk. Stir often until melted and smooth. Let this mixture cool completely, about 15-20 minutes.
- After the chocolate mixture has cooled, whip the heavy cream in a stand mixer until stiff peaks form. Gently fold the cooled chocolate mixture into the whipped cream until combined. Spread this mousse evenly over the cooled brownies.
- Refrigerate the brownies for at least 1 hour to allow the mousse to set. Before serving, drizzle with chocolate ganache if you like. Store any leftovers in the refrigerator.
Notes
Tried this recipe?
Let us know how it was!
Urban Forager & Hyperlocal Ingredient Specialist
My Brooklyn apartment balcony tells my story: vertical gardens packed with wild edibles, fermentation crocks bubbling with city-foraged greens, and the constant hum of dehydrators preserving herbs I’ve collected from unexpected urban corners. What started as weekend escapes to my aunt’s upstate farm during my Columbia botany studies turned into something bigger after I earned my Urban Ecology Master’s from The New School.
Instead of following traditional academic paths, I discovered that cities are actually amazing edible ecosystems—rooftop weeds, park-edge wild greens, vacant lot treasures that perfectly complement keto eating. Who knew that some of the best low-carb foods were growing right under our noses in Manhattan?
My recipe collections celebrate city seasons: spring dandelions and plantains, summer purslane from rooftops, autumn rose hips from community gardens, winter wild onions and cress. I’m certified through the New York Mycological Society and trained by Brooklyn Botanic Garden to forage safely and ethically. Over 180 of my recipes feature at least one urban-foraged ingredient—from sidewalk plantains to sumac berries and wild mint thriving in vacant lots.
My “Metropolitan Wild” column went viral after my dandelion coffee substitute hit social media. Now my weekend “Urban Wild Walks” through Central Park and Prospect Park sell out faster than I can schedule them. I teach city dwellers to spot safe, keto-friendly wild foods hiding in plain sight.
Currently, I’m partnering with local chefs to bring urban foraged elements to restaurant menus and developing an app that maps safe foraging spots across all five boroughs. Evenings find me tending my sourdough starters, pressing flowers for natural dyes, or weaving baskets from willow branches I collect during park maintenance.
Cities are wild food sanctuaries hiding in plain sight—keto eating becomes urban rebellion when you realize how much free, perfect nutrition grows right under our feet.