
There’s just something magical about a bubbling pan of homemade stuffing, isn’t there? That incredible aroma of savory herbs, toasty bread, and butter… it instantly takes me back to my very first Thanksgiving back in college. I remember standing in a tiny apartment kitchen, feeling totally out of my depth, but determined to make a stuffing that tasted like *real* home cooking. As I sautéed the onions and mixed in the bread cubes, a wave of pure joy washed over me. It wasn’t just food; it was accomplishment! That first batch was a roaring success, and it sparked this whole love affair with cooking for me. Now, years later, I still get that same thrill, even finding amazing little bits and bobs from my own neighborhood to tuck into my creations. If you’re new to the kitchen or just want something simple but super tasty, trust me, grab your apron! This guide, The Ultimate Stuffing Recipes Guide for Beginners, is your new best friend for crafting delicious stuffing from scratch, no matter the occasion.
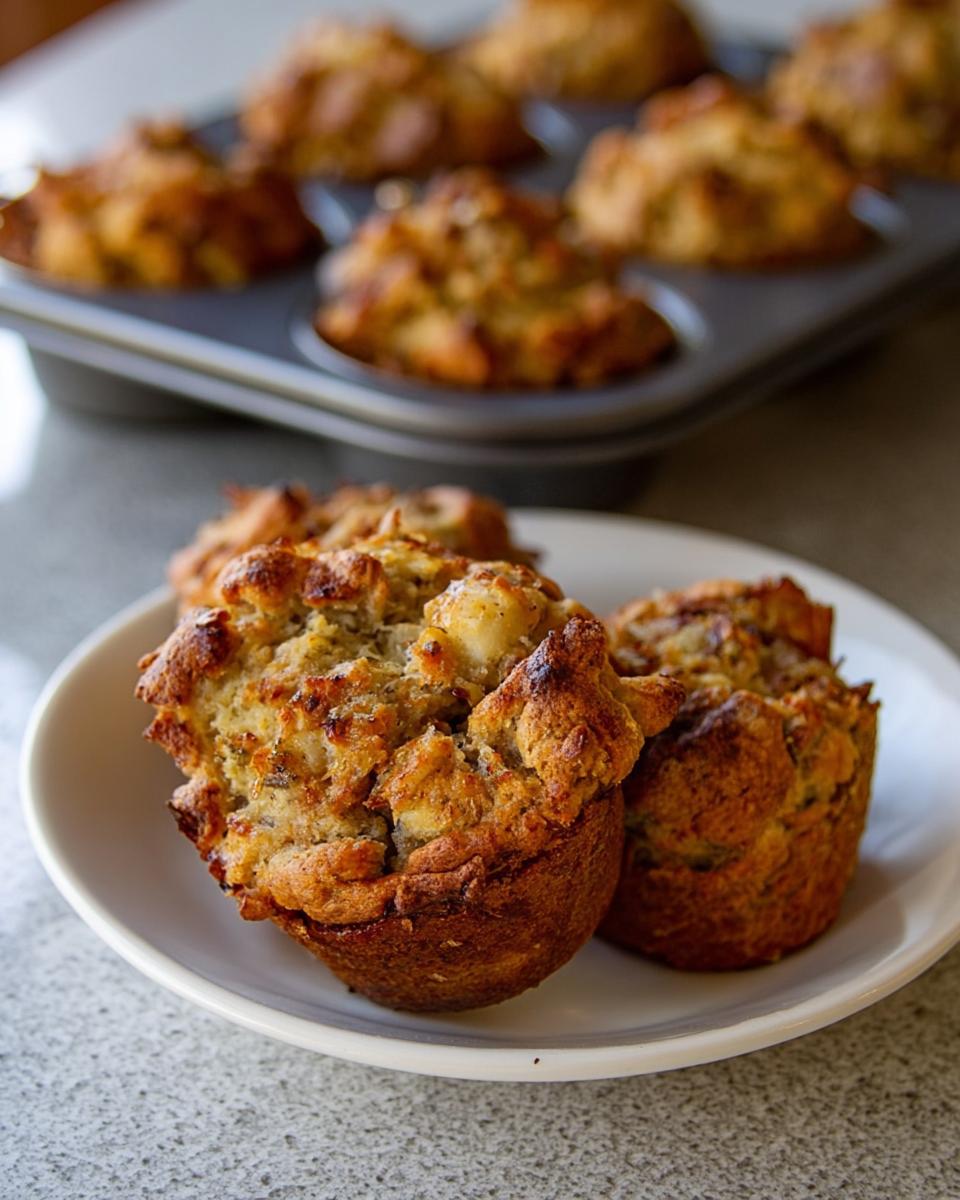
Why You’ll Love These Easy Stuffing Muffins
Seriously, making stuffing doesn’t need to be stressful! These little muffin-shaped wonders are my go-to for a reason:
- Super Simple Stuff: We’re talking straightforward steps that even a kitchen newbie can nail. No fancy techniques here!
- Big Flavor, Little Effort: Don’t let the ease fool you – these are packed with savory herbs and delicious toasted bread goodness.
- Perfect Portions: These muffins mean no more scooping from a giant dish. Everyone gets their own little mound of yummy stuffing!
- Beginner-Proof: This recipe walks you through everything, making it ideal if you’re just dipping your toes into the world of Thanksgiving sides.
- So Versatile!: Great for Thanksgiving, sure, but honestly? They’re perfect for any dinner where you want a little something extra.
Gathering Your Ingredients for The Ultimate Stuffing Recipes Guide for Beginners
Alright, let’s get our pantry prepped! For these super easy stuffing muffins, you’ll need just a few simple things. Trust me, having everything measured out before you start makes the whole process so much smoother. Here’s what you’ll want to grab:
- Butter or margarine: 1/4 cup. This is for getting those onions nice and soft.
- Onions: 2 medium onions, all chopped up. They’re the flavor base!
- Poultry seasoning: 2 teaspoons, divided. This is key for that classic stuffing taste, but you can totally swap it for sage, thyme, and rosemary if you prefer!
- Salt: 2 teaspoons of salt, divided. A little bit makes all the flavors pop.
- Black pepper: 2 teaspoons of pepper, divided. For a nice little kick.
- Bread: About 15 slices of day-old bread. Seriously, stale bread is your best friend here – cube it up into about 1-inch pieces.
- Eggs: 2 large eggs, whisked up nice and light.
- Milk or Chicken Broth: 1 1/2 cups. Broth adds a little extra savory depth if you have it on hand!
Essential Equipment for Your Stuffing Muffins
You don’t need a fancy kitchen for this one! Just grab these basics:
- Muffin tin: A standard 12-cup one is perfect for making these individual delights.
- Large skillet: For softening those onions and getting all that yummy flavor going.
- Large bowl: Big enough to toss all your bread, onions, and wet ingredients together without making a huge mess (hopefully!).
Step-by-Step Guide: Mastering The Ultimate Stuffing Recipes Guide for Beginners
Okay, let’s get this stuffing party started! Don’t worry, it’s easier than you think. Just follow these simple steps, and you’ll have delicious stuffing muffins in no time. We’re going to build up all that amazing flavor layer by layer.
Preheating and Preparing the Muffin Tin
First things first, get your oven preheating to 350°F (that’s 175°C for my international pals!). While it’s warming up, grab your muffin tin and give those 12 cups a really good greasing. You want these little guys to pop right out later, so don’t skimp here!
Sautéing the Aromatics
Melt that butter in your big skillet over medium heat. Once it’s warm and bubbly, toss in your chopped onions. Add in 1 teaspoon of that poultry seasoning, 1 teaspoon of salt, and 1 teaspoon of pepper. Give it all a stir and let those onions get nice and soft and a little see-through, about 6 to 8 minutes. The key is to soften them, not brown them – we’re going for sweet, not burnt!
Combining Bread and Onion Mixture
Now, take your cubed bread – remember, day-old is best because it holds up better – and dump it into your big mixing bowl. Pour that lovely onion and butter mixture right over the top. Give it a good stir with a spoon or your clean hands to make sure every piece of bread gets coated in all that yummy flavor.
Adding the Wet Ingredients and Checking Liquid
In a separate little bowl, whisk together your 2 eggs and the milk or broth. Pour about half of this wet stuff over your bread mixture and stir it in. Now for the important part: the ‘squeeze test’! Grab a handful of the moistened bread and give it a gentle squeeze. If just a few little drops of liquid come out, you’re doing great! If it feels too dry, add a bit more of the egg mixture and squeeze again. You want the bread to be well-soaked, like it’s ready to hold together but not totally mushy.
Final Seasoning and Tasting
Stir in the remaining teaspoon of poultry seasoning, salt, and pepper. Go ahead and give it a sniff – it should smell wonderfully herby and peppery! If you’re brave, you can even taste a little bit of the raw stuffing to check the seasoning. If you’re not a fan of tasting raw things, just pop a tiny bit in the microwave for a few seconds until it’s warm, then taste away. Adjust anything you think it needs!
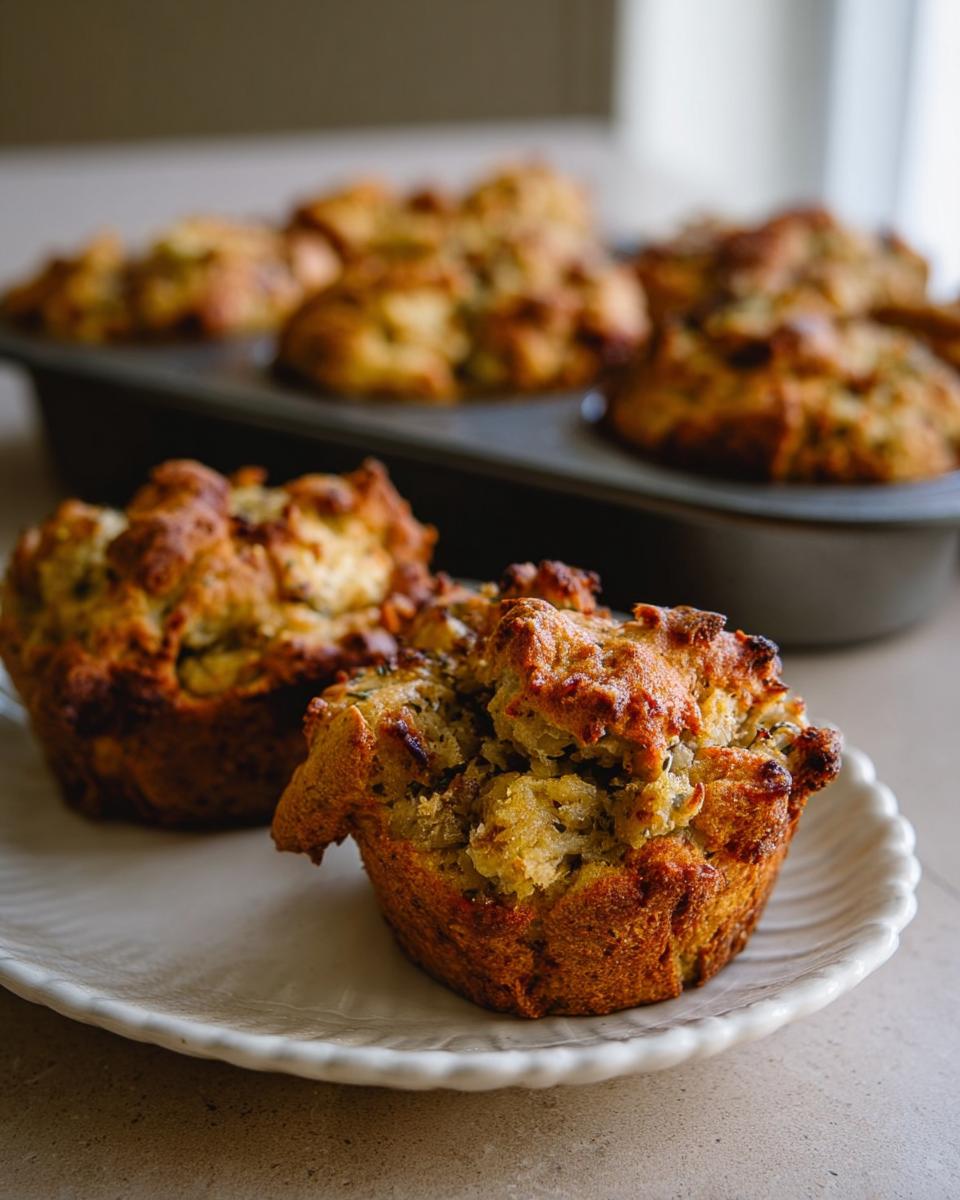
Portioning and Baking the Stuffing Muffins
Time to fill those muffin cups! Divide your stuffing mixture evenly among the 12 prepared cups. Pile them up a bit; they’ll bake up beautifully. Pop them into your preheated oven and bake for about 30 to 40 minutes. You’re looking for the tops to get nice and brown and a little bit crunchy. Everything should be heated all the way through.
Removing Muffins from the Tin
Once they’re out of the oven and look golden and delicious, let them cool in the tin for just a minute or two. Then, carefully run a plastic knife around the edge of each muffin cup. This helps loosen them up. Gently lift each stuffing muffin out – they should slide right out, giving you those perfect little individual portions!
Tips for Perfect Stuffing Muffins Every Time
Okay, so you’ve got the recipe, but let me give you a few little nuggets of wisdom that have made my stuffing life SO much easier. These aren’t in the official instructions, but trust me, they’re game-changers!
First off, the bread is EVERYTHING. While the recipe says day-old, don’t be afraid to use bread that’s even a couple of days old. Sturdier breads like sourdough, challah, or a really good country loaf work wonders. They soak up liquid without turning into complete mush. Just avoid super soft white sandwich bread unless you really want a softer stuffing. I’ve even used leftover cornbread! If you’re feeling fancy, you can toast your bread cubes lightly in the oven for about 10 minutes at 300°F before you start the recipe – it gives them an extra layer of texture.
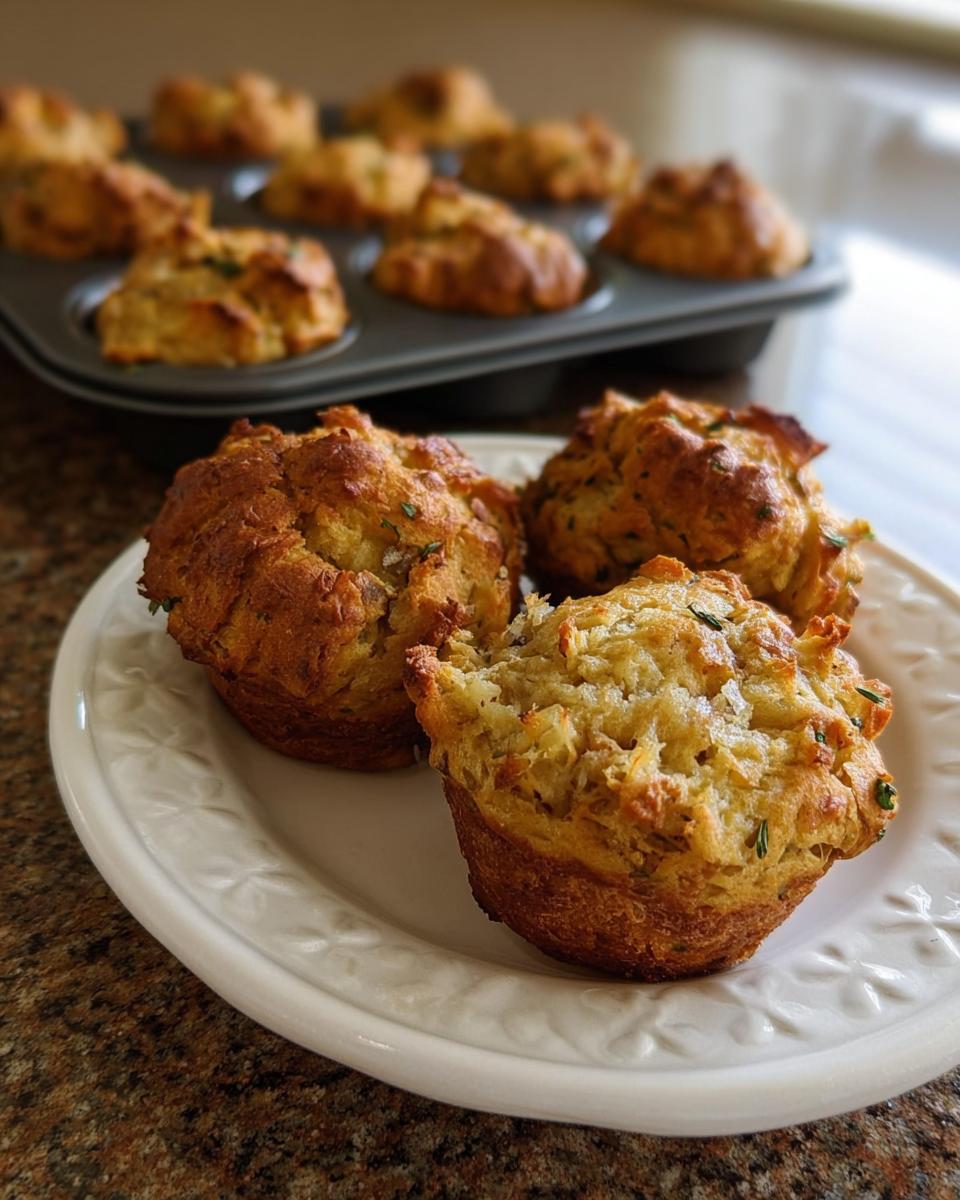
And about those herbs! The poultry seasoning is a classic blend, but don’t be shy about jazzing it up. I often add a little extra fresh sage or thyme, maybe even some rosemary if I’m feeling adventurous. You can even toss in some finely chopped celery with the onions if you like that crunch. Just remember to taste as you go – your palate is the final judge!
Oh, and one more thing: if you want that super-crispy top on your muffins, try to get them in a single layer in the muffin tin and don’t overfill them too much. Give them space to breathe and get beautifully browned. If they seem a little too moist still after 40 minutes, you can even pop them out of the tin and put them directly on a baking sheet for the last 5-10 minutes under the broiler (watch them like a hawk, though!). For more inspiration, check out this amazing stuffing tutorial, and if you’re looking for other Thanksgiving side dish ideas, I’ve got you covered!
Ingredient Notes and Substitutions for The Ultimate Stuffing Recipes Guide for Beginners
Let’s chat about making this stuffing recipe work perfectly for YOU! Sometimes you might not have exactly what the recipe calls for, or maybe you just want to jazz it up a bit. Totally okay!
Bread is Key: The recipe mentions day-old bread, and that’s because it has a little less moisture, so it won’t turn into complete mush. But if your bread is fresher, just spread it out on a baking sheet and pop it into a low oven (around 250°F) for 10-15 minutes until it feels a bit drier. Sourdough, French bread, or even a hearty whole wheat will work beautifully. If you’re going gluten-free, there are some great GF bread options out there now, just make sure they’re sturdy enough!
Liquid Options: Chicken broth adds a lovely depth of flavor, but milk works wonderfully too, giving it a creamy texture. You can even do a mix of both! For a vegetarian version, vegetable broth is a fantastic substitute. Just make sure whatever liquid you use is low-sodium so you can control the saltiness.
Herb Talk: If you can’t find poultry seasoning, no worries! You can easily make your own blend using equal parts dried sage, thyme, and rosemary. A pinch of marjoram is nice too. The key is those classic savory herbs. Maybe you’re also looking for some other baking ideas? Well, herbs are like spices for stuffing – a little goes a long way but makes a huge difference!
Frequently Asked Questions About Stuffing
Got questions about getting your stuffing just right? I totally get it! Stuffing can seem simple, but there are a few little tricks to making it perfect every single time. Here are some of the most common things people ask:
Can I make stuffing ahead of time?
Oh, absolutely! This is one of my favorite make-ahead dishes. You can prepare the stuffing mixture (up to the point where you add the liquid and eggs) a day in advance and keep it covered in the fridge. Then, just add the wet ingredients, mix it all up, and bake it when you’re ready. Or, you can bake it completely, let it cool, and then reheat it in the oven. It’s a lifesaver on busy holiday mornings! For more ideas on making ahead, check out my tips for potato recipes, which also have great make-ahead potential!
What kind of bread is best for stuffing?
The best bread is generally a day-old or even two-day-old loaf that’s a bit stale. This helps it hold its shape and soak up all those yummy liquids without turning into total mush. Sturdy breads like French baguettes, sourdough, challah, or a rustic country loaf are fantastic. Avoid really soft, squishy sandwich bread if you want a nicely textured stuffing. If your bread is fresh, just spread it out on a baking sheet and toast it lightly in a low oven for about 10-15 minutes until it’s a little dry.
How do I prevent stuffing from being too dry or too soggy?
This is the million-dollar question! It all comes down to the bread and the liquid ratio. If your bread is too fresh and moist, it will absorb too much liquid, leading to a soggy stuffing. On the other hand, if your bread is too dry and you don’t add enough liquid, it will be crumbly and dry. The ‘squeeze test’ in the recipe is your best friend here! You want the bread to be saturated enough that when you squeeze a bit, just a *few* drops of liquid come out. Also, baking it uncovered helps the top get nice and crisp while the inside stays moist.
Can I use different herbs in my stuffing?
Yes, please! The poultry seasoning is a classic blend that gives that traditional stuffing flavor, but don’t feel limited by it. Fresh or dried sage, thyme, and rosemary are superstars in stuffing. You can also add a little marjoram or even parsley for freshness and color. If you’re using fresh herbs, you’ll need a bit more than dried ones. My personal favorite is a generous amount of fresh sage and thyme – it smells incredible!
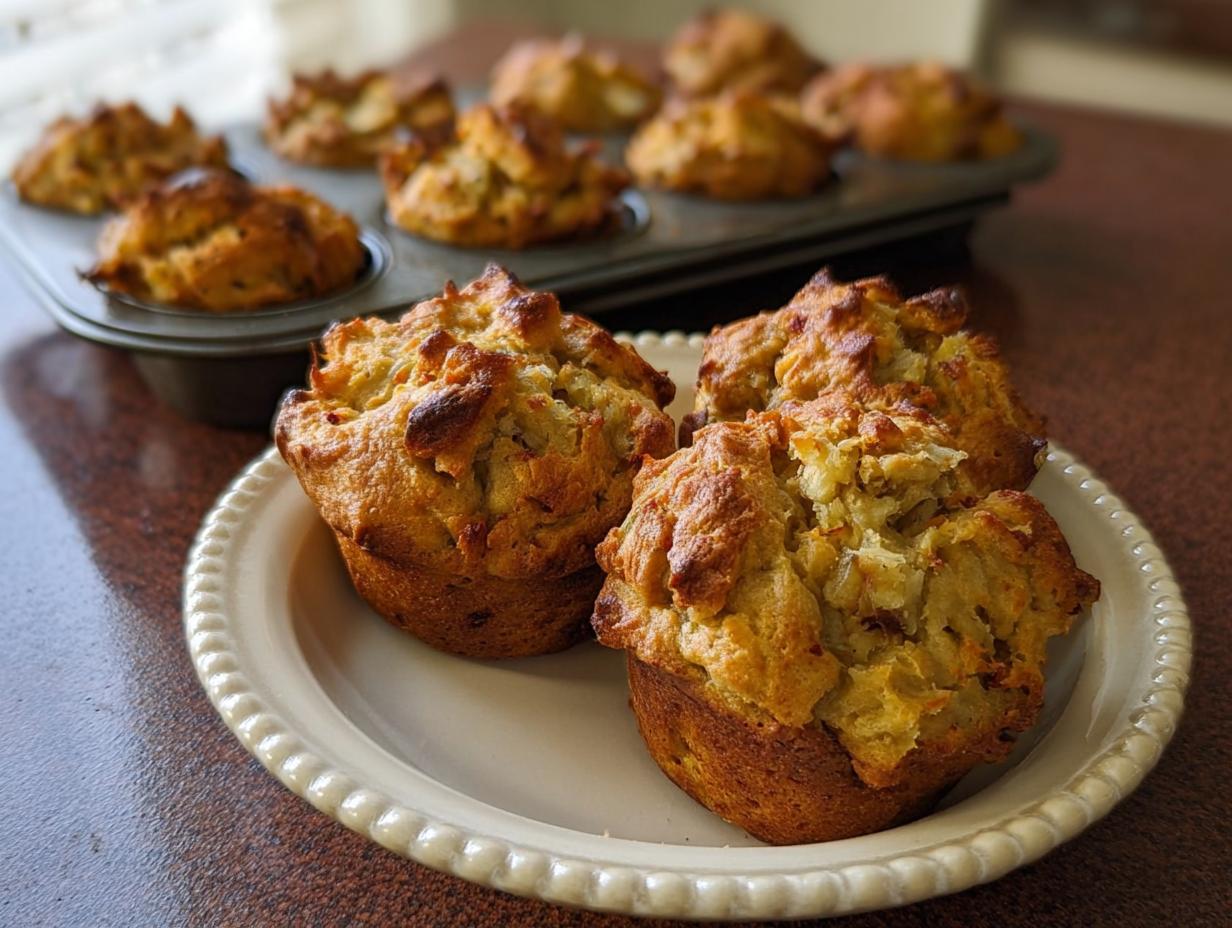
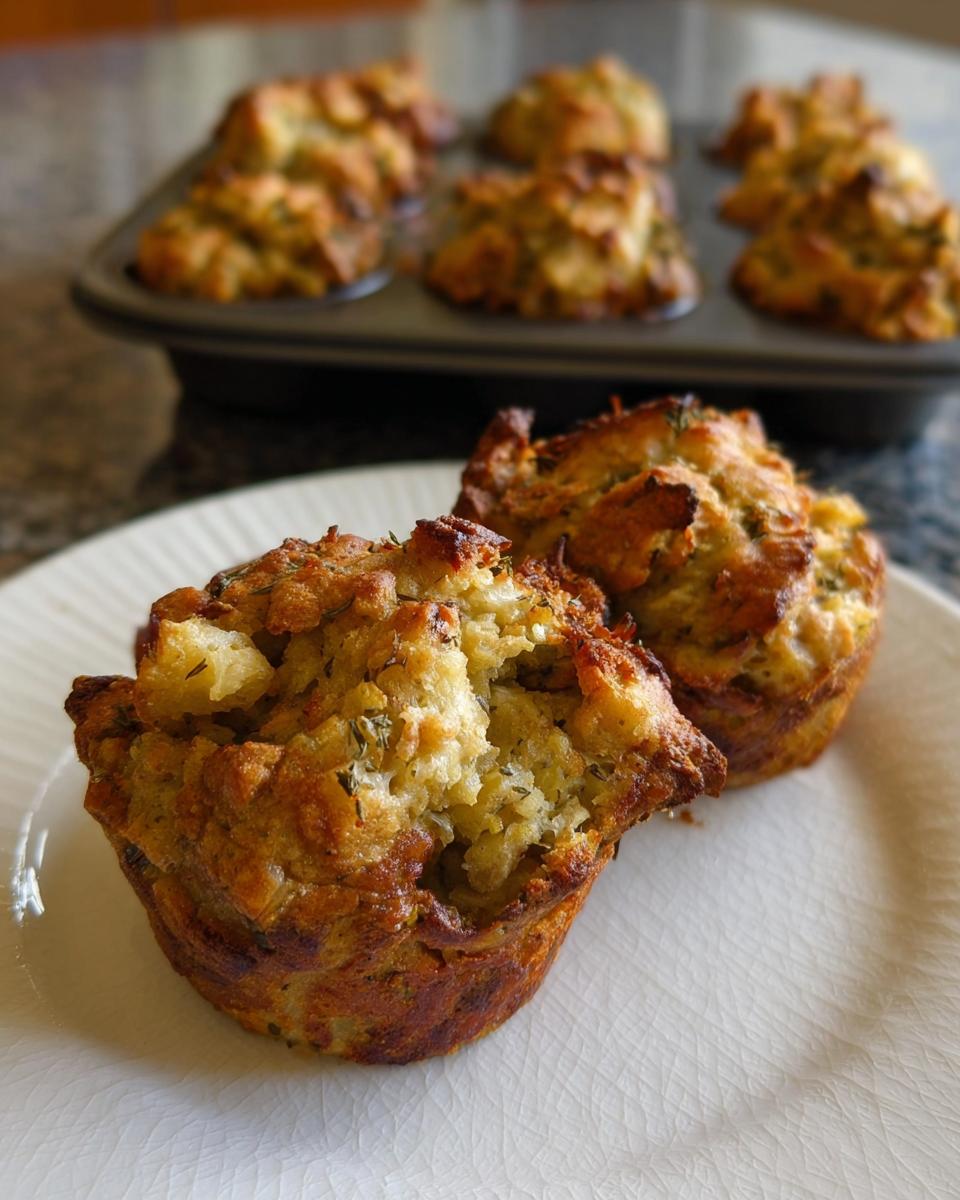
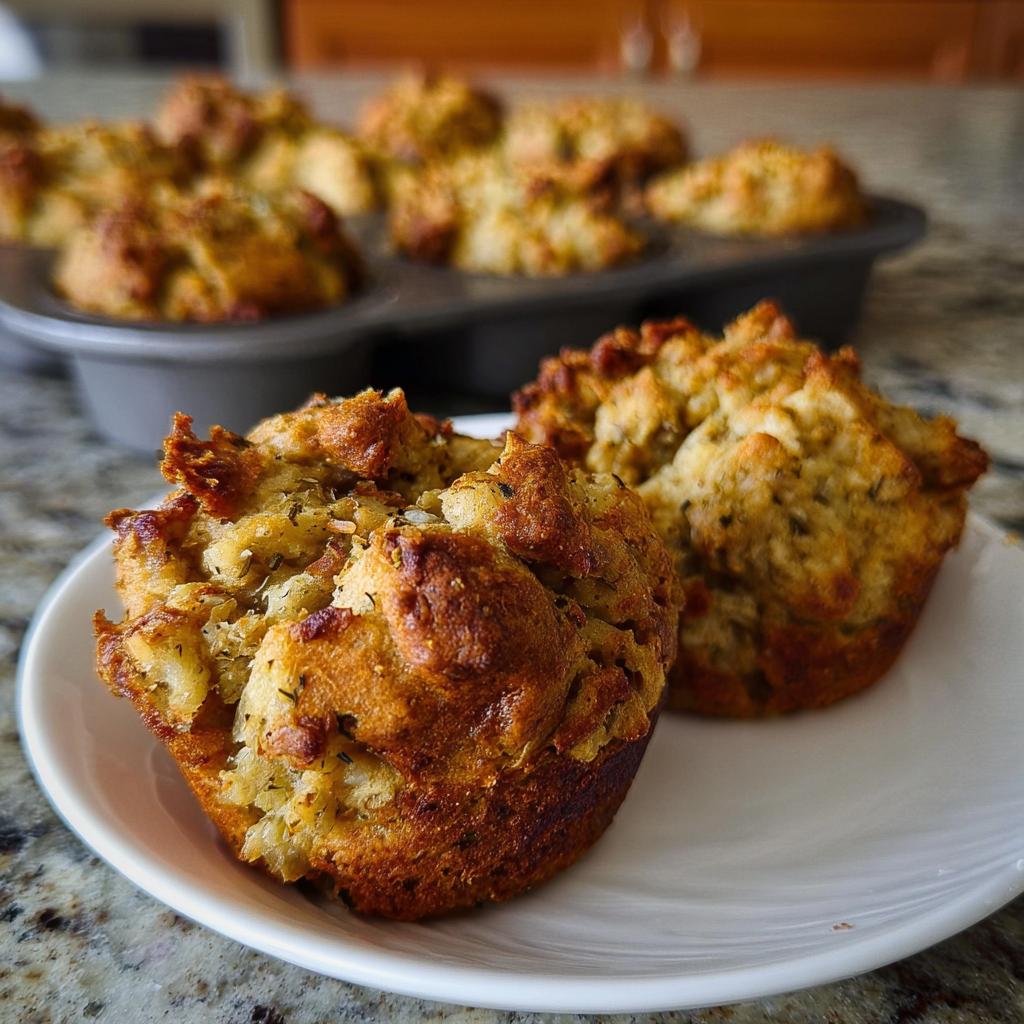
Serving and Storing Your Stuffing Muffins
These stuffing muffins are just adorable, right? They’re perfect for doling out individual servings at your holiday table. Serve them right alongside your turkey, gravy, and all those other amazing dishes. If you happen to have any leftovers (which is rare in my house!), they store like a dream! Just let them cool completely and pop them into an airtight container or a resealable bag. They’ll be good in the fridge for about 3-4 days.
To reheat, I love to pop them back into a moderate oven (around 350°F or 175°C) for about 10-15 minutes until they’re warmed through and a little crispy on top again. If you’re short on time, a quick zap in the microwave works too, though they might be a bit softer. Honestly, leftover stuffing is almost as good as the fresh stuff, especially for breakfast!
Looking for your next favorite Thanksgiving dessert to round out the meal? I’ve got some wonderful ideas!
Nutritional Information
Alright, let’s talk numbers! Here’s an *estimated* breakdown for each stuffing muffin. Keep in mind this can totally vary depending on the exact brands you use, the type of bread, or if you swap in broth for milk. This is just a general idea to help you out!
- Calories: ~180-220 kcal
- Fat: ~8-12g
- Protein: ~5-7g
- Carbohydrates: ~20-25g
Easy Stuffing Muffins for Beginners
Ingredients
Equipment
Method
- Preheat your oven to 350°F. Grease 12 non-stick muffin cups.
- Warm the butter in a large skillet over medium heat.
- Add the onions, 1 teaspoon of poultry seasoning, 1 teaspoon of salt, and 1 teaspoon of pepper. Cook, stirring occasionally, until the onions are softened but not browned, about 6-8 minutes.
- Place the bread cubes in a large bowl. Add the cooked onions and butter mixture to the bread cubes and stir well.
- In a separate bowl, combine the eggs and milk. Pour about half of this mixture over the bread and stir. To check if you have enough liquid, take a handful of moistened bread and squeeze. If small drops of liquid come out, you have added enough. Add more liquid if needed until the bread is saturated enough to yield small drops when squeezed.
- Stir in the remaining teaspoon of poultry seasoning, salt, and pepper. Smell the stuffing; it should have a strong herby and peppery scent. Taste the stuffing to adjust seasonings if needed. You can taste it raw, or microwave a small portion until heated through before tasting.
- Divide the stuffing among the prepared muffin tins, mounding them well.
- Bake for 30-40 minutes, until the tops are brown and crunchy and the stuffing is heated through.
- Carefully run a plastic knife around the edges of each muffin cup and gently remove the stuffing portions.
Notes
Tried this recipe?
Let us know how it was!
Urban Forager & Hyperlocal Ingredient Specialist
My Brooklyn apartment balcony tells my story: vertical gardens packed with wild edibles, fermentation crocks bubbling with city-foraged greens, and the constant hum of dehydrators preserving herbs I’ve collected from unexpected urban corners. What started as weekend escapes to my aunt’s upstate farm during my Columbia botany studies turned into something bigger after I earned my Urban Ecology Master’s from The New School.
Instead of following traditional academic paths, I discovered that cities are actually amazing edible ecosystems—rooftop weeds, park-edge wild greens, vacant lot treasures that perfectly complement keto eating. Who knew that some of the best low-carb foods were growing right under our noses in Manhattan?
My recipe collections celebrate city seasons: spring dandelions and plantains, summer purslane from rooftops, autumn rose hips from community gardens, winter wild onions and cress. I’m certified through the New York Mycological Society and trained by Brooklyn Botanic Garden to forage safely and ethically. Over 180 of my recipes feature at least one urban-foraged ingredient—from sidewalk plantains to sumac berries and wild mint thriving in vacant lots.
My “Metropolitan Wild” column went viral after my dandelion coffee substitute hit social media. Now my weekend “Urban Wild Walks” through Central Park and Prospect Park sell out faster than I can schedule them. I teach city dwellers to spot safe, keto-friendly wild foods hiding in plain sight.
Currently, I’m partnering with local chefs to bring urban foraged elements to restaurant menus and developing an app that maps safe foraging spots across all five boroughs. Evenings find me tending my sourdough starters, pressing flowers for natural dyes, or weaving baskets from willow branches I collect during park maintenance.
Cities are wild food sanctuaries hiding in plain sight—keto eating becomes urban rebellion when you realize how much free, perfect nutrition grows right under our feet.