
Ah, Thanksgiving desserts! The smell of cinnamon, the sweet comfort of pumpkin pie, the happy chaos in the kitchen… it’s all part of the magic, right? But let’s be real, sometimes it feels more like a baking battlefield than a cozy gathering. When I first started tackling Thanksgiving desserts, I wanted them to be *perfect*, but without all the stress. That’s when I really dove into learning How to Make Thanksgiving Desserts (Foolproof). Trust me, after a few mishaps, I figured out a few tricks that turn even the trickiest holiday bakes into something you can whip up with confidence. My first foolproof success was a classic pumpkin pie, and seeing my family devour it, knowing I didn’t have a meltdown? Pure joy! I’m Isabella Moore, and I’m all about making delicious food easy and stress-free, especially for those special holiday moments.
Why You’ll Love These Foolproof Thanksgiving Desserts
Seriously, who doesn’t love a stress-free holiday? These desserts are a game-changer for anyone wanting to impress without the panic. Here’s why you’ll be obsessed:
- Super Easy! Even if you’re new to baking, these recipes are totally doable.
- Super Delicious! They taste just like the fancy ones, but with way less fuss.
- Make Them Ahead! Perfect for busy holiday schedules – bake ’em early and chill out.
- Crowd-Pleasers! Get ready for happy eaters and plenty of compliments at your Thanksgiving table.
Learning How to Make Thanksgiving Desserts (Foolproof) has never been simpler. Your holiday baking just got a whole lot more joyful!
Essential Ingredients for Your Thanksgiving Desserts
Alright, let’s get down to what you’ll need for these little bits of Thanksgiving heaven. It’s not a long list, which is part of why it’s so easy! Having everything prepped makes the whole process a breeze.
For the Pie Bites
This is the heart of our little pumpkin pies:
- 1.25 cups pumpkin puree (make sure it’s pure pumpkin, not pie filling!)
- 0.75 cup packed dark brown sugar
- 0.5 cup heavy cream
- 0.25 cup milk
- 1 large egg
- 1 teaspoon cinnamon
- 0.5 teaspoon pumpkin pie spice
- 0.5 teaspoon kosher salt
- 2 unbaked pie crusts, homemade or store-bought
For Serving
Optional, but highly recommended!
- Whipped cream
Step-by-Step Guide: How to Make Thanksgiving Desserts (Foolproof)
Okay, deep breaths! This is where the magic happens, and it’s way easier than you think. Following these steps is key to How to Make Thanksgiving Desserts (Foolproof), and you’ll end up with adorable little pies that taste just like the real deal. You can find more of my go-to recipes right here, and check out some fun mini dessert ideas too! Let’s get these pumpkin bites made!

Prepare the Pumpkin Filling
First things first, let’s get that yummy filling ready. In a big bowl, just whisk together your pumpkin puree, that lovely dark brown sugar, the heavy cream and milk, your egg, and all those warm spices – cinnamon, pumpkin pie spice, and salt. Make sure it’s all super smooth and combined. Pop this bowl in the fridge while you get the crusts ready; it helps everything chill out!
Forming the Pie Crusts
Grab one of your pie crusts and roll it out just a tiny bit on a lightly floured counter. You don’t need it super thin, maybe about ⅛ inch. Then, use a round cutter (or even a glass rim!) that’s about 4 ½ inches across to cut out 6 circles. Gently press these circles down into your muffin tin cups. Don’t worry if there’s a little extra dough hanging over; you can tuck it in or trim it. We want nice, neat little cups! Repeat this with the other crust so you have 12. Now, poke the bottom of each crust a few times with a fork – this stops them from puffing up weirdly. Stick the whole muffin tin in the fridge to get nice and cold.
Par-Baking the Crusts
This step is super important for avoiding soggy bottoms! Preheat your oven to 425°F (220°C). Line each little crust with a paper muffin liner and fill them up with pie weights or even dried beans. Pop them in the hot oven for about 10-12 minutes, until the edges are just starting to look a little golden. Carefully take them out, remove the liners and weights, and put them back in for another 5 minutes. This dries out the bottom nicely. Now, turn your oven down to 350°F (175°C) for the final bake.
Filling and Final Bake
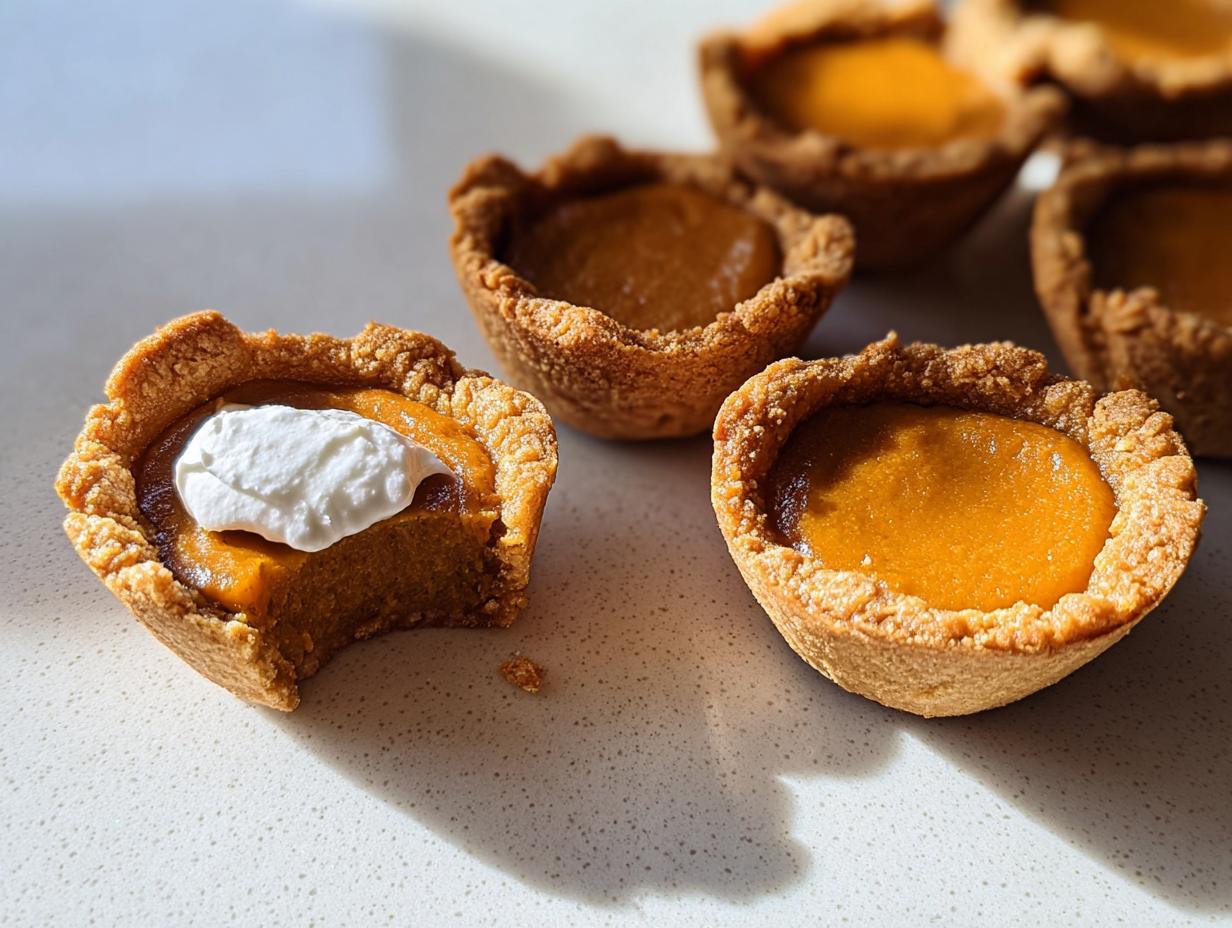
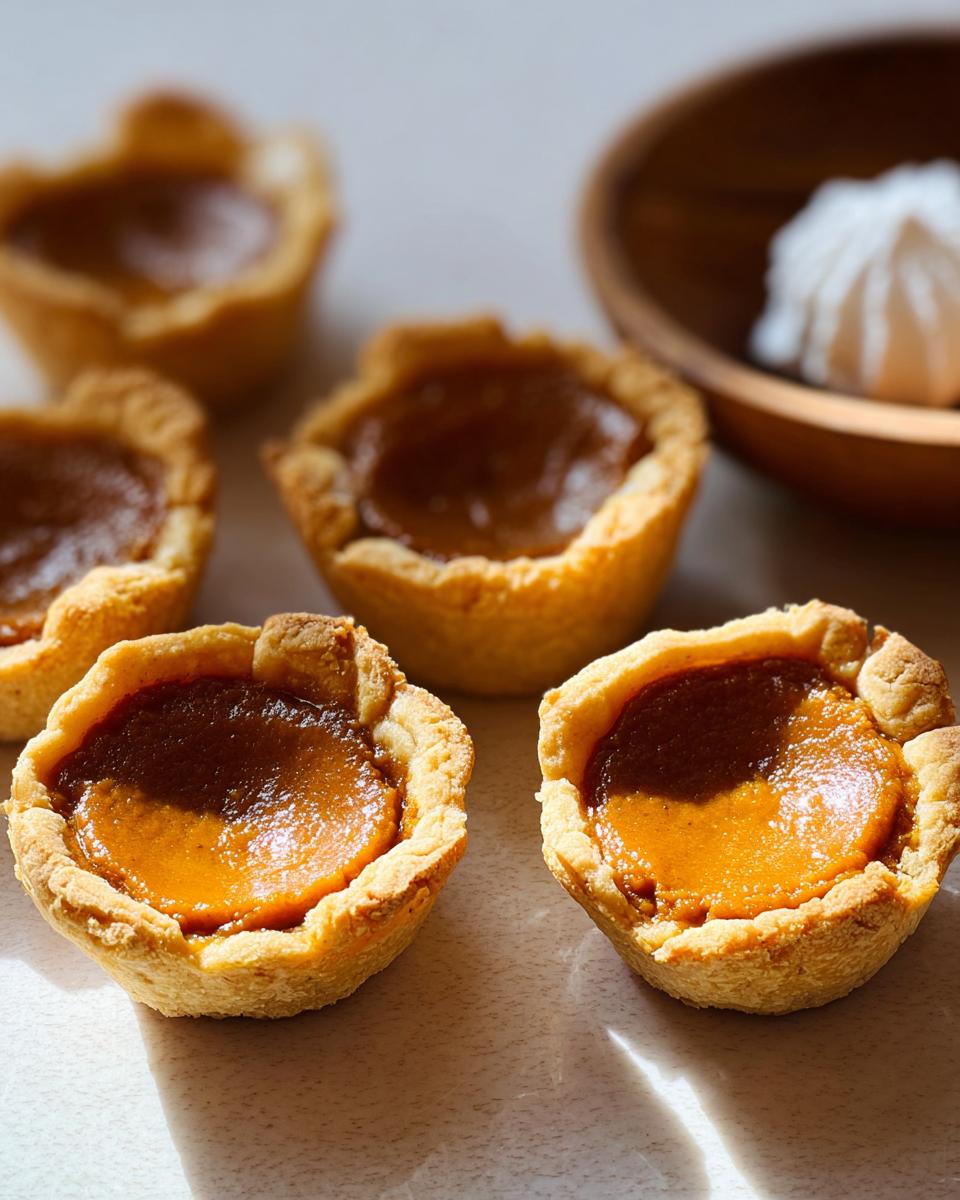
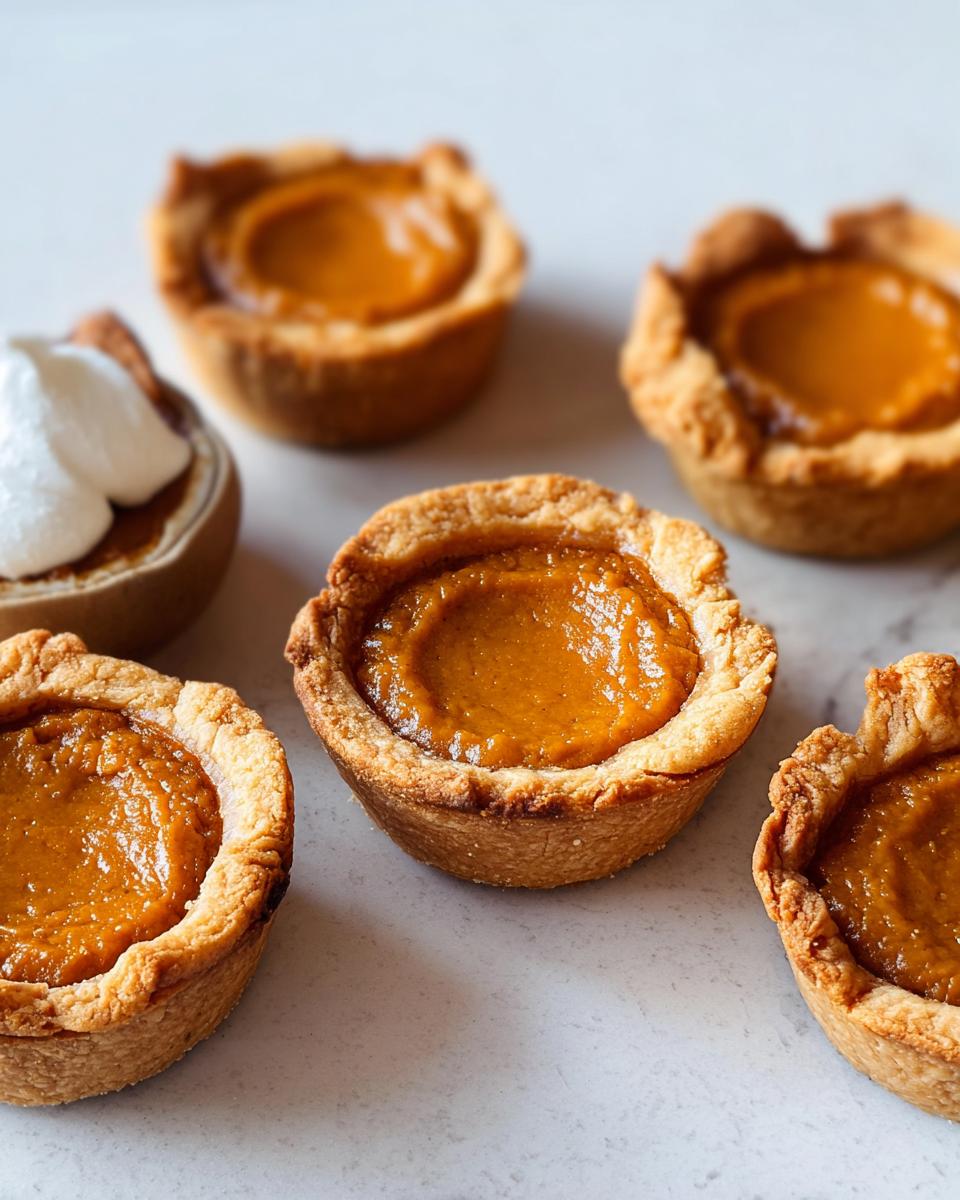
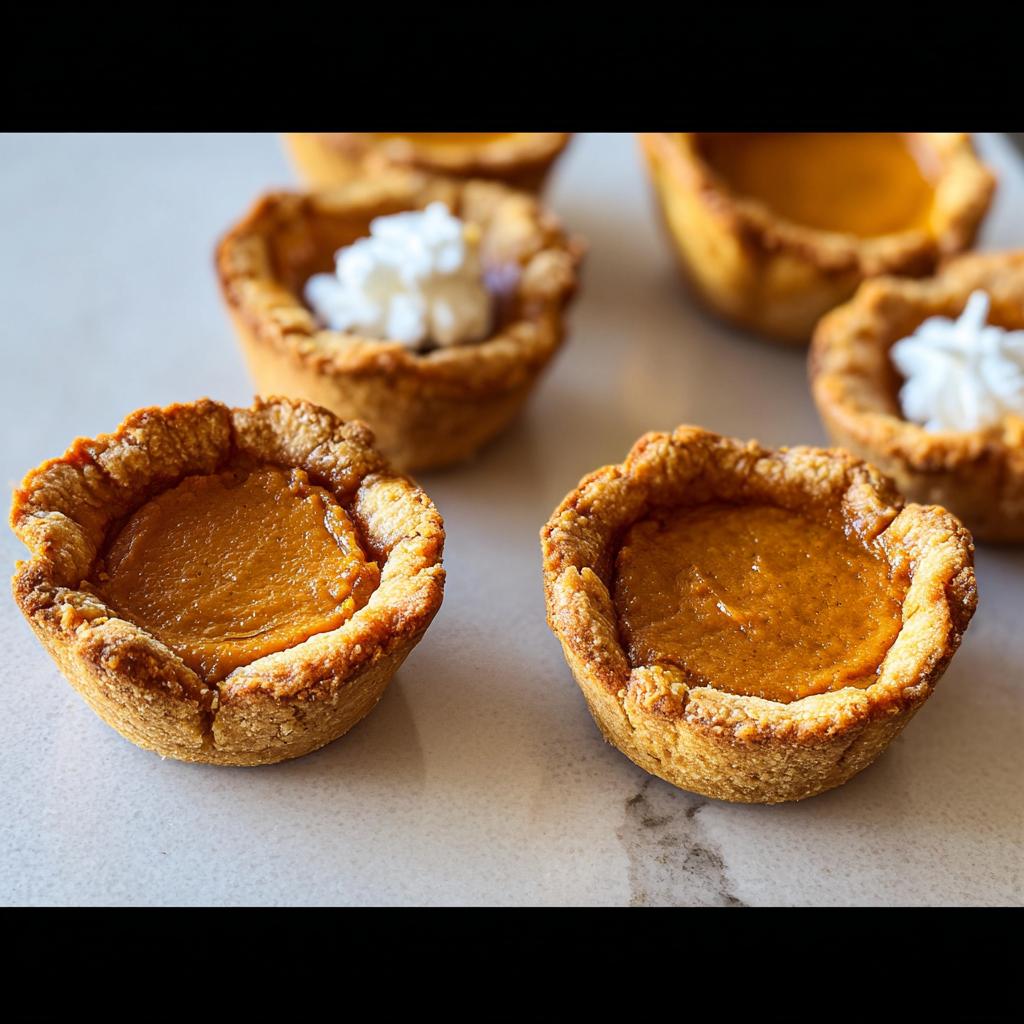
Make sure your filling is still chilled. It’s easiest to pour if you transfer it into a spouted measuring cup – less mess! Carefully fill each of those par-baked crusts right to the very top. Put the muffin tin back into the now 350°F (175°C) oven and bake for another 35 to 45 minutes. You’ll know they’re ready when the edges look set but the center still has a little wobble, like a tiny jelly. Let them cool right in the pan for about 10 minutes, then gently move them to a wire rack to cool completely. Oh, and the crucial part: chill them for at least 2 hours before you serve with a dollop of whipped cream. So good!

Tips for Foolproof Thanksgiving Desserts
Want to make sure your Thanksgiving desserts are absolutely perfect every single time? I’ve picked up a few tricks over the years that make all the difference. Following these tips is really how you nail How to Make Thanksgiving Desserts (Foolproof), especially when time is tight and you’ve got a whole feast to manage!
First off, quality ingredients really matter. Using good pumpkin puree (not the sweetened stuff!) makes a world of difference in flavor. And don’t skimp on the chilling times! That extra bit in the fridge for the filling and the crusts? Totally worth it to prevent any soggy bottoms or uneven baking. Also, pay attention to your oven’s temperature. If yours runs hot, maybe pull things out a minute or two sooner. It seems small, but these little details are the secret sauce that makes everything turn out just right, every time. For more about my baking philosophy, you can check out my about page!
Ingredient Notes and Substitutions
Okay, let’s chat about a couple of things in this recipe that you might have questions about or want to swap out. It’s all about making this truly work for YOU!
First up, the pumpkin puree. Make absolutely sure you’re grabbing 100% pure pumpkin puree, NOT pumpkin pie filling. The filling is already sweetened and spiced, and it’ll mess with the ratios we’ve carefully worked out. If you can’t find dark brown sugar, regular brown sugar will work, but you’ll lose a little bit of that deeper caramel flavor. For the heavy cream, if you’re in a pinch, you could try using half-and-half, but your filling might not be quite as rich or set up as perfectly. It’s best to stick to the heavy cream if you can for the most foolproof results!
Frequently Asked Questions About Thanksgiving Desserts
Got questions? I’ve got answers! Making Thanksgiving desserts should be fun, not frustrating. Here are a few things people often ask about these little pumpkin pie gems. Feel free to reach out if you have more – you can always find me on my contact page!
Can I Make These Thanksgiving Desserts Ahead?
Absolutely! That’s one of my favorite things about these little pie bites. You can totally make ahead. Bake them completely, let them cool, and then stash them in an airtight container in the fridge. They’re good for about 2-3 days that way!
What if My Pumpkin Pie Filling Isn’t Setting?
Oh no! Usually, this happens if the oven temp was a little low or they weren’t baked quite long enough. The key is that slight jiggle in the center. If yours isn’t setting, pop it back in the oven at 350°F (175°C) for another 10-15 minutes. It should firm up!
Are These No-Bake Thanksgiving Desserts?
Well, the filling itself doesn’t need baking like a traditional pie, which is great! But the crusts do need to be par-baked. So, technically, they’re not fully no-bake, but they’re still way simpler and quicker than a whole big pie, and much less fussy for holiday baking!
Estimated Nutritional Information
Just a heads-up, the nutritional info here is an estimate because we all use slightly different ingredients, right? Per bite, you’re looking at roughly 250-300 calories, about 15-20g of fat, 4-6g of protein, and 25-30g of carbohydrates. But honestly, for holiday treats like these, it’s all about that perfect bite!
Share Your Foolproof Thanksgiving Desserts!
I just LOVE seeing your creations! Have you made these little pumpkin pie bites? Did you try any fun twists? Share your photos, tell me how they turned out, or leave a comment and rating right here! I can’t wait to see what magic you’ve whipped up in your kitchen. You can also share your adventures with me here!
Foolproof Thanksgiving Pumpkin Pie Bites
Ingredients
Equipment
Method
- Preheat your oven to 425°F (220°C).
- In a large mixing bowl, whisk together the pumpkin puree, brown sugar, heavy cream, milk, egg, cinnamon, pumpkin pie spice, and salt until well combined. Set aside to chill while you prepare the pie crusts.
- On a lightly floured surface, roll out one pie crust to about ⅛ inch thick. Use a paring knife to cut out 6 even circles, approximately 4½ inches in diameter. Gently press these circles into the cups of a standard muffin tin, trimming or tucking any excess dough. Place the muffin tin in the refrigerator to chill. Repeat this process with the remaining pie crust dough until all 12 muffin cups are lined. Dock the bottom of each crust several times with a fork.
- Line each crust with a paper muffin liner and fill to the top with dried beans or pie weights. Par-bake the crusts for 10 to 12 minutes, or until the edges are lightly golden. Carefully remove the muffin liners and pie weights, then return the crusts to the oven for another 5 minutes, or until the insides look dry. Lower the oven temperature to 350°F (175°C).
- Transfer the pumpkin filling to a spouted measuring cup for easy pouring. Fill each par-baked crust to the top. Bake for 35 to 45 minutes, or until the filling is set around the edges but still slightly jiggly in the center. Let the pie bites cool in the pan for 10 minutes before transferring them to a cooling rack to cool completely. Chill for at least 2 hours before serving with whipped cream, if desired.
Notes
Tried this recipe?
Let us know how it was!
Urban Forager & Hyperlocal Ingredient Specialist
My Brooklyn apartment balcony tells my story: vertical gardens packed with wild edibles, fermentation crocks bubbling with city-foraged greens, and the constant hum of dehydrators preserving herbs I’ve collected from unexpected urban corners. What started as weekend escapes to my aunt’s upstate farm during my Columbia botany studies turned into something bigger after I earned my Urban Ecology Master’s from The New School.
Instead of following traditional academic paths, I discovered that cities are actually amazing edible ecosystems—rooftop weeds, park-edge wild greens, vacant lot treasures that perfectly complement keto eating. Who knew that some of the best low-carb foods were growing right under our noses in Manhattan?
My recipe collections celebrate city seasons: spring dandelions and plantains, summer purslane from rooftops, autumn rose hips from community gardens, winter wild onions and cress. I’m certified through the New York Mycological Society and trained by Brooklyn Botanic Garden to forage safely and ethically. Over 180 of my recipes feature at least one urban-foraged ingredient—from sidewalk plantains to sumac berries and wild mint thriving in vacant lots.
My “Metropolitan Wild” column went viral after my dandelion coffee substitute hit social media. Now my weekend “Urban Wild Walks” through Central Park and Prospect Park sell out faster than I can schedule them. I teach city dwellers to spot safe, keto-friendly wild foods hiding in plain sight.
Currently, I’m partnering with local chefs to bring urban foraged elements to restaurant menus and developing an app that maps safe foraging spots across all five boroughs. Evenings find me tending my sourdough starters, pressing flowers for natural dyes, or weaving baskets from willow branches I collect during park maintenance.
Cities are wild food sanctuaries hiding in plain sight—keto eating becomes urban rebellion when you realize how much free, perfect nutrition grows right under our feet.