Oh, you know that feeling, right? That deep, soul-satisfying yearning for stuffing that just tastes *right* – like the kind you get at those cozy, special restaurants, the one that whispers tales of holidays past and warm family gatherings. Well, get ready, because we’re about to unlock the secrets to making that restaurant-quality stuffing right in your own kitchen! Seriously, creating Restaurant-Style Stuffing Recipes at Home (2025) isn’t as complicated as it sounds. It’s all about getting those nostalgic flavors spot-on. My own journey started in a little bistro outside of Paris, where a chilly autumn evening was made absolutely perfect by a bowl of stuffing so fragrant and comforting, it felt like a warm hug. That memory stuck with me, a delicious reminder that incredible food can truly travel with you. Now, I love bringing that same magic home, proving that with a few key ingredients and a touch of love, you can absolutely recreate that restaurant magic for your own family, filling your home with aromas that tell stories of adventure and togetherness.
Why You’ll Love This Stuffing at Home
Get ready to wow your taste buds! This recipe is all about:
- Effortless Elegance: Seriously easy to whip up, even for a beginner!
- That Classic Flavor: Brings back all those warm, hug-in-a-bowl feelings you crave.
- Restaurant-Worthy Results: Impress everyone with stuffing that tastes like it came straight from your favorite fancy spot.
- Perfect for Any Occasion: It’s not just for holidays; make any meal feel special!
Gathering Your Ingredients for Restaurant-Style Stuffing Recipes at Home
Alright, let’s get down to the delicious details! To make those amazing Restaurant-Style Stuffing Recipes at Home (2025), you’ll need a few key players. Don’t worry, these are all pretty straightforward. Here’s what to have ready:
For the Stuffing:
- 30 slices of white bread, lightly toasted
- 2 tablespoons of butter
- 1 large onion, finely chopped
- 2 stalks of celery, finely chopped
- 2 cups of chicken broth
- 2 large eggs, lightly beaten
- 2 tablespoons of water (or as needed, optional)
- 2 teaspoons of rubbed sage
- 1 teaspoon of garlic powder
- Salt and ground black pepper, to taste
Step-by-Step Guide to Making Restaurant-Style Stuffing at Home
Okay, ready to dive in? Making fantastic Restaurant-Style Stuffing at Home is totally doable. We’re going to break it down into easy steps. Trust me, the aroma filling your kitchen will be worth every second!
Preparing the Bread for Your Restaurant-Style Stuffing
First things first, let’s get that bread ready. Spread your toasted white bread slices out on baking sheets and just let them hang out on the counter. You want them to get good and hard, like croutons, which usually takes about 24 hours. This is key for that perfect stuffing texture!
Sautéing Aromatics for Depth of Flavor
Now for a little flavor magic. Melt your butter in a saucepan over medium heat. Toss in the chopped onion and celery and just cook them until they’re nice and soft, about 5 to 7 minutes. Give them a good drain afterwards so they don’t make our stuffing too wet.
Combining Ingredients for the Perfect Stuffing Texture
Now, let’s bring it all together for that amazing texture in your Restaurant-Style Stuffing. Take your dried-out bread and crush it into crumbs. A rolling pin works wonders here! Transfer those crumbs to a big bowl. Pour in your chicken broth and the lightly beaten eggs, mixing until everything is moist but definitely not soupy. If it seems a bit dry, a splash of water helps. Gently fold in that sautéed onion and celery mix, along with the sage and garlic powder. Season it all up with salt and pepper to your liking. Give it a good, gentle mix until it’s all combined.
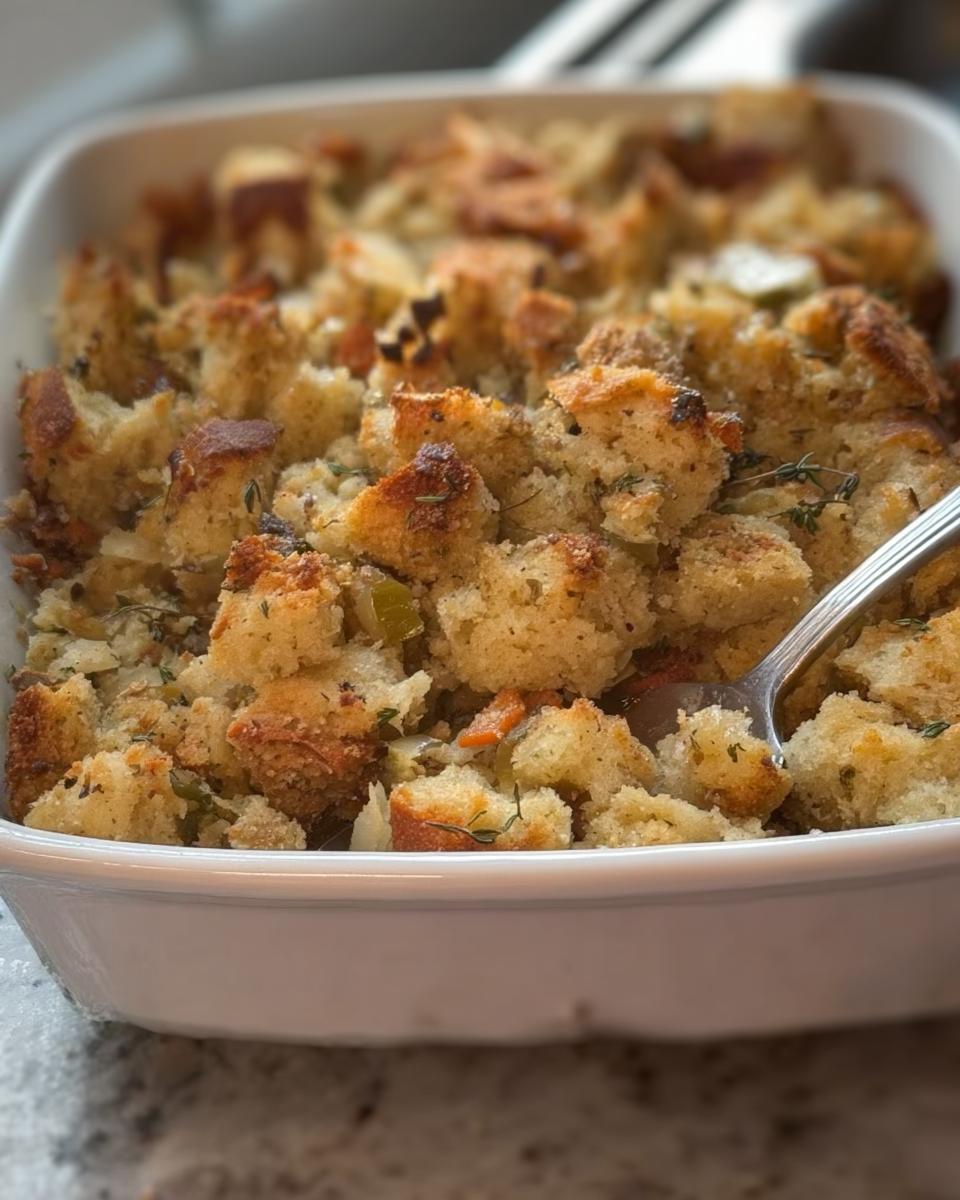
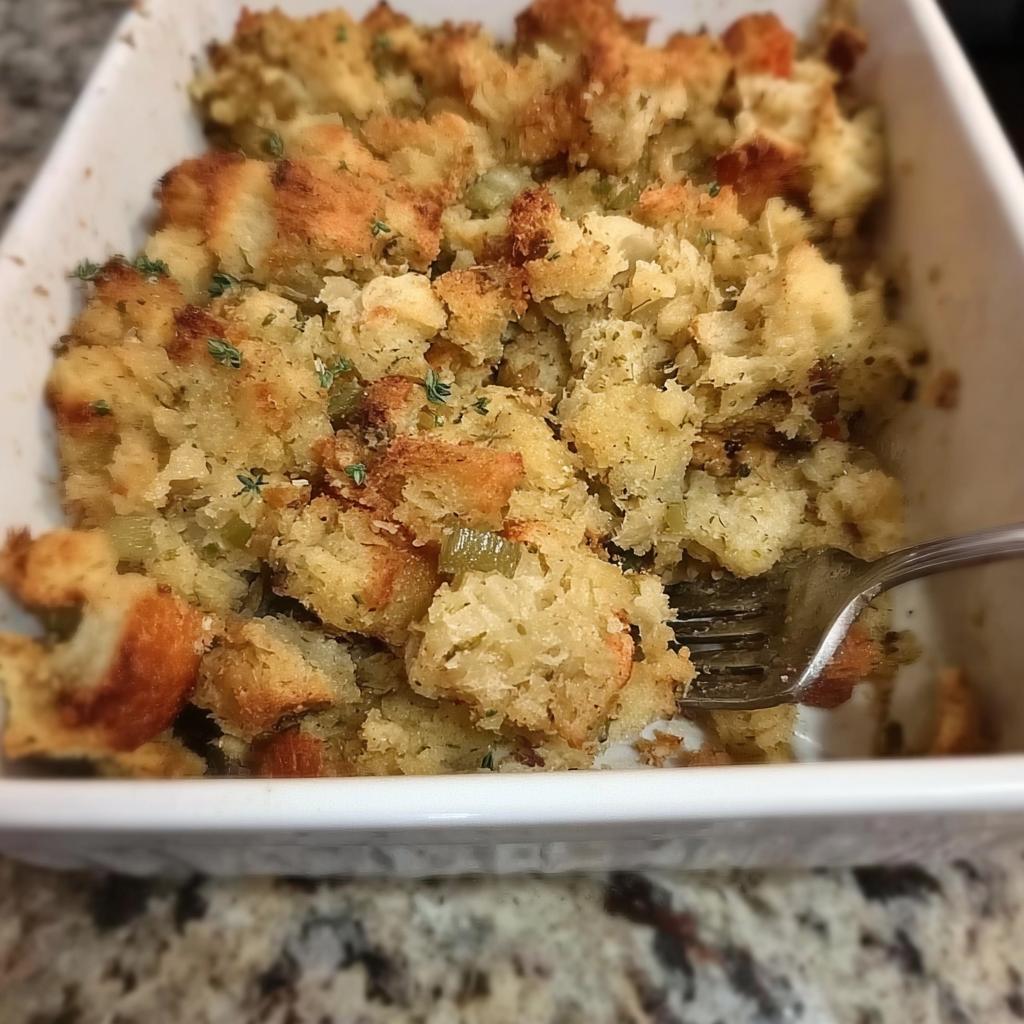
Baking Your Restaurant-Style Stuffing to Golden Perfection
Preheat your oven to 325 degrees F (165 degrees C) and lightly grease your 9×13-inch baking dish. We’re going to press that stuffing mixture evenly into the dish. Pop it into the oven and bake it for about an hour. You’re looking for that beautiful, golden-brown top that’s deliciously crisp. That’s how you know your Restaurant-Style Stuffing is ready to shine!
Tips for Success with Restaurant-Style Stuffing Recipes at Home
Want to make your stuffing truly sing? It’s all about those little tricks that elevate it from good to absolutely amazing. For the best Restaurant-Style Stuffing Recipes at Home (2025), start with good quality bread – the drier, the better! If your bread isn’t quite rock hard after 24 hours, just pop it in a low oven for a few extra minutes to dry it out completely. And don’t be shy with the herbs! Sage is classic, but a little thyme or rosemary can add another layer of sophisticated flavor. If you’re feeling adventurous, consider adding some chopped fresh parsley to the mix for a pop of color and freshness. A little drizzle of extra broth *just* before baking can also help ensure it doesn’t dry out too much. Remember, the goal is moist, flavorful, and a little bit crispy on top!
Ingredient Notes and Substitutions for Your Stuffing
So, about these ingredients for your stuffing – they’re pretty flexible, which is part of why I love this recipe so much! The white bread is classic, but honestly, a good day-old challah or even a sturdy sourdough can totally work if you dry them out the same way. Just make sure it’s not a super soft, hole-y bread, or you’ll end up with mush! And while chicken broth is my go-to for that classic savory goodness, veggie broth is a perfect swap if you want to keep it vegetarian. For the herbs, dried sage is fantastic, but if you have fresh sage, use about double the amount! Just a little bit of tweaking, and you can make this stuffing totally your own.
Serving and Storing Your Restaurant-Style Stuffing
Now that you’ve made your amazing Restaurant-Style Stuffing, serving it is the best part! You can serve this piping hot right out of the oven, piled high on your plate. It’s the perfect companion to turkey, chicken, or really any roast you’re making. If you happen to have any leftovers – which is rare, trust me! – don’t worry. Just pop them into an airtight container and store them in the fridge for up to 3 days. To reheat, just pop it back in a baking dish in a 350°F oven for about 15-20 minutes until it’s warmed through and the top is nice and crisp again. Easy peasy!
Frequently Asked Questions About Restaurant-Style Stuffing Recipes
Got questions about whipping up your own Restaurant-Style Stuffing Recipes at Home (2025)? I’ve got answers! Let’s clear up any little doubts so you can nail this recipe every time.
Can I make this stuffing recipe ahead of time?
Absolutely! You can totally prepare the stuffing mixture up to a day in advance. Just mix everything (except for adding too much liquid at the very end), cover it tightly, and keep it in the fridge. When you’re ready to bake, let it sit out for about 30 minutes to take the chill off, then press it into your baking dish and bake as usual. You might need to add a tiny splash more broth if it seems super dry after being in the fridge.
What kind of bread is best for stuffing?
For that perfect texture in your stuffing, you really want a bread that’s a bit on the sturdy side and dries out well. Classic white bread is a dream, but a good day-old sourdough or a crusty French baguette works wonders too! Just avoid anything super soft or airy, like brioche, unless you want a mushy result. The key is making sure it’s dried out and hard!
How do I make my stuffing moist but not soggy?
Ah, the golden question! The trick is all in the bread preparation and not overdoing the liquid. Making sure your bread is really dry (like we talked about with the 24-hour drying time!) is step one. Then, when you mix in the broth and eggs, add just enough to moisten everything evenly. You want it damp, not swimming. If you add the broth slowly and mix gently, you’ll get that fantastic moist texture without it turning into a soggy mess. It’s all about balance!
What herbs are essential for classic stuffing flavor?
For that truly classic, restaurant-style stuffing flavor, sage is your best friend, hands down! It brings that warm, slightly peppery, comforting taste that just screams holiday. I usually use about 2 teaspoons of rubbed sage, but if you have fresh sage leaves, use a bit more – maybe a good tablespoon or two chopped. A little sprinkle of thyme is also lovely if you have it, or even a whisper of rosemary if you’re feeling adventurous, but sage is really the star of the show for that iconic taste.
Nutritional Information for This Classic Stuffing
Just a little heads-up – the nutritional info below is an estimate per serving, and it can totally vary depending on the specific ingredients you use! Things like the type of bread or the fat content in your butter can make a small difference. It’s just a general guide, so don’t stress too much about counting every single calorie!
- Calories: Around 101
- Fat: About 2g
- Saturated Fat: Around 1g
- Cholesterol: About 18mg
- Sodium: Around 228mg
- Carbohydrates: About 17g
- Protein: Around 3g
- Fiber: About 1g
- Sugar: About 2g
Restaurant-Style Stuffing Recipes at Home (2025)
Ingredients
Equipment
Method
- Spread toasted bread slices on baking sheets and let sit out at room temperature until hard, about 24 hours.
- Once bread slices are ready, gather all ingredients. Preheat the oven to 325 degrees F (165 degrees C). Lightly grease a 9×13-inch baking dish.
- Crush bread slices into crumbs with a rolling pin. Transfer crumbs to a large bowl.
- Melt butter in a medium saucepan over medium heat. Stir in onion and celery; cook and stir until soft, 5 to 7 minutes. Remove from heat and drain.
- Stir chicken broth and eggs into bread crumbs; mix until evenly moistened, but not soggy. Add water, if needed. Mix in cooked onion and celery, sage, garlic powder; season with salt and pepper.
- Press dressing mixture into the prepared baking dish.
- Bake in the preheated oven until the top is brown and crisp, about 1 hour.
- Serve hot and enjoy!
Nutrition
Notes
Tried this recipe?
Let us know how it was!