
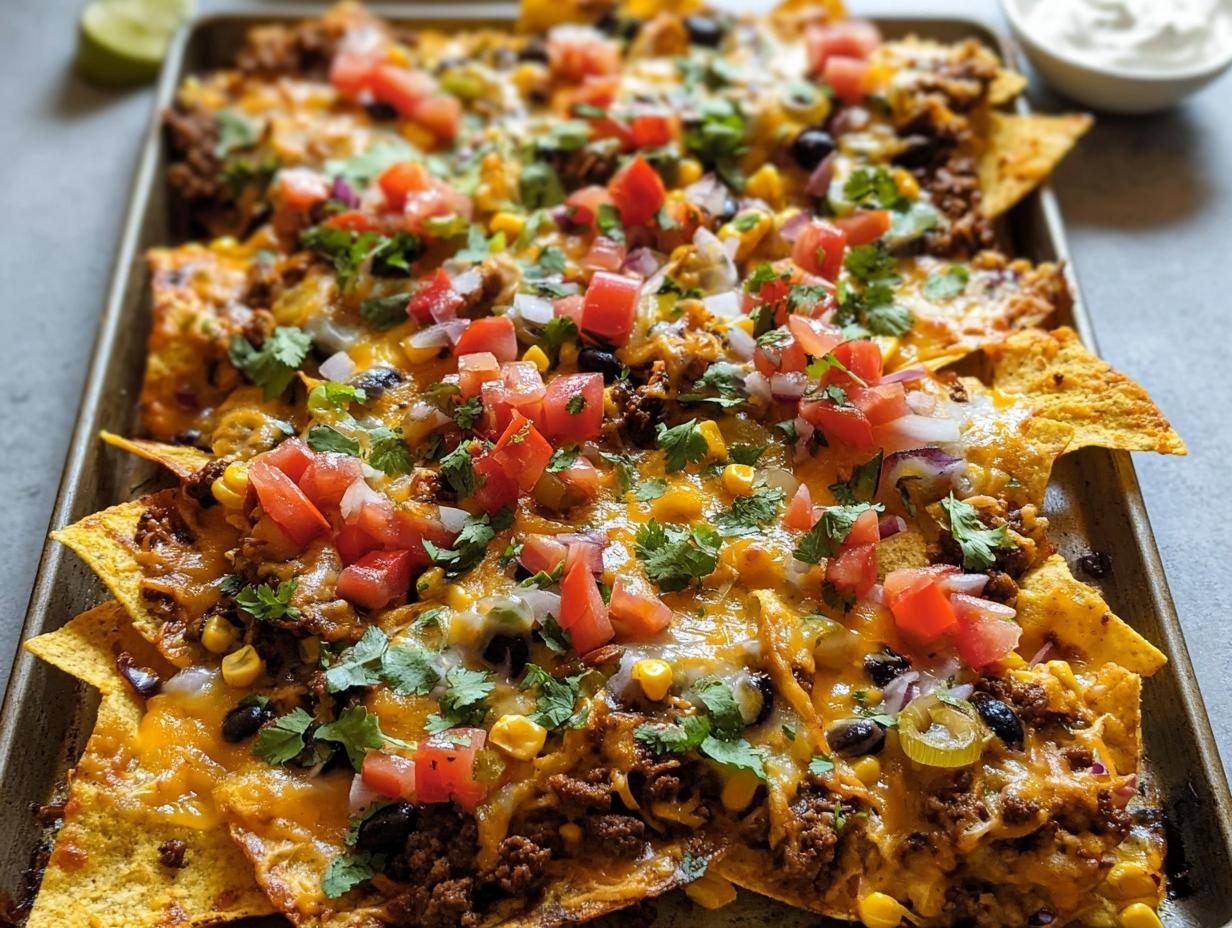
Hosting a crowd shouldn’t mean spending hours trapped in the kitchen, right? When you need a showstopper snack that everyone—and I mean *everyone*—can devour without fuss, you need to rely on the magic of the sheet pan. I still remember the first time I made Sheet Pan Nachos (Party Size) for my friends during a Brooklyn movie marathon. The aroma of melted cheese and spices wafting through my apartment was almost as delightful as the laughter we shared as we piled our plates high.
It’s all about customization! I’ve spent years honing my hosting game, and these nachos always bring people together. It was a simple dish that turned into an unforgettable evening, showcasing the magic of food as a connector. I let everyone customize their portions, adding everything from spicy jalapeños to fresh cilantro. Trust me, this recipe proves that the most satisfying party food is often the easiest to pull off.
Why This Sheet Pan Nachos (Party Size) Recipe Wins for Entertaining
When you’re entertaining, the last thing you want is a fussy dish that keeps you chained to the stove. That’s why I reach for this giant tray of goodness every single time! These Sheet Pan Nachos (Party Size) are my secret weapon for keeping things fun and relaxed for the host.
- Speedy Setup: Seriously, from start to oven takes less than 25 minutes total. You won’t miss any of the game or the conversation.
- Minimal Cleanup: Because it all cooks on one big sheet pan lined with parchment paper? Cleanup is a breeze! Just one pan and one skillet to scrub later.
- Built-In Customization: Since we layer everything, your guests can pick and choose what beans, meat, or spice level they want. It manages picky eaters effortlessly.
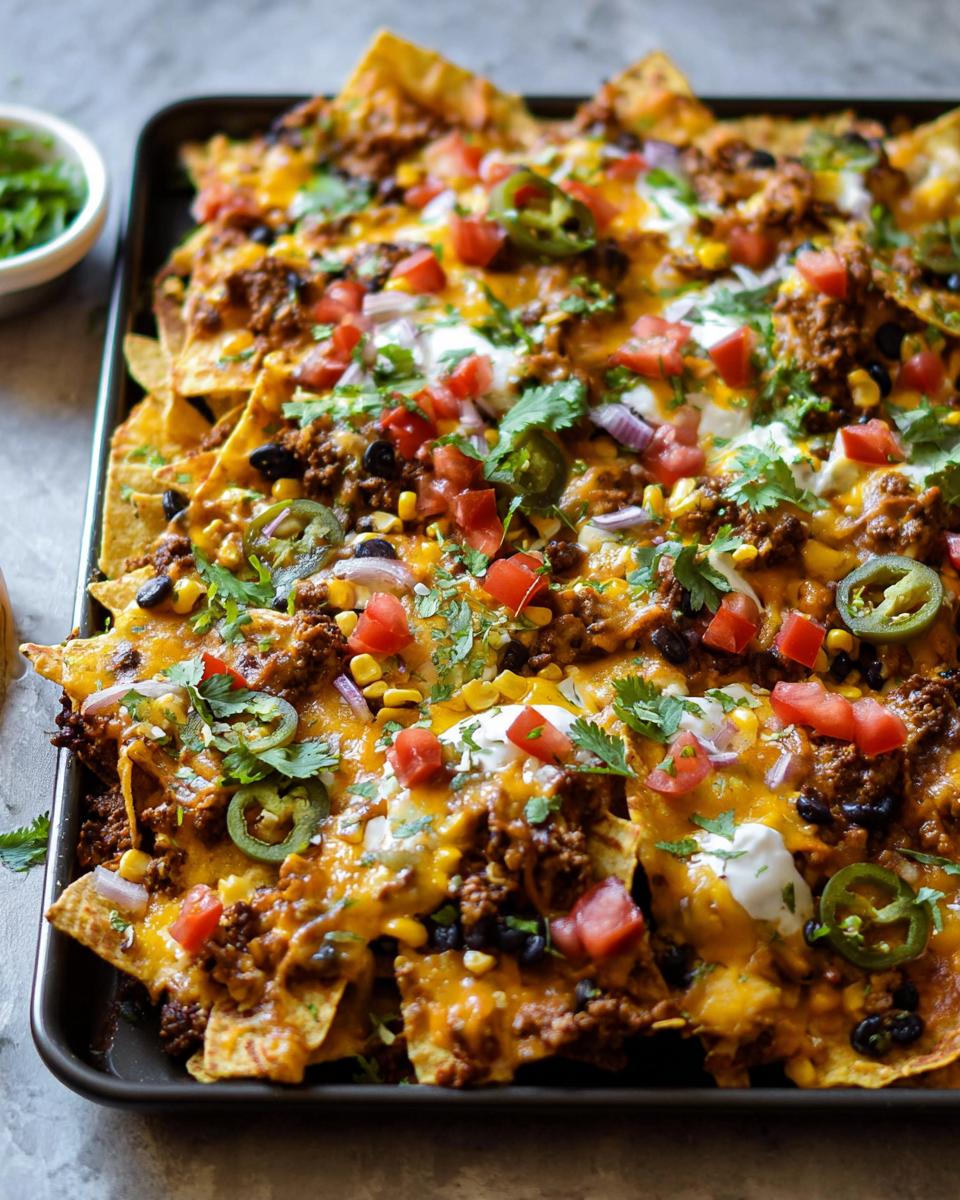
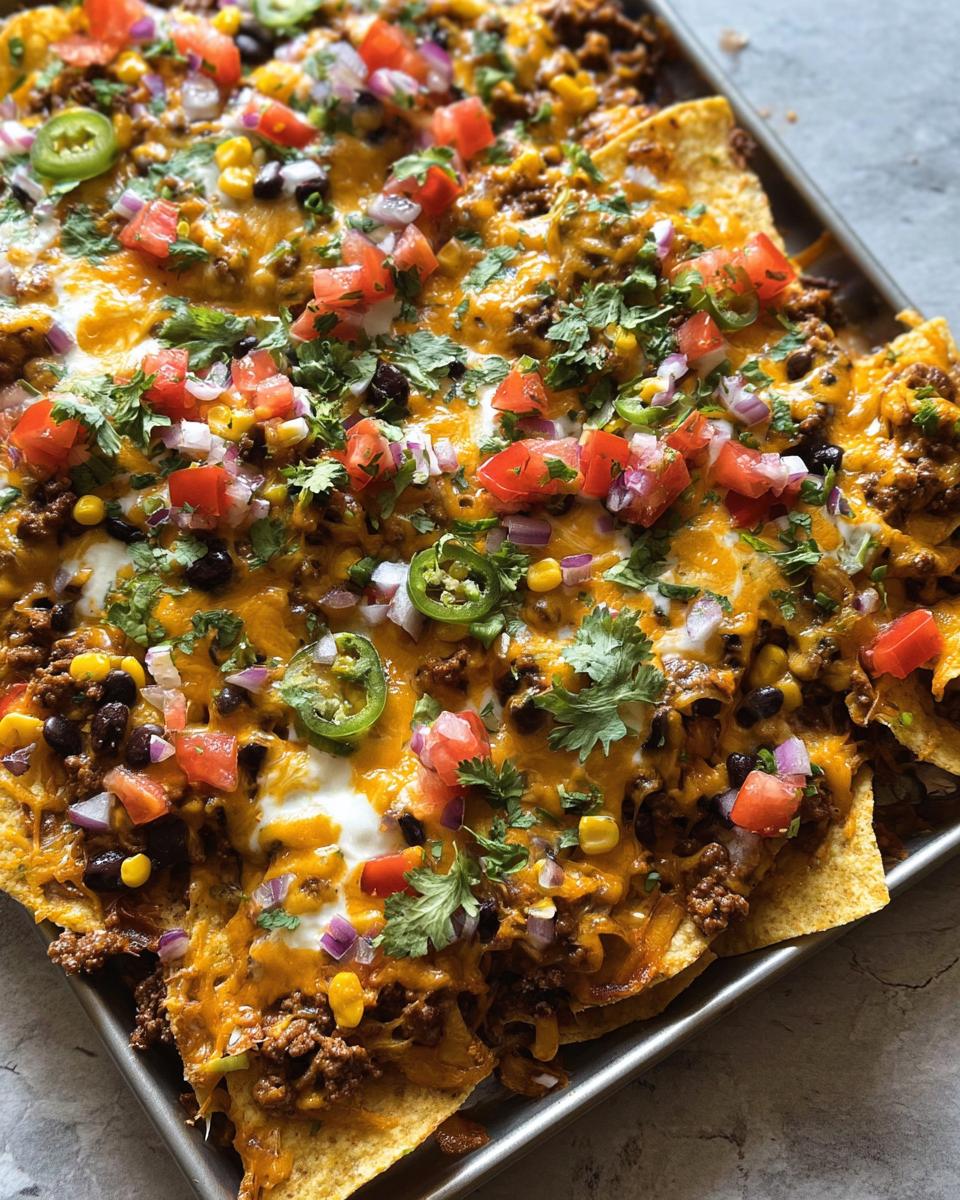
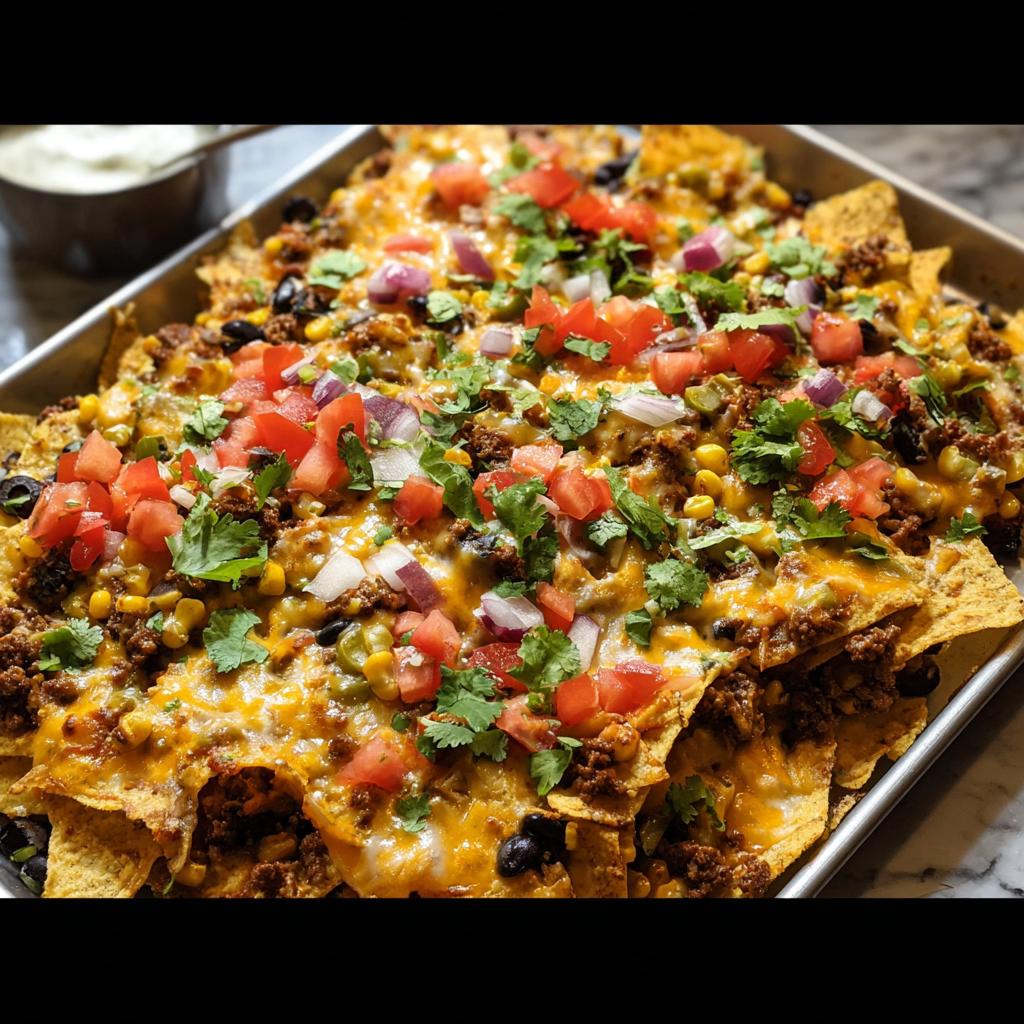
- Sheer Crowd Appeal: Nothing says “party” like a giant pan overflowing with melty cheese and savory seasoned meat. Everyone grabs a plate!
Essential Ingredients for Perfect Sheet Pan Nachos (Party Size)
Okay, let’s talk about what goes into making these amazing Sheet Pan Nachos (Party Size). The secret to big flavor without a big headache is having your items prepped and ready to go. We break the ingredients down so you know exactly what needs to be grabbed before you even think about turning on the oven. It’s all about organized chaos in the best way!
For the Seasoned Meat Base
We start by building that savory anchor flavor. I usually use ground beef, but honestly, whatever you have on hand works great—ground chicken, turkey, or even a plant-based crumble if you’re keeping it vegetarian. Remember to get that tomato paste in there; it really deepens the taco flavor!
- 1 tablespoon olive oil
- 1 pound ground beef (or ground chicken, turkey, or plant-based protein)
- 1 tablespoon tomato paste
- 2 teaspoons chili powder
- ½ teaspoon ground cumin
- ½ teaspoon kosher salt
- ½ teaspoon garlic powder
- ½ teaspoon onion powder
- ¼ teaspoon dried oregano
For the Layering Components
This is where the magic and the heft come from! The most important thing here is remembering to *divide* these items. You need a base layer and a top layer so everything gets perfectly golden and melty. Don’t dump all your cheese in one spot!
- 10 ounces tortilla chips (get the sturdy kind!)
- 4 cups Mexican-blend shredded cheese (divided)
- 1 cup cooked black beans (divided)
- 1 cup cooked yellow corn (divided)
Easy Toppings for Your Sheet Pan Nachos (Party Size)
This section is where your guests get to express themselves! If someone hates tomatoes, no problem! They just skip that section. Since we are making these for a party, having a colorful array of fresh, cool toppings ready after they come out of the oven makes a huge difference.
- 1 diced roma tomatoes
- Pickled jalapeños (to taste!)
- Sour cream or Mexican crema
- Diced red onions
- Chopped cilantro
Step-by-Step Instructions for Sheet Pan Nachos (Party Size)
Alright, let’s get to the fun part! Making these massive Sheet Pan Nachos (Party Size) is honestly a breeze, provided you stick to the order. We are doing two layers here, which is key for getting that perfect, even melt across the entire gigantic pan. This method ensures every chip gets some love from the seasoned meat and the gorgeous cheese.
Preparing the Oven and Meat
First things first, you need heat! Go ahead and crank your oven up to 400ºF. While that’s warming up, grab your biggest skillet. Heat that tablespoon of olive oil until it shimmers just a little bit. Now, toss in your ground beef (or whatever protein you chose for your ground turkey chili stovetop inspiration!) along with all those beautiful spices: chili powder, cumin, salt, garlic powder, onion powder, paprika, and oregano, plus that tomato paste.
Get that wooden spoon in there and break that meat up into nice, bite-sized crumbles. You’re going to cook this mixture until all the pink is gone and the meat is nicely browned, which usually takes about 6 to 8 minutes. Make sure it’s cooked through, but don’t stress if it’s still a little juicy—that moisture keeps everything nice!
Assembling the Sheet Pan Nachos (Party Size) Layers
This is where we build the foundation for greatness on that parchment-lined sheet pan. Remember how I said to grab sturdy chips? Now you’ll see why! Start by scattering exactly half of your tortilla chips across the pan. Then, we top that layer with half of your cooked meat, half of your shredded cheese, half of the black beans, and half of the corn.
Pro Tip Alert! Don’t be shy with the chips beneath the meat, especially if you’ve got a lot of juices from your protein. We layer everything twice precisely so the bottom layer of chips has enough structural integrity not to turn immediately into a mushy mess under the melted cheese when they bake. Once the first layer is done, simply repeat the whole process: remaining chips, remaining meat, cheese, beans, and corn on top for Layer Two.
Baking and Final Topping Application
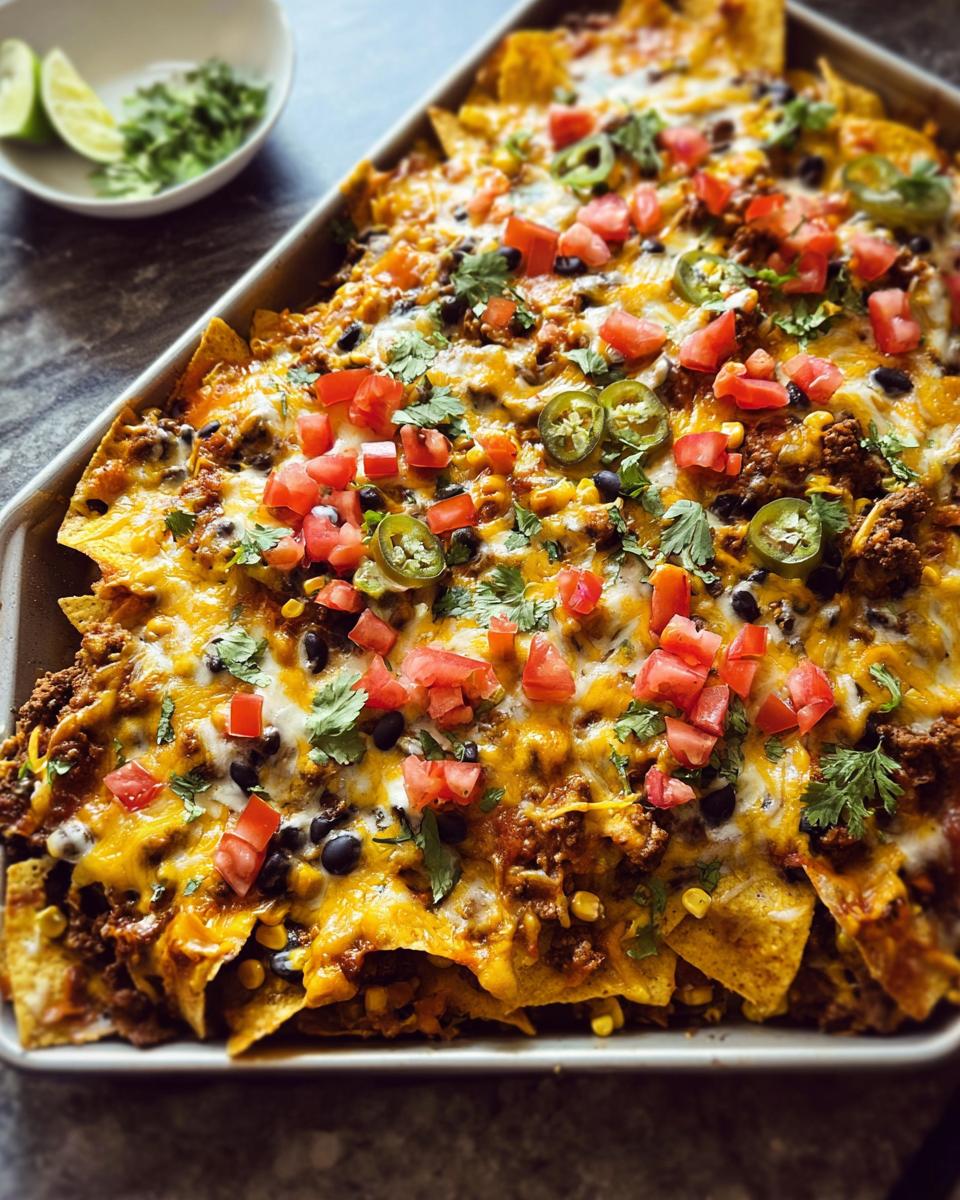
Slide that loaded sheet pan right into your preheated 400ºF oven. You’re not baking this for long at all—we just need that cheese to get gooey! Keep an eye on it; 4 to 6 minutes is usually all it takes for the cheese to melt completely and look gorgeous. You’re looking for bubbly, golden spots, not burnt edges!
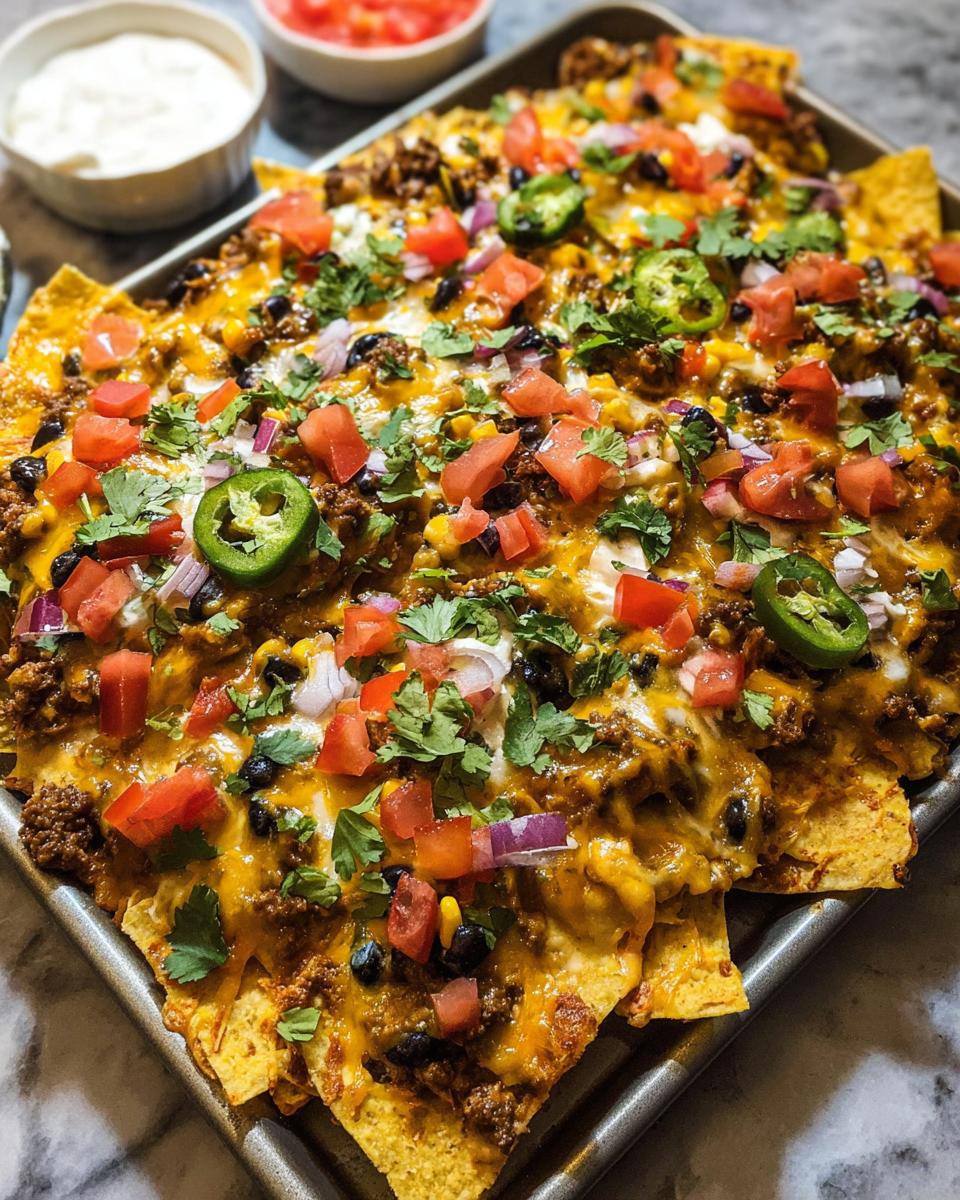
Pull them out carefully! Now is the time for the cooling toppings—the tomatoes, the jalapeños, the onions, cilantro, and a drizzle of sour cream. Serve these Sheet Pan Nachos (Party Size) immediately while they are piping hot and the cheese is still stretchy. Nachos wait for no one!
Expert Tips for Next-Level Sheet Pan Nachos (Party Size)
You’ve got the structure down, but if you want your Sheet Pan Nachos (Party Size) to truly wow people, you need to focus on flavor depth. Trust me, seasoning is everything here! For the meat, if you want a bolder punch, try toasting your cumin and chili powder in the skillet dry for about 30 seconds before adding the oil. It wakes up those spices immediately!
Now let’s talk about that glorious cheese. If you want that perfect, gooey, stretchy, I-can’t-stop-eating-this texture, skip the pre-shredded bags where they coat it in starch. Get a block of Monterey Jack or Pepper Jack cheese and shred it yourself. That little bit of extra effort makes the difference between *good* melty cheese and *unforgettable* melty cheese. It keeps the dish from drying out and ensures every chip is happily coated. Plus, you can always sneak a little turkey veggie zucchini skillet flavor in there by mixing finely diced veggies into your meat layer next time!
Equipment Needed for Making Party Nachos
You don’t need a culinary arsenal for this recipe, which is part of why it’s so great for quick entertaining! Unlike some fancy meals, these Party Nachos rely on just a few common kitchen workhorses. Getting these tools ready first means you can focus completely on layering and getting that meat seasoned perfectly.
Here’s the short list of what I always grab when I’m prepping for a big crowd:
- A large baking sheet: This has to hold everything! Get the biggest one you own, trust me.
- Parchment paper: Non-negotiable for quick cleanup from all that cheese grease.
- A large skillet: You need room to brown that full pound of seasoned meat without overcrowding.
- A wooden spoon: My go-to for breaking up the ground meat in the skillet; it won’t scratch your pans.
With just those four things, we can pull off an epic batch of creamy turkey stroganoff lightened-up party favorites!
Storage and Reheating Sheet Pan Nachos (Party Size)
Now, let’s be real. Sometimes, even when you make these massive Sheet Pan Nachos (Party Size), there are leftovers. And that’s okay! The trick to saving them so they taste almost as good the next day is all about proper separation. If you leave wet toppings like sour cream, tomatoes, or salsa sitting on the chips overnight, you are guaranteeing sogginess.
As soon as everyone is done eating, scrape off any remaining fresh toppings—toss those in a separate small container. Anything that’s hot and cheesy, though, can stay together. You can either store the leftovers right on the same sheet pan, covered tightly with foil, or transfer the leftover chip/meat/cheese mixture into a sturdy, airtight container.
When you get the craving the next day for that savory, cheesy goodness, we need to revive them properly. Forget the microwave unless you enjoy chewy chips! The best way to reheat these babies is back in the oven. It re-crisps them up perfectly!
The Oven Reheating Method
Lay any leftover nachos in a single layer back on a clean, parchment-lined baking sheet. Pop them straight into a 400ºF oven—the same temperature we used for the initial bake. Give them about 5 to 6 minutes. You want to see the cheese get hot and gooey again, and you want that slight crispness returning to the chips that might have softened up.
Once they are perfectly heated through, pull them out, and *then* add your fresh toppings! If you used a plant-based crumble in your initial batch, they reheat just as beautifully as the meat version. Having a plan for leftovers means you get a second great meal without any extra work, which is a win in my book!
For more make-ahead tips on savory ground dishes, you might want to check out my method for ground turkey stuffed peppers; they freeze like a charm!
Frequently Asked Questions About Party Nachos
Whenever I share photos of these huge trays, I always get questions! It makes total sense; when you’re throwing a party, you need reliability. I’ve gathered up the most common worries people have about making these Party Nachos, especially when it comes to things like chip sturdiness and making sure that cheese gets super gooey. Don’t stress—we’ve got answers!
Can I make these Sheet Pan Nachos (Party Size) ahead of time?
Yes, you absolutely can prep components ahead of time, which is a lifesaver when hosting! I often brown my seasoned meat mixture a day before and keep it covered in the fridge. The beans and corn can be cooked and set aside too. However, I never, ever assemble the whole thing—chips, meat, and cheese—until about 15 minutes before I want to bake it. If you assemble it too early, even the sturdy chips start pulling moisture from the meat and beans, and you won’t get that crispy base you’re looking for when you do the initial Oven Baked melt.
What is the best cheese for achieving that Melty Cheese texture?
This is critical! If you want that picture-perfect, stretchy, waterfall effect, skip the pre-shredded Parmesan or hard Italian cheeses, obviously. The goal is maximum melt! My absolute favorite blend is a mix of Monterey Jack and sharp Cheddar. Monterey Jack is the king of stretchiness, and Cheddar gives you that beautiful, sharp flavor contrast. If you buy the brick, shred it fresh—it melts so much better without all the anti-caking starches found in bags. That fresh shred ensures a truly incredible Melty Cheese finish that store-bought just can’t beat!
If you’re looking for other easy dinner ideas that allow for similar make-ahead steps, you should sneak a peek at my Turkey Lettuce Wraps; they are fantastic for customizing!
Serving Suggestions for Your Sheet Pan Nachos (Party Size)
Even though these Sheet Pan Nachos (Party Size) are a meal all on their own, serving them up with just a couple of fresh sides takes the whole party vibe up ten notches! Since we loaded these with rich meat and cheese, I always like to balance that out with something bright and cooling. You don’t want people feeling too heavy too fast, you know?
Forget heavy dips here. You absolutely need fresh acidity to cut through the richness of the seasoned beef and melty cheese. A big bowl of homemade guacamole is always a huge hit—the freshness pops against the warm spices. Also, don’t underestimate a simple lime or cabbage slaw. That crunch and zing are exactly what the nacho pile needs. If you’re feeling ambitious, you could pair this alongside my garlic chili shrimp, but frankly, these nachos steal the show every time!
Estimated Nutritional Data for Sheet Pan Nachos (Party Size)
Now, I know some of you serious cooks out there like to keep track of macros, or maybe you just have a few guests watching what they eat. It’s important to know that because we are making these Sheet Pan Nachos (Party Size) so massive and customizable, these numbers are based on feeding 10 people the basic layered components—the meat, the chips, the beans, the corn, and the cheese—before anyone piles on extra sour cream or extra jalapeños!
I pulled these figures straight from our recipe profile based on the standard ingredients, but please, take them with a grain of salt. If you load yours up with extra avocado or use a leaner turkey meat, things shift! Think of this as a good benchmark for the core appetizer.
If you’re looking for ways to lighten up sides, you might want to check out my airy air fryer crispy coconut shrimp recipe sometime. It’s so good!
Based on 1/10th of the recipe yields for the base components, here’s the snapshot:
- Calories: About 866 per serving (Wow, that’s a hearty serving!)
- Fat: Roughly 52 grams
- Protein: A whopping 48 grams (Thanks, beef!)
- Carbohydrates: Around 55 grams
Keep in mind, the sodium number (around 1195mg) is higher because we are dealing with chips, seasoned meat, and cheese, so load up on those fresh, non-sodium toppings like cilantro and fresh lime juice when you serve them up to balance things out!
Share Your Sheet Pan Nachos (Party Size) Creations
That’s it! You’ve officially conquered the easiest, most impressive party snack in the book. I’m so genuinely excited for you to fire up that oven, load that giant pan, and watch everyone dig in. Honestly, when you make these huge servings of Sheet Pan Nachos (Party Size), you’re not just making food; you are making memories.
Once you’ve tried this, I absolutely need to know what you thought! Did you stick with just ground beef, or did you try the turkey? Maybe you found a wild topping combination that became your family’s new favorite—I want all the details!
Please come back here and leave a rating for the recipe—it really helps other entertainers decide what to make next. And if you snap a photo while everyone is gathered around the coffee table fighting over the last corner piece, tag me on social media! Tell me about your best, wildest, or weirdest combination of toppings. Happy hosting, and enjoy every single cheesy, spicy bite!
Sheet Pan Nachos (Party Size)
Ingredients
Equipment
Method
- Preheat your oven to 400ºF. Line a large baking sheet with parchment paper and set it aside.
- Heat the olive oil in a large skillet over medium-high heat. Add the ground beef, tomato paste, chili powder, ground cumin, salt, garlic powder, onion powder, paprika, and dried oregano.
- Use a wooden spoon to break up the meat into smaller chunks. Cook, stirring occasionally, for 6-8 minutes, until the beef is browned.
- Layer half of the tortilla chips on the prepared baking sheet. Top with half of the ground beef, half of the shredded cheese, half of the black beans, and half of the yellow corn.
- Repeat to create a top layer with the remaining ingredients.
- Bake in the oven for 4-6 minutes, until the cheese has just melted.
- Top with your desired toppings like tomatoes, pickled jalapeños, sour cream, red onions, cilantro, and avocado. Serve immediately.
Nutrition
Notes
Tried this recipe?
Let us know how it was!
Urban Forager & Hyperlocal Ingredient Specialist
My Brooklyn apartment balcony tells my story: vertical gardens packed with wild edibles, fermentation crocks bubbling with city-foraged greens, and the constant hum of dehydrators preserving herbs I’ve collected from unexpected urban corners. What started as weekend escapes to my aunt’s upstate farm during my Columbia botany studies turned into something bigger after I earned my Urban Ecology Master’s from The New School.
Instead of following traditional academic paths, I discovered that cities are actually amazing edible ecosystems—rooftop weeds, park-edge wild greens, vacant lot treasures that perfectly complement keto eating. Who knew that some of the best low-carb foods were growing right under our noses in Manhattan?
My recipe collections celebrate city seasons: spring dandelions and plantains, summer purslane from rooftops, autumn rose hips from community gardens, winter wild onions and cress. I’m certified through the New York Mycological Society and trained by Brooklyn Botanic Garden to forage safely and ethically. Over 180 of my recipes feature at least one urban-foraged ingredient—from sidewalk plantains to sumac berries and wild mint thriving in vacant lots.
My “Metropolitan Wild” column went viral after my dandelion coffee substitute hit social media. Now my weekend “Urban Wild Walks” through Central Park and Prospect Park sell out faster than I can schedule them. I teach city dwellers to spot safe, keto-friendly wild foods hiding in plain sight.
Currently, I’m partnering with local chefs to bring urban foraged elements to restaurant menus and developing an app that maps safe foraging spots across all five boroughs. Evenings find me tending my sourdough starters, pressing flowers for natural dyes, or weaving baskets from willow branches I collect during park maintenance.
Cities are wild food sanctuaries hiding in plain sight—keto eating becomes urban rebellion when you realize how much free, perfect nutrition grows right under our feet.