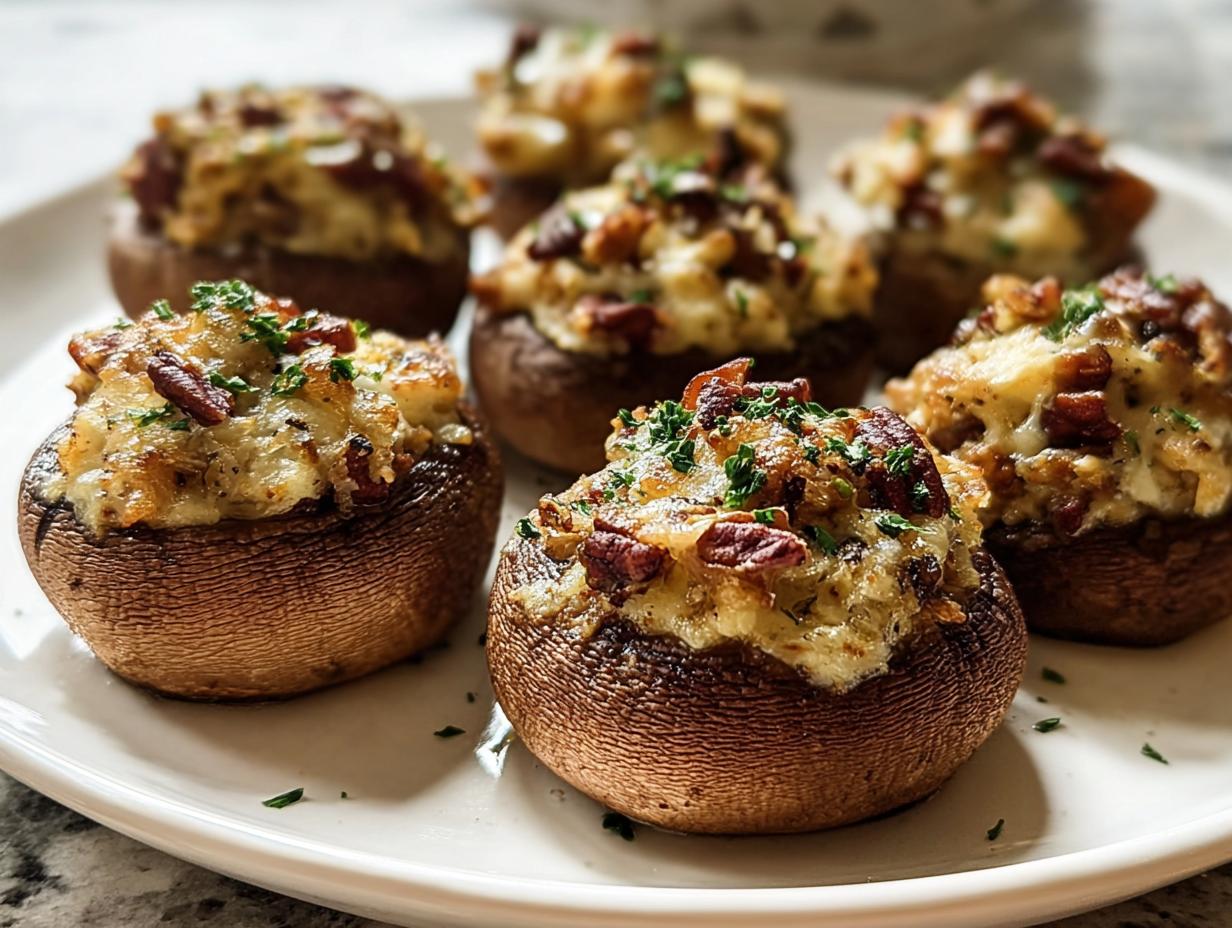
Entertaining sounds fancy, right? Like a ton of last-minute scrambling that leaves you frazzled before the first guest even rings the doorbell. Well, I’m here to tell you that’s just not true anymore! When I figured out how to nail these Stuffed Mushrooms (Make Ahead), my entire entertaining game changed. I remember my first big holiday gathering after I started exploring lower-carb options, and I was determined to serve something decadent that I didn’t have to fuss over while everyone was chatting. These savory bites, packed with a rich cream cheese filling, were what people talked about all night! It brought back such warm memories of big family dinners where the kitchen was humming with happy chaos. Now, as Isabella Moore, International Keto Cuisine Explorer, I can share that the secret to stress-free hosting is getting your appetizers prepped hours before the party. Trust me, you want these on your favorite party tray!
Why You Will Love These Stuffed Mushrooms (Make Ahead)
Seriously, these aren’t just mushrooms; they are a host’s secret weapon! If you’re like me and want to enjoy the party instead of living by the oven, these mushroom bites check every single box. You are going to adore how simple they are!
- Total Time Saver: This is the big one! You can assemble the entire tray up to 12 hours ahead of time. No day-of panic required!
- Crowd-Pleasing Flavor: That tangy cream cheese filling combined with the crunch of pecans? Absolute perfection. Every single person asks for the recipe.
- Impressive Presentation: These look fancy—like you spent hours slaving over them—but honestly, they are surprisingly easy to put together. They look great on any party tray.
- Perfect Portion Size: Everyone can grab one or two without committing to a giant dish. They are perfectly bite-sized for mingling.
- Stays Fresh: Even if you bake them a little early, the cream cheese filling keeps them satisfyingly moist.
- Versatile Baking: You can literally bake and serve them right from the sheet pan, cutting down on your dishwashing later.
Essential Equipment for Perfect Stuffed Mushrooms (Make Ahead)
You don’t need a professional kitchen to knock these mushrooms out of the park, trust me on this one! We are keeping the equipment list super lean so cleanup afterward is a breeze. For assembling this make-ahead appetizer, you’ll mostly rely on standard tools.
Here’s the short list of what you’ll need handy:
- A reliable baking sheet—this is where we bring them home to the oven.
- A sturdy mixing bowl for whipping up that glorious cream cheese filling.
- A skillet, preferably medium-sized, to cook down the aromatics and the mushroom stems first.
Now, here’s a little secret Isabella Moore learned the hard way: always, always try to set your baking sheet up with a cooling rack inside it if you can. When you bake these little beauties, the mushrooms release moisture as they cook. If they sit directly on the metal sheet, the bottoms can get a little soggy, and nobody wants a soggy mushroom bottom! By setting them on a wire rack inside the sheet pan, you allow that steam and liquid to drip away. This trick ensures that every single one of those Stuffed Mushrooms (Make Ahead) has a perfectly crisp, golden bottom. It’s such a small step, but it makes a huge difference when you are trying to serve something that looks top-tier!
Ingredients for Cream Cheese Filling Stuffed Mushrooms (Make Ahead)
Getting the ingredients right is the fun part! When you are making a dish designed to be prepped ahead, precision really matters. We need to make sure the moisture levels are perfect before they go into the fridge for their chill time. Don’t be shy about finely dicing your onion and mincing that garlic—the smaller they are, the better they blend into the creamy texture we are aiming for!
If you want to see more of my favorite recipe standards and staples, you can always check out my main page here: my collection of essential recipes. Now, let’s get these ingredients measured out!
For the Mushrooms
We only use 20 mushrooms here, aiming for about two per person for a good appetizer spread. Make sure they are cleaned gently!
- 20 baby bell or cremini mushrooms
For the Savory Cream Cheese Filling
This is where the magic happens! Remember, we are reserving some of the cheese and nuts for that gorgeous, crispy top layer, so keep an eye on those notes!
- 2 tablespoons butter
- 2 garlic cloves, minced
- 1/2 medium onion, finely diced
- 1/2 teaspoon kosher salt
- 1/4 teaspoon freshly ground black pepper
- 4 ounces cream cheese, softened (This is essential for smooth mixing!)
- 1/3 cup freshly grated parmesan cheese (reserve 1 tablespoon for topping)
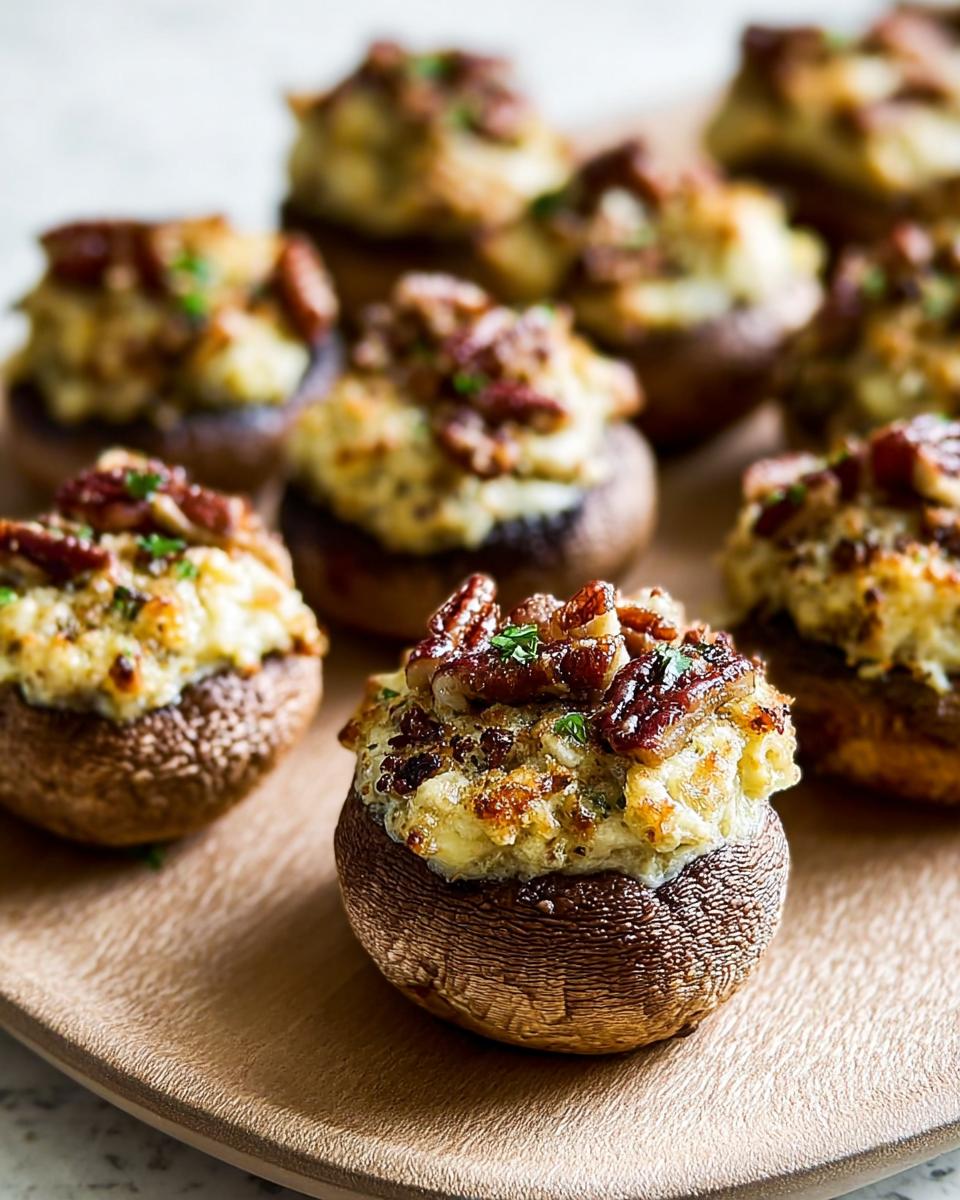
- 1/3 cup whole pecans, roughly chopped (reserve 1 tablespoon)
- 1/4 cup fresh parsley, finely chopped, plus more for garnish
Step-by-Step Instructions to Prepare Stuffed Mushrooms (Make Ahead)
Okay, deep breath! This is where we turn ingredients into magic. The key to making these Stuffed Mushrooms (Make Ahead) work so well is cooking the stems first. We have to get rid of all that water that lives inside the mushroom, otherwise, we end up with watery filling later, and nobody wants that soupiness!
You can click here to see how I incorporate garlic into other savory dishes, like this amazing Garlic Mushroom Chicken, but for the mushrooms, we do it right on the stovetop.
Preheat Oven and Prepare Mushroom Caps
Jump right in by setting your oven to 400°F (200°C). Give that baking sheet a nice, light coating of olive oil to start. Now, gently take the stems out of all 20 caps. Don’t toss those stems! We are going to chop the stems up super finely—just like we diced the onion—and set them aside for cooking. This is where the real flavor starts building!
Sauté Aromatics and Mushroom Stems
Grab your skillet and melt the butter over medium heat. Add those chopped mushroom stems first. You absolutely must sauté these for about 5 minutes until you see most of their liquid cook off. That step is critical for that rich, concentrated mushroom flavor! Once they look dry, toss in your onion, garlic, salt, and pepper. Cook for just another minute or two until the onion starts looking softened. Then, take the whole mixture out and transfer it carefully to your mixing bowl. Let it cool down for just a few minutes before the next stop.
Mix the Cream Cheese Filling
Now for the best part! Into the bowl with your slightly cooled stem mixture, drop in the softened cream cheese, the majority of your grated parmesan, most of your chopped pecans, and that fresh parsley. Mix it gently, but thoroughly, until everything is just combined and looks like a beautiful, savory paste. Don’t go crazy mixing it; we want it creamy, not overworked. You can check out a similar assembly process on this stuffed mushroom recipe illustration if you want another visual cue!

Stuff and Top the Mushroom Caps
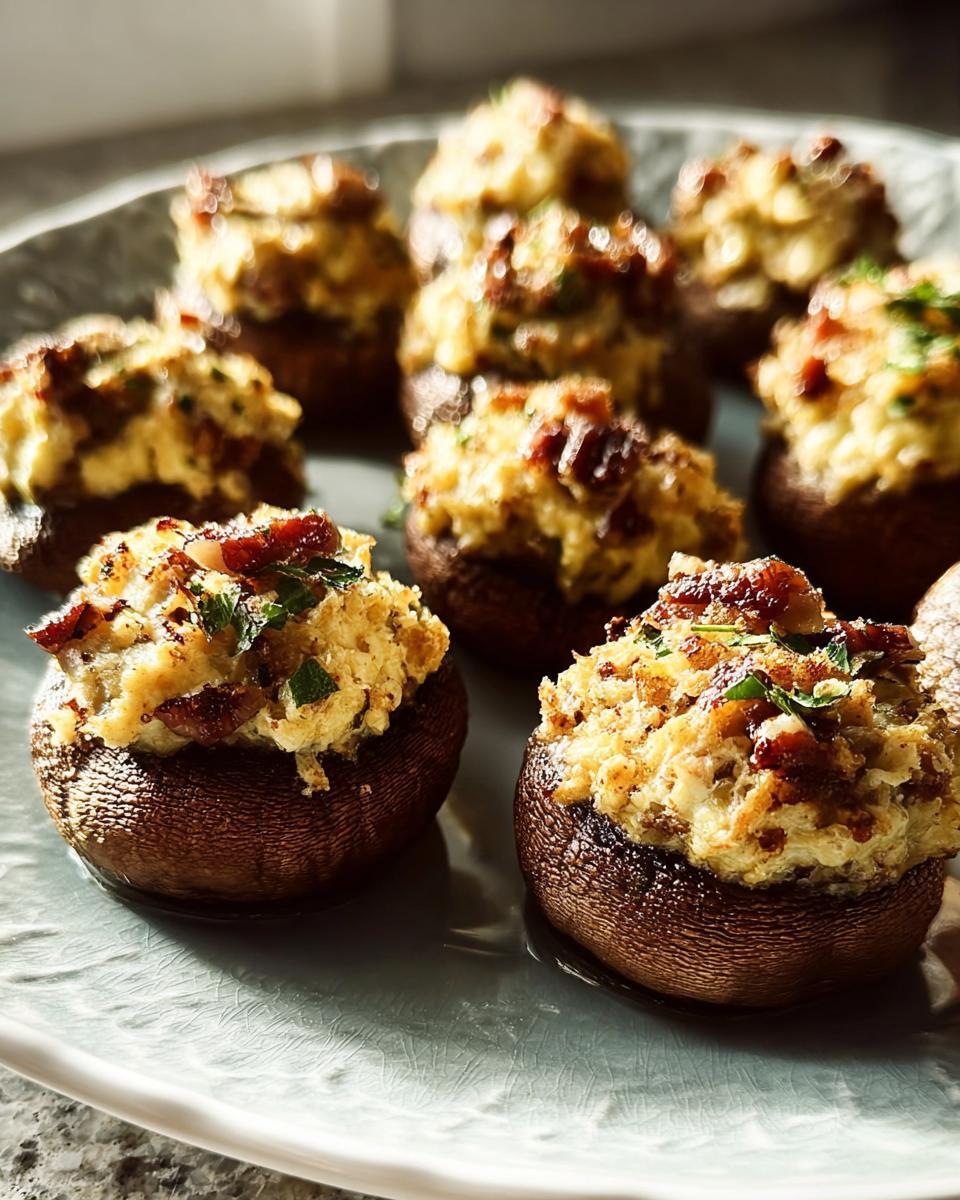
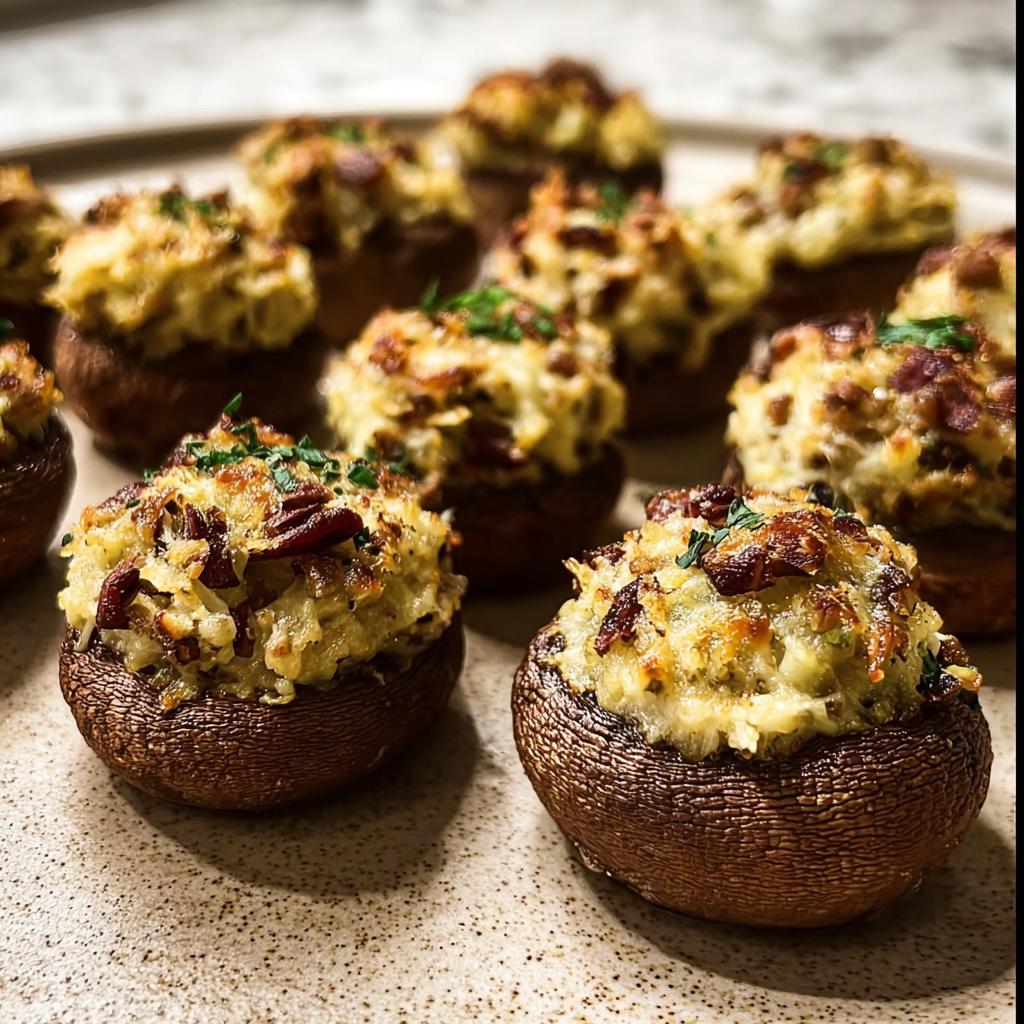
Take your cleaned, empty mushroom caps and start spooning the filling into them. Make sure the filling is mounded up slightly—don’t flatten it down! We want them looking generous when they come out of the oven. Once they are all stuffed, sprinkle those reserved amounts of parmesan and chopped pecans right over the top of the filling mound. This helps create that lovely, golden crust during baking.
Bake Until Golden
Time to bake! Pop the sheet tray (hopefully with that wire rack underneath!) into your preheated oven. Let them bake for about 20 to 25 minutes. You’ll know they are done when the tops are beautifully golden brown and the mushrooms themselves look tender and slightly shrunk. Finish them off right before serving by dusting them with a little bit more fresh, finely chopped parsley. Voila!
Expert Tips for Perfect Stuffed Mushrooms (Make Ahead)
Listen, the recipe steps get you a great mushroom, but these tips right here? These tips make you look like a seasoned pro. Since our main goal is letting you prepare these Stuffed Mushrooms (Make Ahead) ahead of time, we have to be smart about moisture control. That’s the arch-enemy of the perfectly baked appetizer.
If you are looking for ways to keep your hosting budget happy while still serving amazing food, you absolutely have to check out my guide on budget keto meals while you’re waiting for your mushrooms to chill!
Tackling Moisture to Keep Them Crisp
I mentioned the wire rack trick, and I stand by it! But there’s more to fighting sogginess. When you are cooking the stems and onions, really let that liquid evaporate. You want them sautéed dry, not simmering. This concentrates the savory flavor and removes essential unwanted water.
Another thing I learned is that the filling should be fairly stiff before you stuff the caps. If your cream cheese filling seems a little loose, it means your cream cheese wasn’t quite soft enough. Pop it in the freezer for just five minutes to firm up before stuffing—that tiny little chill helps it hold its shape better during baking!
Making Ahead: The 12-Hour Window
This is why we love this recipe! You can assemble these guys up to 12 hours before your crew arrives. Once they are stuffed and topped, cover the entire tray tightly with plastic wrap—make sure the wrap isn’t touching the pecan topping, or it’ll stick! Then, straight into the fridge they go. Storing them chilled helps the flavors meld even more deeply.
When you take them out to bake straight from the fridge, just remember they are cold inside. You might need to add an extra 5 to 10 minutes to that initial 20-25 minute bake time. Keep an eye on those golden tops; that’s your real indicator!
Flavor Boosters for Your Party Tray
While the recipe stands beautifully on its own, sometimes I like to mix things up for variation on the party tray. You don’t have to change much to make a big impact.
Want a little earthy depth? Stir in a quarter cup of very finely chopped, oil-packed sun-dried tomatoes into the filling mixture. Or maybe you want a little pungent kick? Tiny bits of crumbled blue cheese or a teaspoon of fresh thyme mixed in with the parsley adds a completely different dimension that guests always compliment.
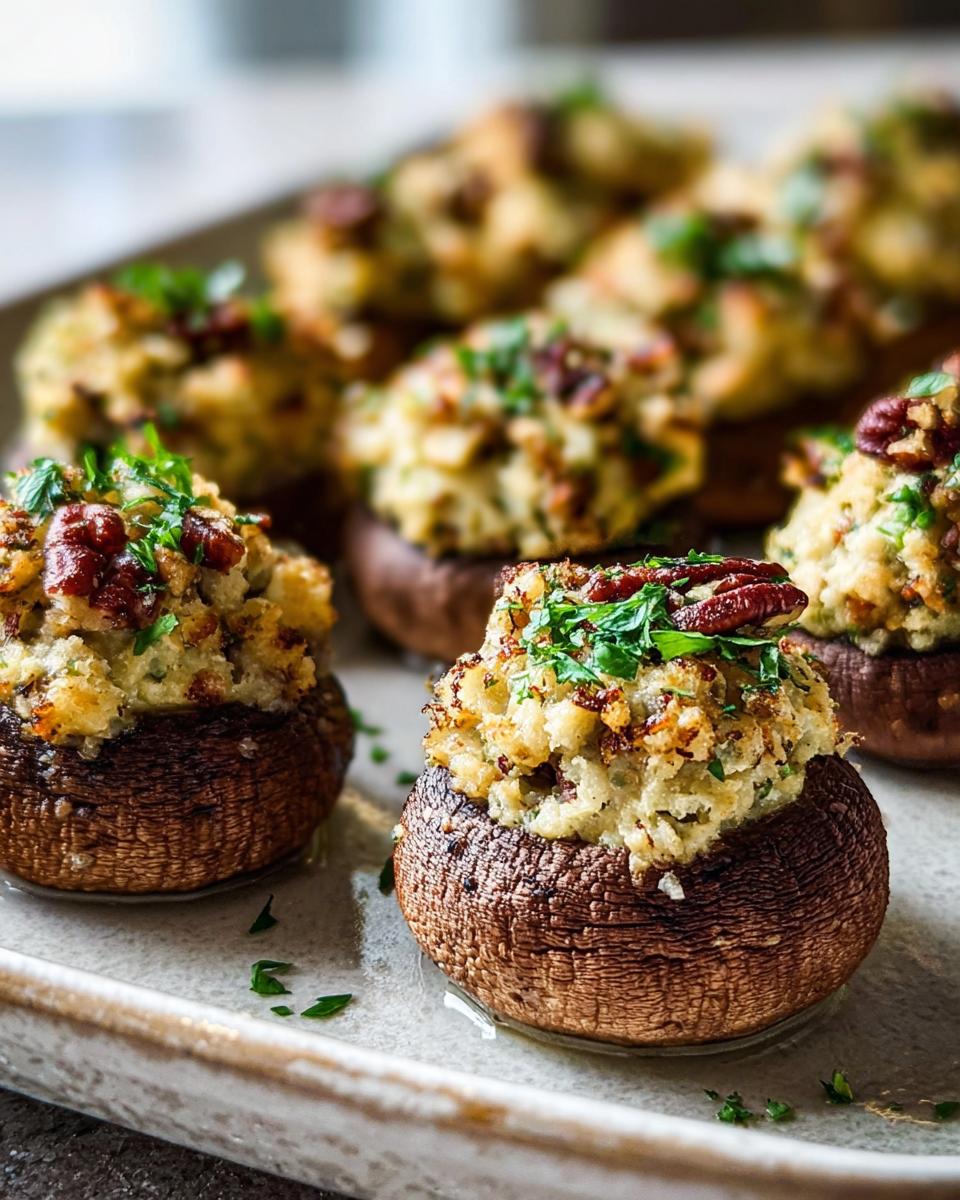
But the key is always in the toppings. That little sprinkle of reserved Parmesan and pecan crunch on top is non-negotiable. It gives you that fantastic textural contrast when you bite into the soft mushroom and creamy center. Don’t skip that crunchy finish!
Serving Suggestions for Your Stuffed Mushrooms (Make Ahead)
Honestly, these little guys are so versatile! Because they feel a bit indulgent, you can get away with serving them alongside almost anything. Since we put real effort into making these Stuffed Mushrooms (Make Ahead) look fantastic, we want to make sure they are the star of the show on the appetizer table, or at least a very famous supporting actor!
When building out that perfect Party Tray, think about balancing the savory, slightly earthy flavor of the mushrooms with other textures and tastes. You want fun, easy-to-grab things surrounding them, especially since you spent time making this make-ahead item.
Building the Ultimate Appetizer Spread
If I’m hosting a big group and these cream cheese bites are on the menu, here are a few things I always make sure I have nearby. It keeps the spread interesting and gives guests options!
- The Crisp Contrast: You need something crunchy and fresh. Think about setting out a simple platter of crisp cucumber slices, radishes, and maybe some celery sticks. It cleanses the palate beautifully between rich mushroom bites.
- A Protein Pop: Since these are so filling, you don’t need a heavy second appetizer. Small skewers of cured meat, like folded salami or prosciutto wrapped around a small piece of melon (if it’s summer!), work great.
- Something Sweet (But Still Low Carb!): This is where I often pull in some seasonal fruit if I’m not strictly keto that day, like a bowl of seedless grapes mixed with cheese cubes. If I need to keep it fully low-carb, small cubes of sharp cheddar or Havarti look great next to them.
Pairing With Dips and Sauces (If You Must!)
These mushrooms truly need no sauce whatsoever because the filling is so flavorful, but sometimes people just love to double-dip! If you feel like offering a dip alongside your Bake And Serve appetizers, keep it simple.
I usually skip heavy ranch or blue cheese dressings here because the cream cheese filling is already so rich. Instead, I love to serve a tiny bowl of high-quality, thick pesto on the side. The bright, herbaceous note of basil cuts through the richness of the pecans and cheese so nicely. Or, if you’re leaning into a general, non-diet specific crowd, a simple warm marinara sauce for dipping can be nice, but keep it warm and off to the side so it doesn’t interfere with the make-ahead timing.
For more hosting layout ideas, especially around holidays, you can check out my holiday snack ideas! It’s all about serving beautiful food without locking yourself in the kitchen!
Storage and Reheating Instructions for Stuffed Mushrooms
This is the part of the Stuffed Mushrooms (Make Ahead) process that saves your sanity the next day! We need to talk about two different scenarios: storing the unbaked ones you prepped early, and dealing with any delicious leftovers after the party is over. Since you put so much love into that savory cream cheese filling, we want to treat them right!
If you are prepping ahead for your next big party tray, remember that 12-hour window is your sweet spot. If you’re looking for ways to manage leftovers without wasting food, check out how I handle leftovers from big batches of food; the principles apply here!
Storing Unbaked (Prepped) Mushrooms
This is the main reason we love this recipe! If you assembled the mushrooms the night before, just make sure they are covered super, super tight. Plastic wrap is your best friend here. You need to press that plastic wrap down gently over the tops of the filling so it doesn’t adhere right to the pecan crumb topping—if it touches, it’ll stick and tear the top off when you go to remove it before baking!
Keep them on that baking sheet in the fridge. They can hang out for up to 12 hours waiting for their big moment. As I mentioned before, when it’s time to Bake And Serve straight from the chill, just add an extra 5 to 10 minutes to the baking time. They chill out, but they don’t freeze!
Reheating Leftover Baked Stuffed Mushrooms
Sometimes, even if you make 20, they vanish! But if you do have a few baked beauties left over, they reheat beautifully if you treat them kindly. The biggest mistake people make is throwing them back into a hot oven hoping to crisp them up quickly.
Do not do that! That high heat will just dry out the mushroom flesh and make the filling hard. Instead, you want to go low and slow. Pop the leftovers back onto a clean baking sheet. Set your oven to a gentle 300°F (150°C).
Heat them slowly for about 10 to 15 minutes, depending on how many you are reheating. You’re just warming them through, not cooking them again. This gentle heat keeps the center creamy and prevents the mushroom from turning rubbery. They’ll taste almost as good as the first time around!
Freezing Baked Stuffed Mushrooms
While they are best when made ahead and baked the next day, you absolutely can freeze baked leftovers if you have too many. Make sure they are completely cooled first. Wrap each mushroom individually in plastic wrap, then put them all into a freezer-safe bag. They should keep decently for about a month.
When you’re ready to eat them, let them thaw in the fridge overnight first. Then, follow the slow reheating instructions above at 300°F. You might need a little longer—maybe 20 minutes—but taking it slow is the trick to reviving that perfect texture!
Frequently Asked Questions About Stuffed Mushrooms (Make Ahead)
I get so many questions when people try hosting with my recipes, and that’s fantastic! It means you’re diving in and making them your own. This section is dedicated to clearing up any last little worries you might have about preparing this wonderful Make Ahead Appetizer. Don’t hesitate to reach out if you have more questions after you’ve given them a try—you can always pop over to my contact page!
Can I use a different cheese besides cream cheese in this Make Ahead Appetizer?
Oh, absolutely! While the cream cheese gives you that super smooth, luxurious base that holds up so well in the fridge, you can definitely switch it up. If you want something with a little more bite, try swapping half the cream cheese for Boursin cheese—it has garlic and herbs already mixed in, which is a great shortcut! Goat cheese is another fun option, but just know it’s tangier and might not yield that exact same dense texture. You might need to add a tiny bit more finely chopped pecans if you use goat cheese to help firm up the mixture a bit!
How long can I store the unbaked Stuffed Mushrooms (Make Ahead) in the refrigerator?
I’ve tested this repeatedly, and the sweet spot for storing the unbaked mushrooms is right around 12 hours. You really don’t want to push much past that. Remember, the filling is full of fresh ingredients, and we want them to have that fresh snap when they bake. The MOST important thing is how you cover them! You have to use plastic wrap, and you must press it down lightly over the filling so it doesn’t suck air or stick badly to your delicious pecan topping. Once they are covered tightly, pop them onto the baking sheet and straight into the fridge until it’s time to bake!
What is the best way to Bake And Serve these if I assemble them cold?
This is such a common question when you’re using the make-ahead feature! If you remember to pull them out of the fridge about 30 minutes before you want to bake, that’s ideal. However, if you go straight from the fridge to the oven, you’re fine! Since the filling starts cold, it takes longer to heat through to the center. You should plan on adding about 5 to 10 extra minutes to the standard 20 to 25-minute bake time.
Keep watching the tops for that beautiful golden color. That’s your true sign that they are ready to **Bake And Serve**. If the tops look done but the center feels cool, just tent them loosely with foil and let them bake until the centers are heated through. Slow and steady wins the race when you are baking straight from the fridge!
Share Your Experience Making Stuffed Mushrooms (Make Ahead)
Whew! We did it! We’ve walked through every single step needed to create a sophisticated, easy Make Ahead Appetizer that’s guaranteed to be the talk of your next gathering. I sincerely hope you feel as empowered as I did when I first served these at my holiday party—feeling like a domestic goddess without breaking a sweat!
But now the real fun starts: seeing where you take this recipe! I’m always so curious about how you customize things in your own kitchens. Did you try using some fresh thyme instead of parsley? Did those low and slow reheating instructions work perfectly for you the next day?
I’d absolutely *love* to hear how these went over at your next party! Seriously, please leave a comment below and let me know what you thought. Did your guests devour the entire Party Tray? Don’t be shy about rating the recipe, too—it helps other busy hosts find this little trick!
If you snapped a picture of your perfectly golden, baked batch sitting out ready to serve, please tag me! Sharing visuals of your successful hosting moments is what it’s all about. You can find more about my culinary adventures by checking out my ‘About Me’ page to see what I’m exploring next in international keto kitchens. Happy entertaining, friends!
Stuffed Mushrooms (Make Ahead)
Ingredients
Equipment
Method
- Preheat your oven to 400°F (200°C). Lightly grease a baking sheet with olive oil. Remove the stems from the mushrooms, finely chop them, and set aside.
- Melt the butter in a medium skillet over medium heat. Add the chopped mushroom stems and cook for 5 minutes, until most of the moisture has evaporated. Add the onion, garlic, salt, and pepper. Cook for another 1 to 2 minutes, until the onion softens. Transfer the mushroom mixture to a mixing bowl and let it cool slightly.
- Add the cream cheese, reserved parmesan cheese, chopped pecans, and chopped parsley to the mixing bowl with the mushroom mixture. Stir until everything is well combined.
- Fill the mushroom caps with the cheese filling. Evenly sprinkle the tops with the reserved parmesan and chopped pecans.
- Bake for 20 to 25 minutes, or until the tops are golden and the mushrooms are slightly soft. Garnish with extra parsley before serving.
Nutrition
Notes
Tried this recipe?
Let us know how it was!