
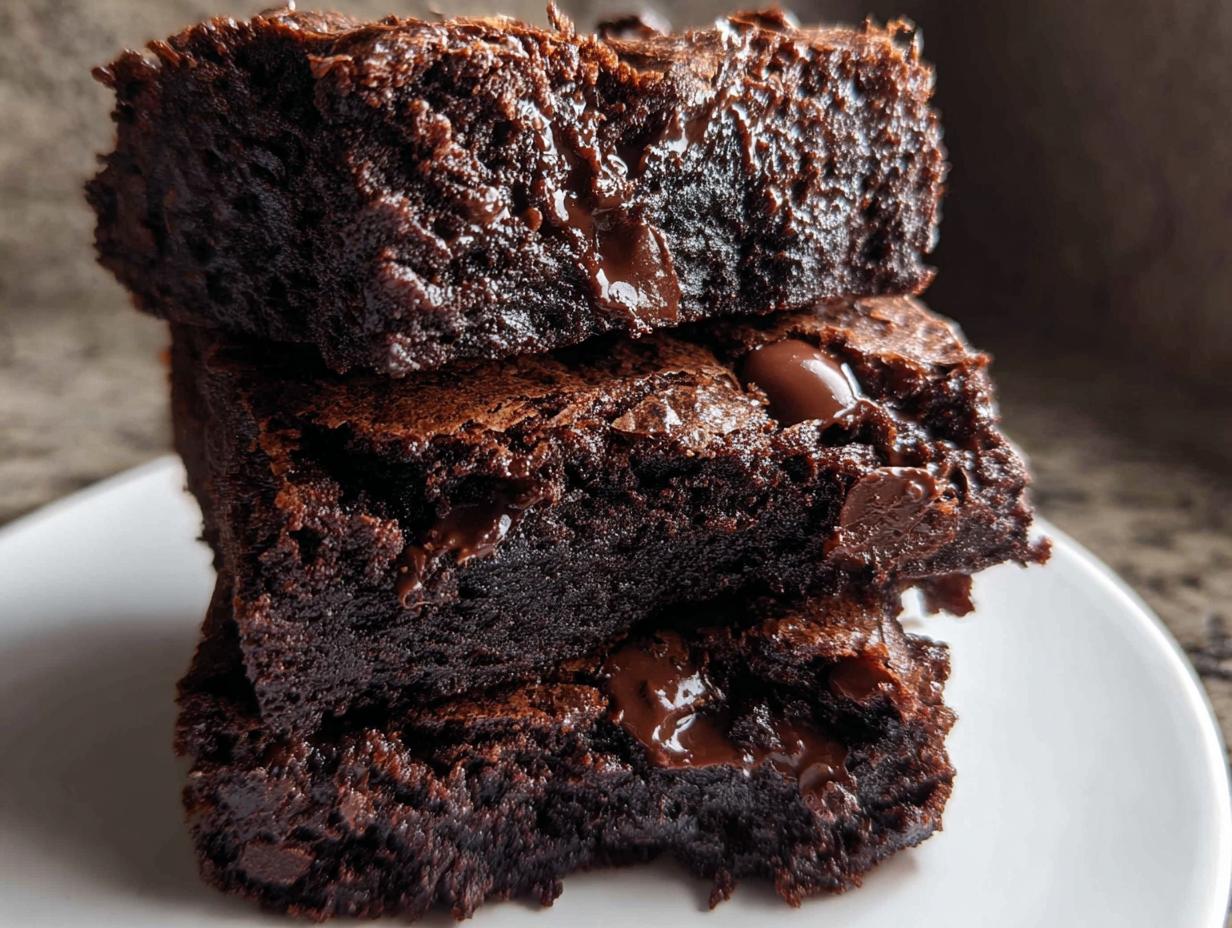
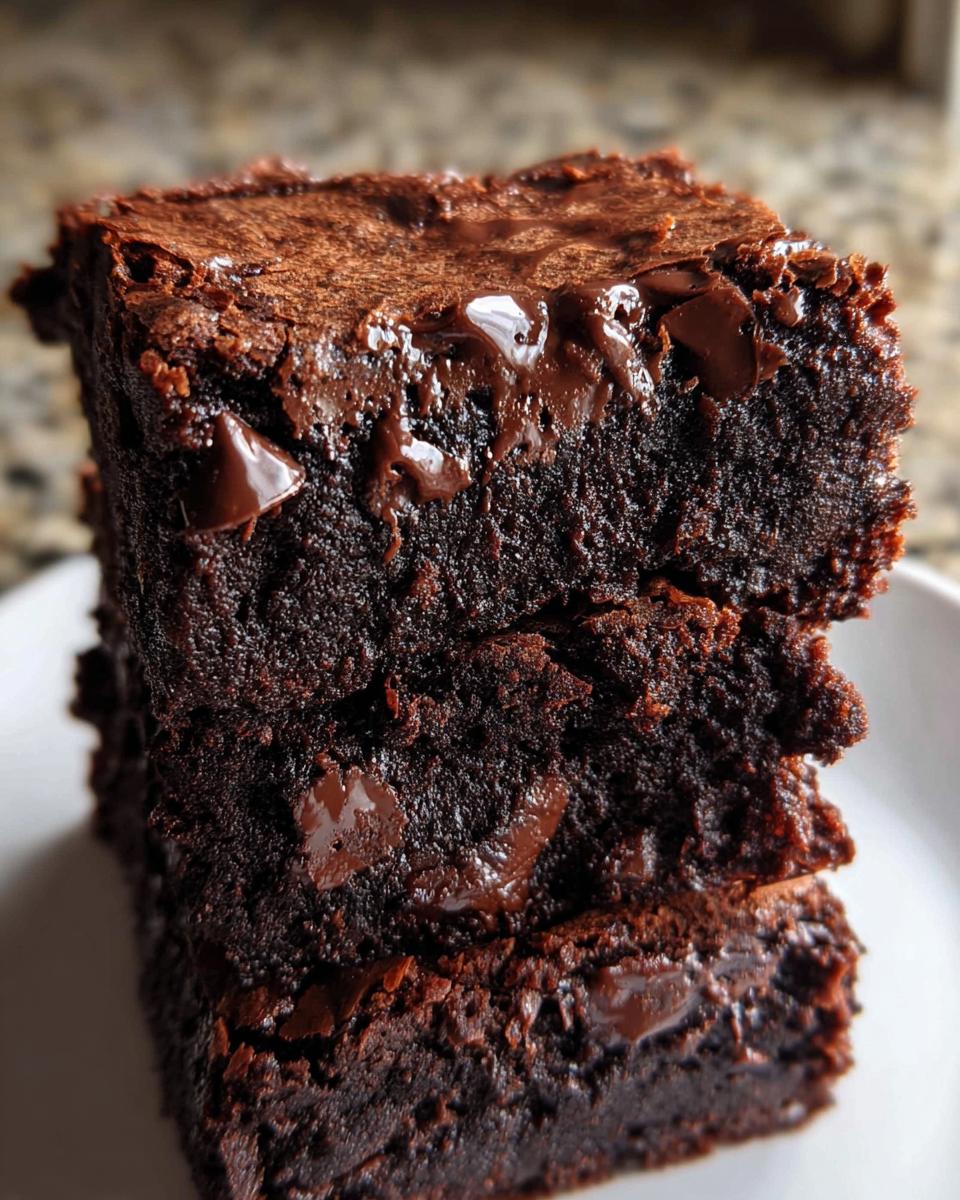
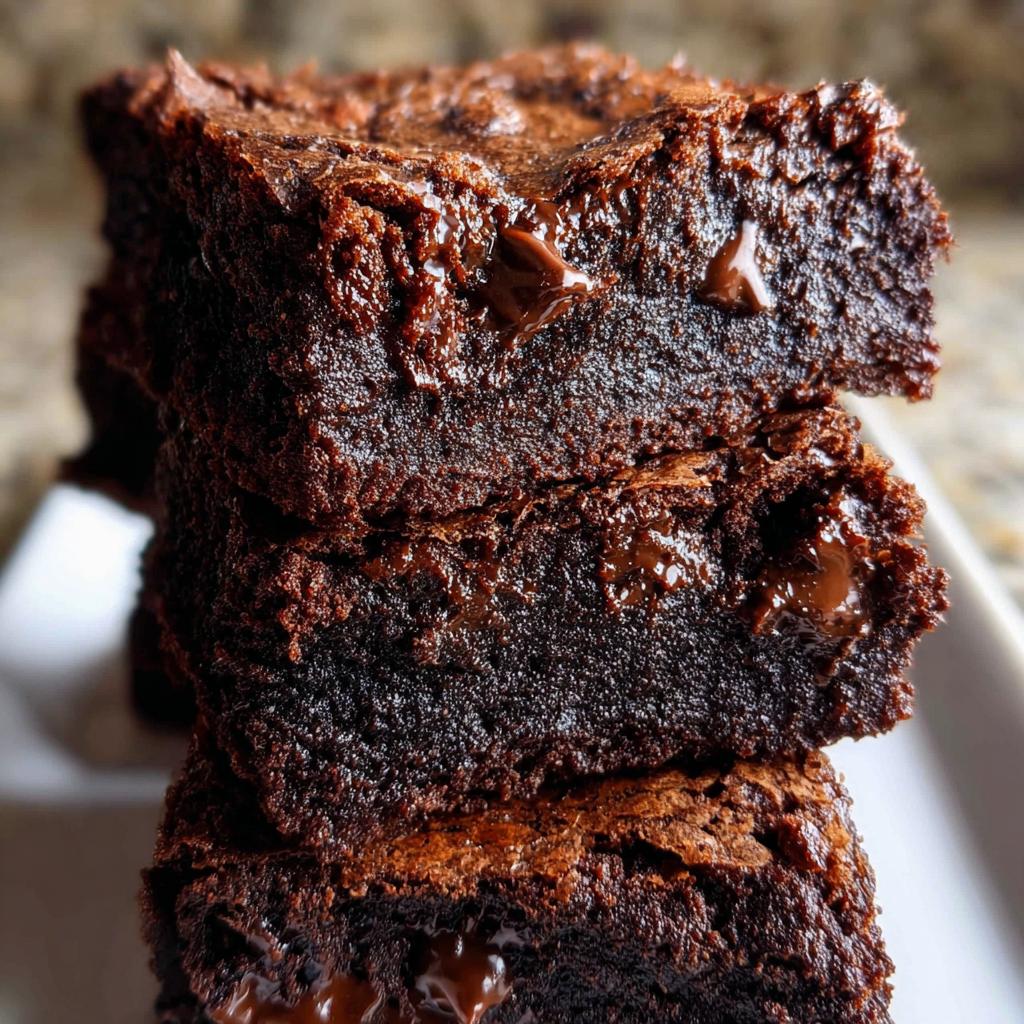
Oh, you know that feeling? That deep, desperate craving for something intensely chocolatey, something so rich it almost feels sinful? That’s what led me straight to perfecting these Ultimate Fudgy Dark Chocolate Brownies. Forget cakey, dry squares; we are chasing that molten, gooey center that barely holds together on the fork. I still remember making the original batch on a super rainy afternoon in my old Brooklyn apartment. I’d just gotten back from foraging, found some incredibly strong wild mint, and decided to toss it into the melted dark chocolate. That comforting scent enveloped me like the best hug! It was instant bliss, and that moment taught me that simple recipes can become extraordinary with a little twist. Trust me, this one-bowl method is foolproof.
Why This Ultimate Fudgy Dark Chocolate Brownies Recipe Works
People ask me all the time, “Alexandra, what makes these the *ultimate*?” Honestly, it comes down to respecting the fudge! We aren’t making cake here; we are aiming for decadence, and this recipe respects the ratios needed to hit that goal every single time. If you are looking for indulgent dark chocolate desserts that taste homemade but aren’t fussy, this is your winner.
Achieving True Fudgy Texture
The secret sauce for any fantastic fudgy brownie recipe is the fat-to-flour ratio. We use plenty of butter and oil—that’s your fudge foundation! Then, once the flour is added, we stop stirring almost immediately. Overmixing develops gluten, which equals cake edges. We want that dense, barely-there flour texture so the chocolate shines.
One Bowl Baking Simplicity
Even though we melt the butter first, the cleanup is minimal, which I love. This is truly a one bowl baking experience! After melting the fats, everything else gets whisked or folded right in that same bowl. Who has time to wash four different bowls on a weeknight? Not me!
Gathering Ingredients for Ultimate Fudgy Dark Chocolate Brownies
Okay, let’s talk ingredients! If you want that deep, dark richness, you can’t skimp here. Since this is a strictly one-bowl situation, the list seems manageable, but pay attention to the details—they really matter when you’re baking something this decadent. Having everything measured out before you start melting that butter makes the process so smooth. I always try to have my eggs sitting out for at least an hour so they are completely at room temperature; it helps them incorporate better!
Here is what you need to pull together these beauties:
- 1 cup unsalted butter (must be melted and cooled down a bit!)
- 2 tablespoons vegetable oil (this helps keep them extra fudgy)
- 1.25 cups white sugar
- 1 cup light brown sugar (make sure you pack that cup tight!)
- 4 large eggs (room temperature, please!)
- 1 tablespoon pure vanilla extract
- 0.75 teaspoon salt
- 1 cup all purpose flour
- 1 cup unsweetened cocoa powder (this needs to be good quality!)
- 7 oz large chocolate chips or roughly chopped chocolate (don’t be stingy!)
Ingredient Notes and Substitutions
For the best results in these dark chocolate desserts, please splurge a little on your cocoa powder. A Dutch-processed or darker cocoa makes a huge difference in that intense flavor we’re after. I also suggest using bittersweet chocolate for chopping rather than just standard milk chocolate chips—the texture melts better and the flavor lasts longer.
And remember my story? If you happen to find some fresh, clean mint leaves—like those I used in Brooklyn—chop them up finely and fold them in right with the chocolate chips! It’s a game-changer, but if mint isn’t your thing, a teaspoon of espresso powder stirred in with the cocoa also deepens that dark chocolate flavor beautifully.
Essential Equipment for Your Ultimate Fudgy Dark Chocolate Brownies
Honestly, part of the joy of this recipe is how little equipment you need. You don’t need a fancy stand mixer going at it for ten minutes straight! Just a couple of reliable basics and you’re good to go. Having the right pan size is important, though, because it controls the thickness, which dictates how fudgy they get.
Here are the simple tools I rely on for these incredible brownies:
- An 8×12-inch baking pan: This size ensures they bake up nice and dense. If you use a smaller pan, you’ll need to extend that baking time significantly!
- A medium-sized bowl: This is your star player for the one-bowl method. Make sure it’s sturdy enough for all that whisking!
- A whisk and a rubber spatula: The whisk is great for incorporating the sugars and eggs, and the spatula is essential for folding in those dry ingredients gently.
That’s it! Prep your pan with parchment paper so you can lift the whole slab out later without breaking any of those precious fudgy edges. Being prepared makes the whole process feel relaxed, even when you’re in a rush.
Step-by-Step Instructions for the Ultimate Fudgy Dark Chocolate Brownies
Alright, grab your medium bowl, because this is where the magic happens, and it goes fast! Remember what I told you about keeping things relaxed? This recipe is designed to be quick, getting you to that chocolate heaven faster than you can say, “I really need a brownie.” We are aiming for speed combined with that careful touch needed for true fudge texture. If you are trying to speed up prep time, you can check out some of my tips for foolproof dinner ideas that will make you feel speedy too!
- First things first, get that heat on! Preheat the oven to 350°F (175°C). Don’t wait until the batter is ready; you want the oven settled.
- Get your 8×12-inch pan ready. I always lightly spray it with whatever cooking oil I have handy, and then I line it with parchment paper, leaving those paper “slings” hanging over the sides. This is your retirement plan for easy cleanup!
- In your bowl, whisk together the melted butter, oil, white sugar, and that packed brown sugar until it looks a little lighter, maybe a minute. Then, toss in the room-temperature eggs and vanilla. Whisk that until it’s all happy and combined.
- Now, gently sift in your dry things—the flour, cocoa powder, and salt. Seriously, just gently fold. I use a spatula for this part. Stop mixing as soon as you don’t see any more white streaks of flour. Overbeating here ruins the fudge, I promise!
- Time for the chocolate payoff! Fold in 3/4 of those chocolate chips or chopped pieces until they are just distributed.
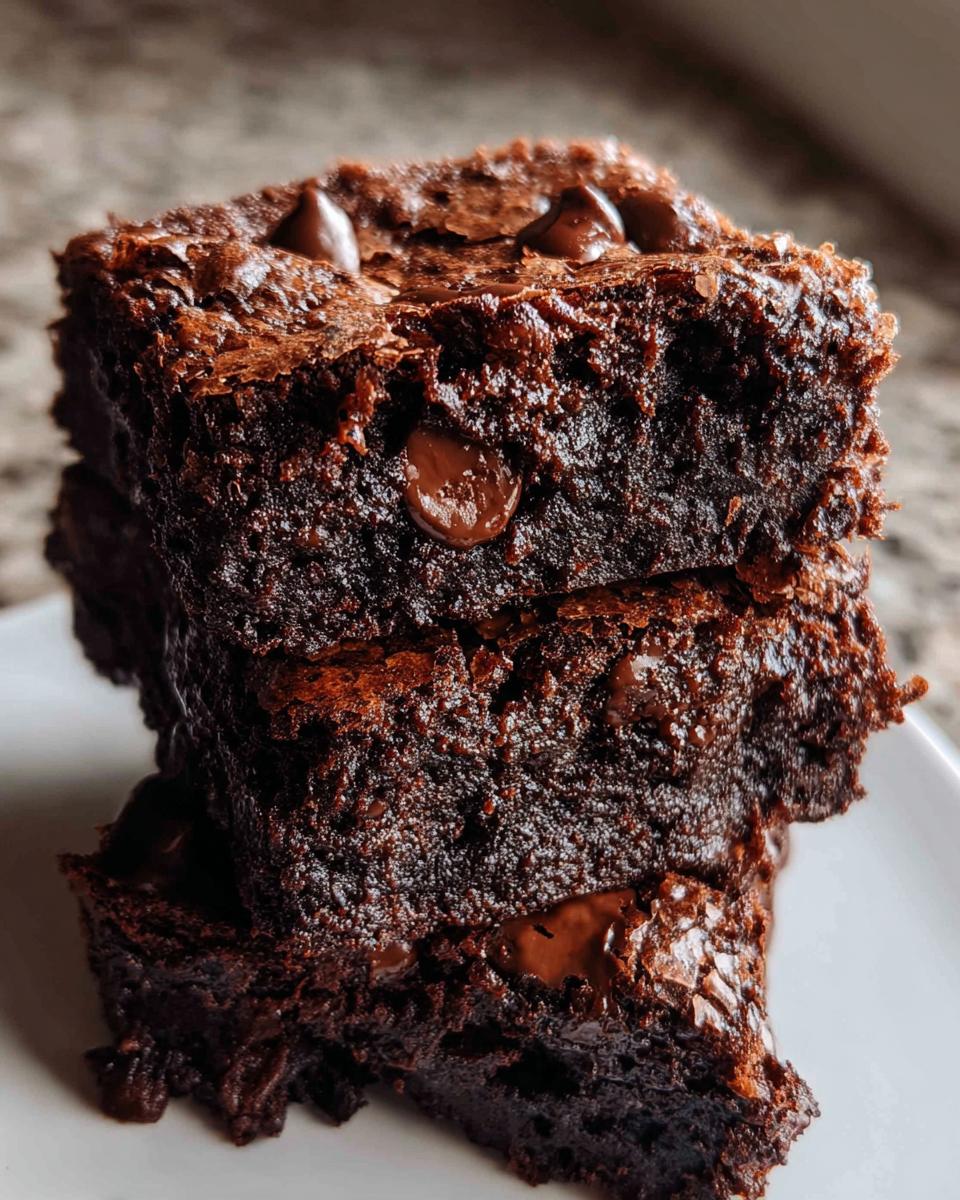
- Pour that thick, glorious batter into your prepared pan and smooth the top out nicely. Sprinkle the rest of the chocolate chips right on top—those are the bits that get melty and perfect.
- Pop it onto the top shelf of your oven. Bake time is flexible, but generally, aim for 25 to 30 minutes for real, honest-to-goodness fudgy brownies. I found a great guide from Cafedelites about perfecting your bake times too, it’s really helpful when learning a new recipe like this fudgy brownie recipe.
Baking Time and Doneness Test for Ultimate Fudgy Dark Chocolate Brownies
This is the moment of truth! If you pull these too early, they’re sloppy; too late, and you get cake. For the ultimate fudge, you are aiming for a toothpick coming out with moist crumbs clinging to it. If the toothpick is completely clean/dry, you’ve passed into cake territory, and we don’t want that! If it’s dripping wet batter, give it three more minutes. That slightly under-baked center is what creates that incredible gooey layer, so don’t be scared when it looks *just* set!
Tips for Success When Making Ultimate Fudgy Dark Chocolate Brownies
Even with a great recipe like this, those little details can be the difference between a good batch and a truly legendary batch of crowd pleasing treats. I’ve learned these tricks through trial and—yes—a few too many cakey sacrifices. If you follow these four points, I guarantee you’ll get that perfect, dense, melt-in-your-mouth texture we are aiming for!
Here are my absolute must-dos:
- Room Temperature Eggs are Non-Negotiable: When your eggs are cold, they don’t combine well with the melted fat and sugar you’ve already whisked up. This causes the batter to seize slightly, leading to density issues later. Take the eggs out when you melt the butter! It’s worth the extra fifteen minutes of planning.
- Don’t You Dare Overmix After Flour: I know I keep saying it, but this is the most important rule for fudge over cake. When you add the flour and cocoa, switch immediately to a rubber spatula. Fold *just* until the dry ingredients disappear. If your arm muscles start working hard, stop! You’re activating gluten, and gluten hates fudge.
- Use the Top Rack: Baking these on the top rack of the oven (or at least the middle-top position) helps the edges set quickly without over-baking the center. Because these brownies are so rich and moist, a little extra heat exposure on the top helps create that slightly crisp, crackly surface we all adore.
- Patience During Cooling is Hard, But Necessary: Your brownies will look unset as soon as they come out, and that’s okay! If you try to slice them warm, you’ll end up with chocolate soup on your cutting board. Let them cool in the pan for at least 15 to 20 minutes before attempting any transfer. They firm up significantly as that residual heat works its magic.
Follow those steps, and you’ll have the best fudgy brownies your friends have ever tasted. I guarantee it!
Serving and Storing Your Ultimate Fudgy Dark Chocolate Brownies
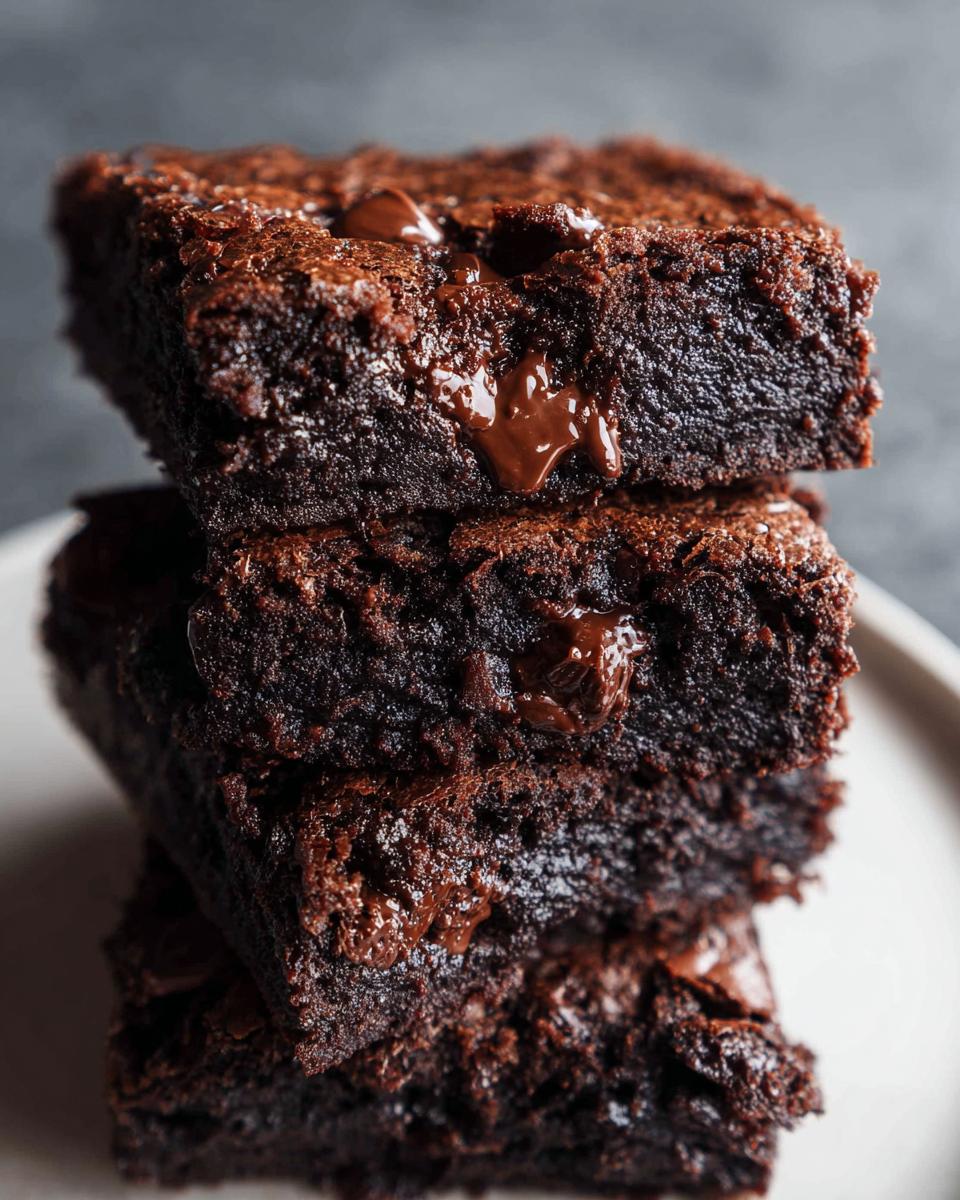
Cutting into these rich brownies when they are piping hot is one of the great struggles of my baking life, I won’t lie. But resisting that urge? That, my friend, is the key to getting those beautiful, clean squares you dream about. Remember, because we prioritized the fudgy texture, these are much softer than a traditional cakey brownie. If you try to slice them while they are still warm, you’ll just end up with a big smudge of chocolate goodness.
Here is my system for getting them perfect and keeping them tasty for days (if they last that long, which let’s be real, is doubtful in my house!).
The Cooling Process is Non-Negotiable: Let those brownies cool down in the pan for at least 15 to 20 minutes after you pull them from the oven. You need that initial set. Use the parchment paper slings to gently lift the entire block out onto a cooling rack. Now, cover them loosely with foil or a kitchen towel and let them come completely to room temperature. I usually wait a solid hour, sometimes longer. That final cool-down ensures the center has solidified enough to hold its shape when the knife goes through!
Storage Secrets: Once they are totally cool, if you aren’t serving them immediately, store them in an airtight container. Because this recipe is so rich in fat (butter and oil!), they stay incredibly moist for days. Seriously, I always think they taste even richer on day two. If you keep them on the counter at room temperature, they’ll be perfect for grabbing. Don’t refrigerate them unless your kitchen is extremely humid, as the cold can sometimes dull that amazing chocolate flavor.
If you’re looking for some quick ways to get dinner ready so you can get back to chilling these out, check out these 5-ingredient dinner ideas. Sometimes you need those super fast meals!
Reheating for Maximum Goo: Life happens, and sometimes you want that just-out-of-the-oven molten experience without waiting! If you store them and they seem a bit firm the next day, just pop a square into the microwave for about 10 to 15 seconds. That little blast of heat melts the chips again and brings back that soft, gooey center perfectly. It’s the ultimate late-night indulgence. Enjoy every single bite!
Variations on the Ultimate Fudgy Dark Chocolate Brownies
Since that first afternoon experimenting with wild mint in my kitchen, I’ve learned that this sturdy, fudgy base is just begging for creativity! You don’t need to go foraging for obscure herbs to step this recipe up, though I highly encourage it if you find something exciting! These brownies are like a quiet canvas waiting for a splash of color, flavor-wise. Don’t feel pressured to stick only to the base recipe; try one of these simple flavor boosts next time you bake them.
These little tweaks turn your batch of crowd pleasing treats into something uniquely yours:
- The Salty-Sweet Crunch: This is arguably my favorite addition now. Once you pour the batter into the prepared pan, sprinkle a generous pinch of flaky sea salt (like Maldon) right over the top before it goes into the oven. That pop of salt next to the intense dark chocolate is just heavenly. It really emphasizes the sweetness, and the texture is fantastic.
- Nutty Indulgence: If you’re a fan of texture contrast, walnuts or pecans are a quick win. Roughly chop about a cup of your favorite nut and fold them in right along with the chocolate chips in Step 5. They toast up slightly while baking and give you that satisfying crunch against the soft fudge.
- Espresso Power Up: Want that deep, slightly bitter edge that only true dark chocolate desserts possess? Mix one full teaspoon of instant espresso powder right into your dry ingredients (cocoa, flour, salt) before sifting them over the wet mix. You won’t taste coffee, just richer, darker, more intense chocolate flavor.
- The Mint Echo: If you bypass the actual mint leaves, you can always use vanilla’s equally stylish cousin: peppermint extract. Use just half a teaspoon, folded in with the vanilla at the beginning. It keeps that fresh, cool flavor profile I discovered that rainy day!
Remember, the beauty of this recipe is that it’s so rich, even minor changes make a huge impact. If you’re having a busy night and need to focus on the oven, maybe try my guide on dinner ideas in 20 minutes just to keep things simple before you start baking!
Frequently Asked Questions About the Ultimate Fudgy Dark Chocolate Brownies
I get so many questions from folks trying to make these perfect! It’s totally understandable; when you set out to make the *best* fudgy brownie recipe, you want details. Let’s tackle the most common things I hear about getting that intense, signature texture and flavor locked down.
Can I make these Ultimate Fudgy Dark Chocolate Brownies cakey instead?
Oh, you certainly *could*, but then they wouldn’t be these brownies, would they? To shift from super fudgy to cakey, you’d need to increase the flour slightly and probably add a bit of baking powder—that’s what introduces the air pockets we specifically worked so hard to prevent! This recipe is chemically balanced for density, so shifting it means it stops being the ultimate fudge recipe we designed here. Cakey brownies are great, but they are a whole different beast!
What is the best chocolate to use for this fudgy brownie recipe?
You absolutely need good quality chocolate for these dark chocolate desserts to sing! I recommend grabbing baking bars that are around 60% to 70% cacao. Using anything lower—like standard milk chocolate—will make them taste too sweet and less complex. If you use high-quality bittersweet bars and chop them roughly—instead of using chips—the chocolate actually melts better and creates those gorgeous, shiny pools on top. It makes all the difference, trust me.
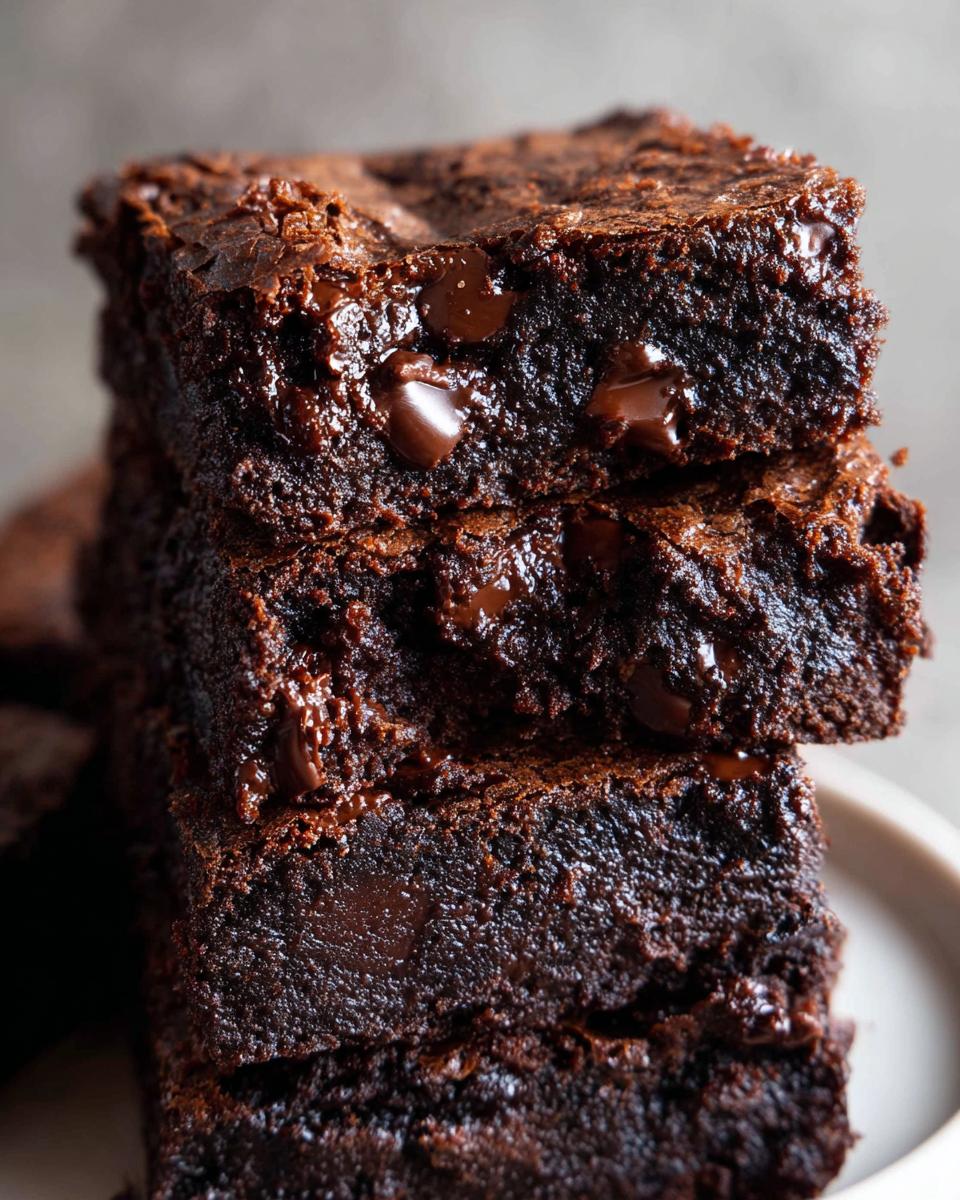
Why did my brownies come out crackly on top but gooey inside?
That’s not a mistake; that’s the gold standard! That thin, papery, crackly top layer is a sign of perfectly combined sugar and eggs that have slightly cooled before you added the flour. That thin crust is such a lovely contrast to the molten center. If you aren’t seeing that shiny sheen after baking, it sometimes means your oven temperature was a little too low, or perhaps the sugars didn’t mix quite smooth enough in that very first step. Keep practicing that sugar whisk!
Can I substitute the butter with coconut oil or just use all oil?
Because this recipe depends on that specific ratio of melted butter (for richness and flavor) and oil (for moisture insurance), swapping everything out can change the structure significantly. Coconut oil works okay, but I find it changes the mouthfeel a bit. To keep this the *ultimate* fudge experience, I really advise sticking to the unsalted butter and vegetable oil mix. If you must substitute, use a neutral oil like canola, but try not to drop the butter entirely—it lends too much flavor depth to this recipe!
How long do I have to let them cool before slicing?
This is where most people slip up! You must let them cool! If you try to slice them while hot, they will collapse into a puddle no matter how perfectly you mixed them. I know waiting is torture, but you need at least 15 minutes in the pan after they leave the oven, and then you need to lift them out and let them hit room temperature on a rack. That final cooling time solidifies the fudge structure. If you cut them after they’ve cooled completely, you’ll get beautiful, neat squares!
Nutritional Estimates for Ultimate Fudgy Dark Chocolate Brownies
Okay, listen up. I know we aren’t making these brownies because we’re tracking every single calorie, right? We’re making them because they are pure, unadulterated joy in square form! But, because I like to be thorough—and because sometimes you just need to know what you’re diving into—I’ve pulled together the estimated nutrition facts based on our recipe yielding 16 generous squares. Consider this information friendly guidance, not strict law!
For those of you who like the numbers, here is the breakdown for one of these incredible, fudgy delights:
- Calories: 350
- Carbohydrates: 46g
- Fat: 19g (Yes, that’s the fudge talking!)
- Protein: 3g
- Saturated Fat: 11g
- Sugar: 36g
Just a quick note, because I always feel like I need to say this: These figures are based on standard measurements and the ingredients listed above. If you decide to add those wild mint leaves or a handful of extra pecans, those numbers are going to shift a little! They are estimates based on what we put into the bowl. Enjoy these rich dark chocolate desserts guilt-free—you earned every single, decadent bite!
Ultimate Fudgy Dark Chocolate Brownies
Ingredients
Equipment
Method
- Preheat your oven to 350°F (175°C).
- Lightly grease an 8×12-inch baking pan with cooking oil spray. Line the pan with parchment paper and set it aside.
- Combine melted butter, oil, and sugars together in a medium-sized bowl. Whisk well to combine. Add the eggs and vanilla; beat until the mixture is lighter in color, about one minute.
- Sift in the flour, cocoa powder, and salt. Gently fold the dry ingredients into the wet ingredients until they are just combined. Do not over beat the batter.
- Fold in 3/4 of the chocolate pieces.
- Pour the batter into the prepared pan, smoothing the top evenly. Top with the remaining chocolate pieces.
- Bake for 25 to 30 minutes for fudgier brownies, or until the center no longer jiggles and is just set to the touch. If you prefer firmer brownies, bake for 35 to 40 minutes.
- Remove the pan from the oven. The brownies will continue to set as they cool in the hot pan. Allow them to cool for 15 to 20 minutes before carefully removing them from the pan. Let them cool to room temperature before slicing into 16 pieces.
Nutrition
Notes
Tried this recipe?
Let us know how it was!
Urban Forager & Hyperlocal Ingredient Specialist
My Brooklyn apartment balcony tells my story: vertical gardens packed with wild edibles, fermentation crocks bubbling with city-foraged greens, and the constant hum of dehydrators preserving herbs I’ve collected from unexpected urban corners. What started as weekend escapes to my aunt’s upstate farm during my Columbia botany studies turned into something bigger after I earned my Urban Ecology Master’s from The New School.
Instead of following traditional academic paths, I discovered that cities are actually amazing edible ecosystems—rooftop weeds, park-edge wild greens, vacant lot treasures that perfectly complement keto eating. Who knew that some of the best low-carb foods were growing right under our noses in Manhattan?
My recipe collections celebrate city seasons: spring dandelions and plantains, summer purslane from rooftops, autumn rose hips from community gardens, winter wild onions and cress. I’m certified through the New York Mycological Society and trained by Brooklyn Botanic Garden to forage safely and ethically. Over 180 of my recipes feature at least one urban-foraged ingredient—from sidewalk plantains to sumac berries and wild mint thriving in vacant lots.
My “Metropolitan Wild” column went viral after my dandelion coffee substitute hit social media. Now my weekend “Urban Wild Walks” through Central Park and Prospect Park sell out faster than I can schedule them. I teach city dwellers to spot safe, keto-friendly wild foods hiding in plain sight.
Currently, I’m partnering with local chefs to bring urban foraged elements to restaurant menus and developing an app that maps safe foraging spots across all five boroughs. Evenings find me tending my sourdough starters, pressing flowers for natural dyes, or weaving baskets from willow branches I collect during park maintenance.
Cities are wild food sanctuaries hiding in plain sight—keto eating becomes urban rebellion when you realize how much free, perfect nutrition grows right under our feet.