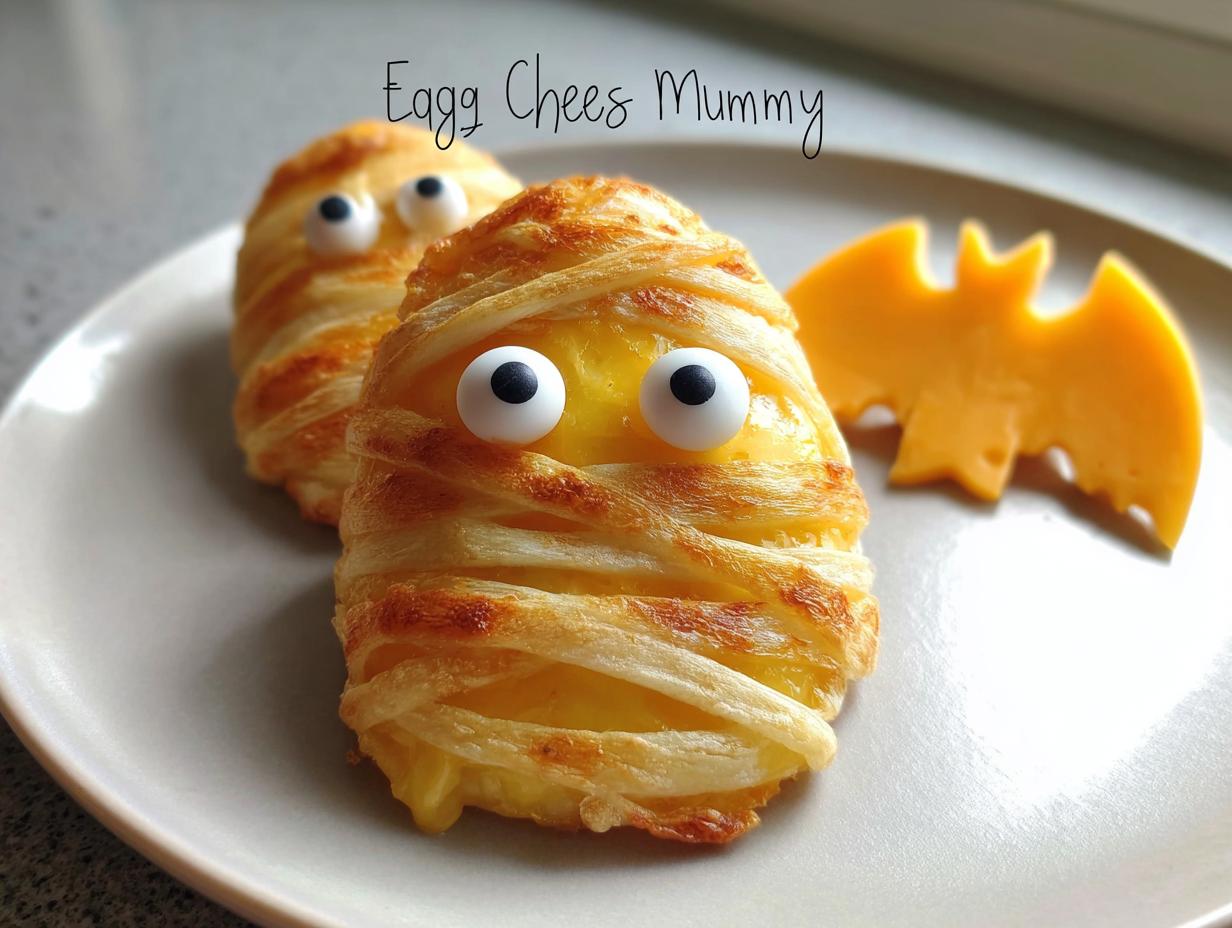
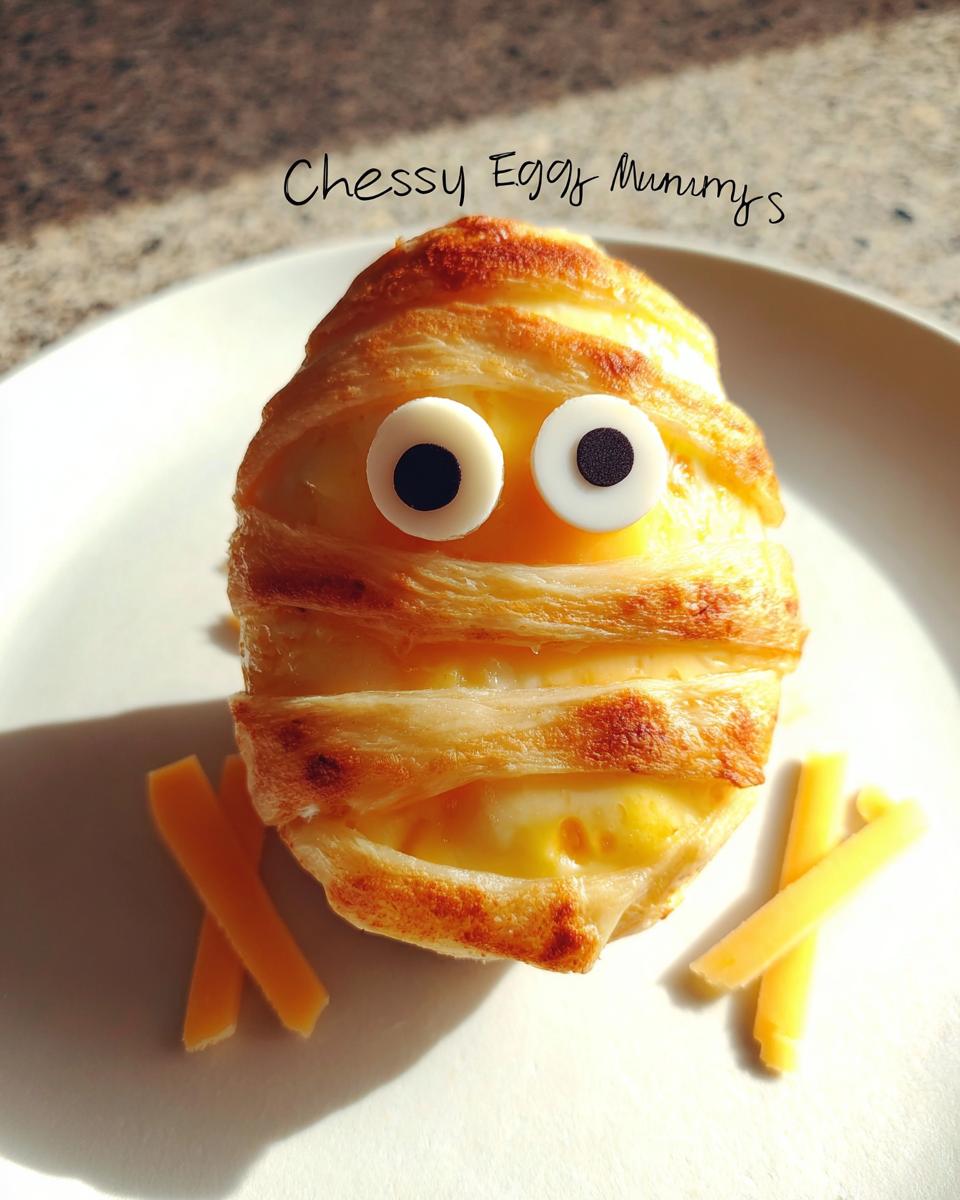
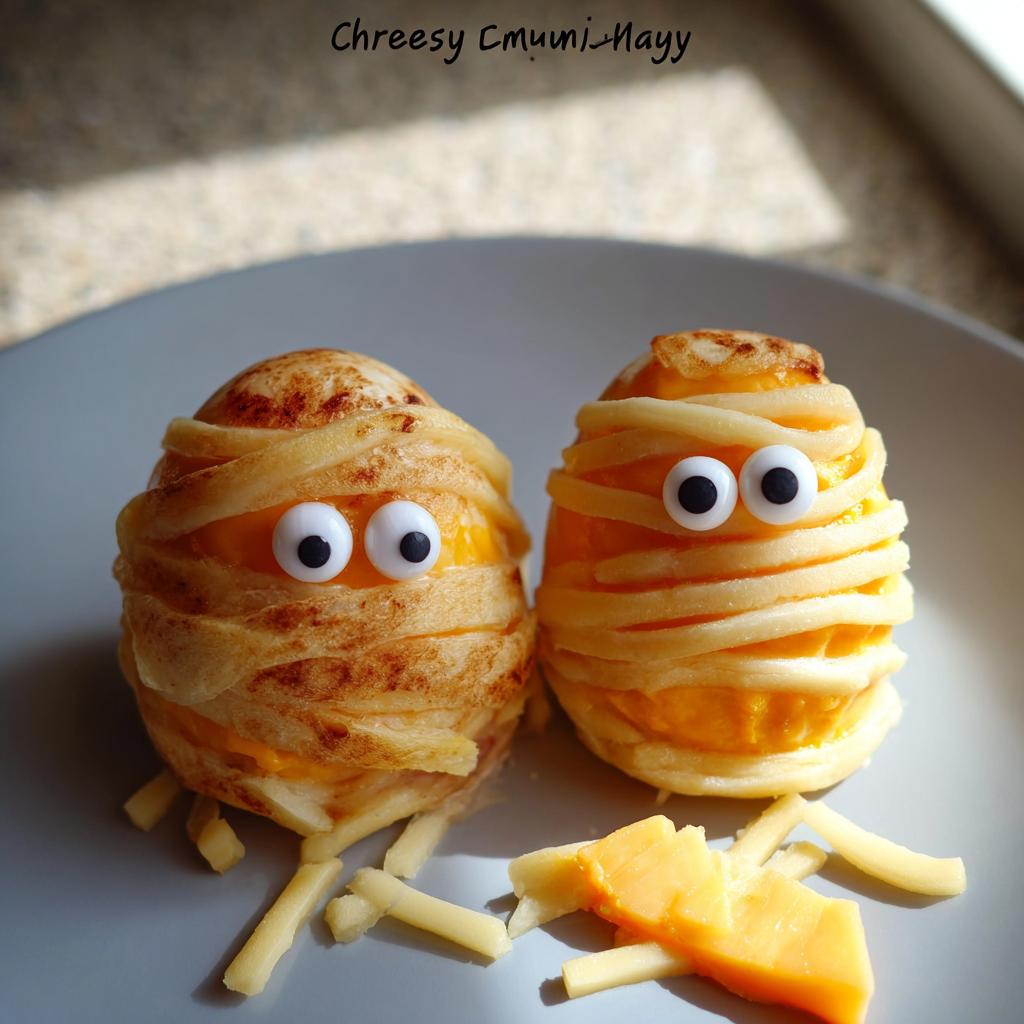
Alright, buckle up, because even a Precision Keto Scientist like myself can get a little spooky and silly in the kitchen sometimes! I was deep in a batch test on egg protein denaturation, playing with cooking times to see how they affected texture, when suddenly, one of my test eggs, wrapped up haphazardly in mozzarella strips, looked… well, like a tiny, escaped lab mummy. It gave me a chuckle, and before I knew it, I was cutting cheese crisps into bat shapes to test their fat re-solidification curve for garnish. The result? These delightfully ridiculous, yet perfectly macro-balanced Egg “Mummies” & Cheesy Bats (Savory). Who knew precision could be so much fun? These are fantastic family-friendly Halloween hacks that don’t mess with your ketosis.
Why You’ll Love These Egg “Mummies” & Cheesy Bats (Savory)
Seriously, what’s not to love? These little guys are:
- Totally Keto-Friendly: Just the good stuff, no carb surprises here!
- Kid (and Adult!) Approved: Even the pickiest eaters will get a kick out of these.
- Super Speedy: Ready in minutes, perfect for last-minute Halloween party prep.
- Deliciously Savory: A welcome change from all the sweet Halloween treats.
- Seriously Fun: They bring that perfect spooky-yet-smart vibe to your spread.
Ingredients for Your Egg “Mummies” & Cheesy Bats (Savory)
Alright, let’s get down to the nitty-gritty for these fun little bites. It’s all about simple, quality ingredients that deliver on flavor and keep things keto-friendly. These are pretty straightforward, focusing on that essential egg protein and some flavorful cheese:
For the Egg Mummies
- 1 egg
- 1 tsp turkey bacon fat or olive oil (for cooking!)
- 2 slices cheese (I love using Kerrygold Blarney Castle for its mild flavor and great texture, but any good, thinly sliced cheese works!)
- 2 candy eyes (these are just for fun, totally optional!)
For the Cheesy Bats (Optional Garnish)
- 1 slice cheese (again, use your favorite, cut into fun bat shapes!)
See? Nothing too crazy. The beauty is in how simple these are, letting the flavors shine and the presentation do most of the talking. Perfect for boosting your protein intake with a bit of Halloween spirit.
Equipment Needed for Egg “Mummies” & Cheesy Bats
You really don’t need much for these fun little guys, which is part of their charm! Just grab these basics:
- A small frying pan or skillet – perfect for getting that egg cooked just right without it spreading too thin.
- A trusty spatula – essential for flipping that delicate egg and arranging your mummy wrappings. That’s it! Simple, right?
Step-by-Step Instructions for Egg \”Mummies\” & Cheesy Bats
Okay, here’s where the magic happens! It’s a pretty straightforward process, but paying attention to a couple of key steps will make your Egg “Mummies” & Cheesy Bats totally Instagram-worthy. This is a great little recipe to get the kids involved with, too – it’s super FamilyFriendly and they love seeing the egg turn into a mummy!
Preparing the Pan and Cooking the Egg
First things first, let’s get that pan ready. Pop a small frying pan or skillet on the stove over medium heat. Add your teaspoon of turkey bacon fat or olive oil. Let it get nice and hot – you want the egg to sizzle just a little when it hits the pan. Once it’s ready, carefully crack your egg right into the skillet. Then, immediately turn the heat down to low. We’re going for a gentle cook here, not a scramble!
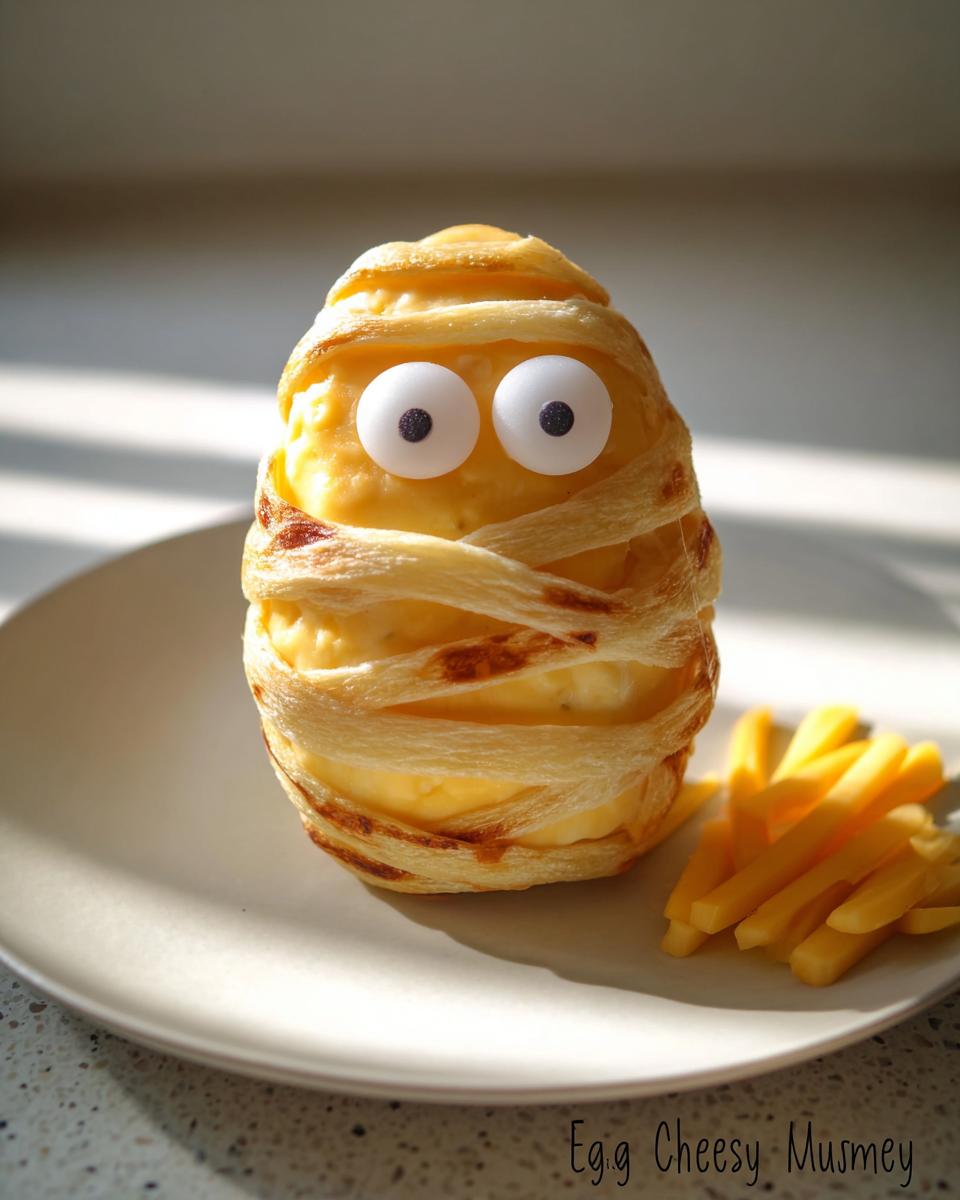
Crafting the “Mummy” Wrappings
While your egg is cooking away, grab your cheese slices. You want to cut them into thin strips! Think bandage-width, with a few different lengths for that authentic mummy look. Now, here’s a super important trick: when the egg is about halfway cooked through, carefully flip it over with your spatula. Cook it just a little longer until the yolk is almost set but still a bit soft. Turn off the heat and move the whole pan off the burner. Let it sit for just a minute or two. This little cooling trick is key – it stops the cheese from melting into a gooey mess and lets you arrange those cheese strips to look like proper mummy wrappings. Don’t forget to place your candy eyes right on top so they peek out! These eggs are the stars of the show, after all.
Adding the Finishing Touches and Garnish
Once your mummy egg looks suitably wrapped, it’s time for the optional but totally fun part – the cheesy bats! If you’re going for it, take another slice of cheese and carefully cut out some little bat shapes. Think simple outlines here; they just need to be recognizable. Arrange these little bats next to your masterpiece on the plate. It’s like your mummy egg has some airborne friends! And there you have it – a perfectly spooky and savory snack ready to go. Enjoy these little bites of spooky fun!
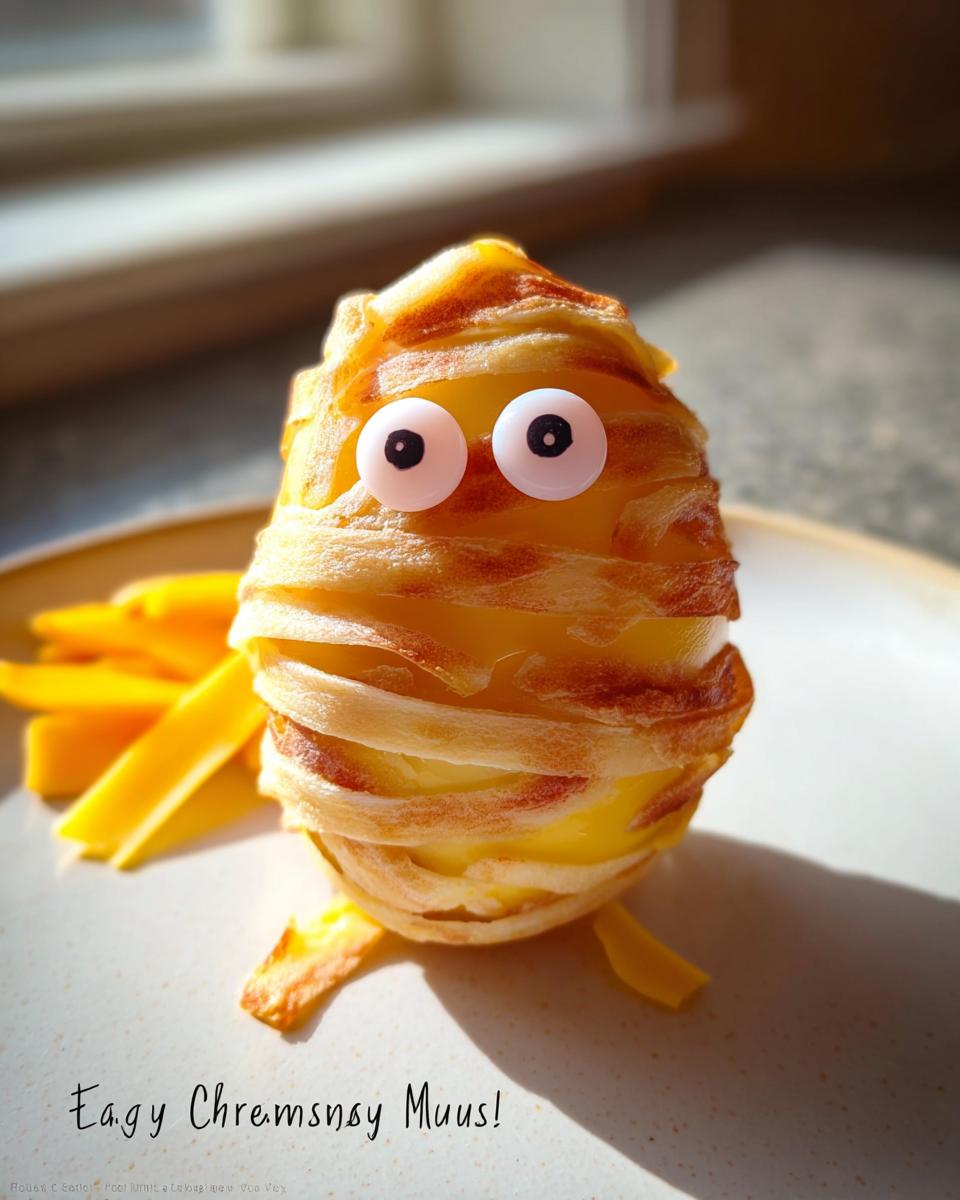
Tips for Perfect Egg “Mummies” & Cheesy Bats
Alright, so you want your mummies to look like they’ve actually escaped a tomb and not just a messy kitchen counter, right? Let me share a couple of my scientist-brain secrets, honed from countless kitchen experiments. First off, cheese selection is key. You want a cheese that slices cleanly and holds its shape when slightly warm, but doesn’t get too greasy. Kerrygold Blarney Castle is fantastic, like I mentioned, but a good young cheddar or even a firm mozzarella can work if you slice it *really* thin. As I’ve learned from my own kitchen adventures, thin is in for these creepy crawlies! And for those mummy wrappings, don’t be afraid to experiment with strip lengths – some long, some short, just like real bandages! As for the bats, simple cookie cutters work wonders, or just a quick knife edge to get those little pointy ears. Remember that cooling step for the egg? It’s your best friend for getting that clean mummy look. Trust me, a little patience here goes a long way for a fantastic presentation!
Ingredient Notes and Substitutions
So, about these ingredients – I’m all about precision, but also knowing when a little flexibility is actually a good thing. For the egg mummies, the cheese is really where you can play around. While I adore Kerrygold Blarney Castle for its semi-firm texture that holds its shape, a good quality provolone or even a mild Swiss can work wonderfully too. Just make sure it’s thinly sliced so it mimics those mummy bandages without getting too thick. If you don’t have turkey bacon fat, a decent olive oil or even avocado oil is perfectly fine for cooking the egg. My main advice is to keep it keto-friendly, so avoid anything with added sugars. For the bats, any cheese that’s firm enough to cut into shapes will do the trick! I found this interesting piece about adapting Thanksgiving recipes that got me thinking about how much fun it is to tweak things.
Frequently Asked Questions about Egg “Mummies” & Cheesy Bats
Alright, let’s tackle any lingering questions you might have about these creepy-crawly keto creations. I love digging into the details, just like any good scientist!
Are these Egg “Mummies” & Cheesy Bats truly keto-friendly?
Absolutely! The beauty of these is that they stick strictly to keto principles. We’re talking a solid protein punch from the egg and healthy fats from the cheese and cooking oil. No hidden carbs here!
Can I make the “Mummies” ahead of time?
For the best “mummy” effect, I’d recommend assembling them just before serving. The cheese strips are happiest when they’re not getting soggy from sitting too long, and the egg is best fresh. You *could* cut your cheese strips ahead of time, but the final assembly is quick enough that it’s worth doing right before you dig in!
What other savory Halloween snacks can I make?
Oh, the possibilities are endless! Think “ghost” guacamole dip with keto tortilla chips, mini olive “spiders” on cucumber slices, or even some deviled egg “eyeballs.” It’s all about getting creative with those savory, low-carb ingredients for your next Halloween bash!
Nutritional Information
Keep in mind that these numbers are estimates and can totally change depending on the exact ingredients you use, especially the type of cheese! But for a single serving of these fun Egg “Mummies” & Cheesy Bats, you’re generally looking at roughly:
- Calories: 200-250
- Fat: 15-20g
- Protein: 15-20g
- Net Carbohydrates: 1-3g
Pretty awesome for a spooky good snack, right?
Share Your Halloween Creations
Did you whip up your own spooky Egg “Mummies” & Cheesy Bats? I’d absolutely LOVE to see how they turned out! Drop a comment below, give the recipe a star rating if you enjoyed it, or tag me on social media with your amazing creations. Seeing your versions makes my inner mad scientist do a happy jig! Check out some other fun ideas on my sample page!
Egg “Mummies” & Cheesy Bats (Savory)
Ingredients
Equipment
Method
- Heat a small frying pan or skillet over medium heat and add the turkey bacon fat or olive oil.
- When the fat is hot, crack the egg into the skillet and reduce the heat to low.
- While the egg is cooking, cut several slices of cheese into thin strips of varying lengths.
- When the egg is halfway done, carefully flip it over with a spatula. Cook until the yolk is almost firm, then turn off the heat. Move the skillet to a cool burner and let the egg cool for 1-2 minutes. This prevents the cheese from melting completely.
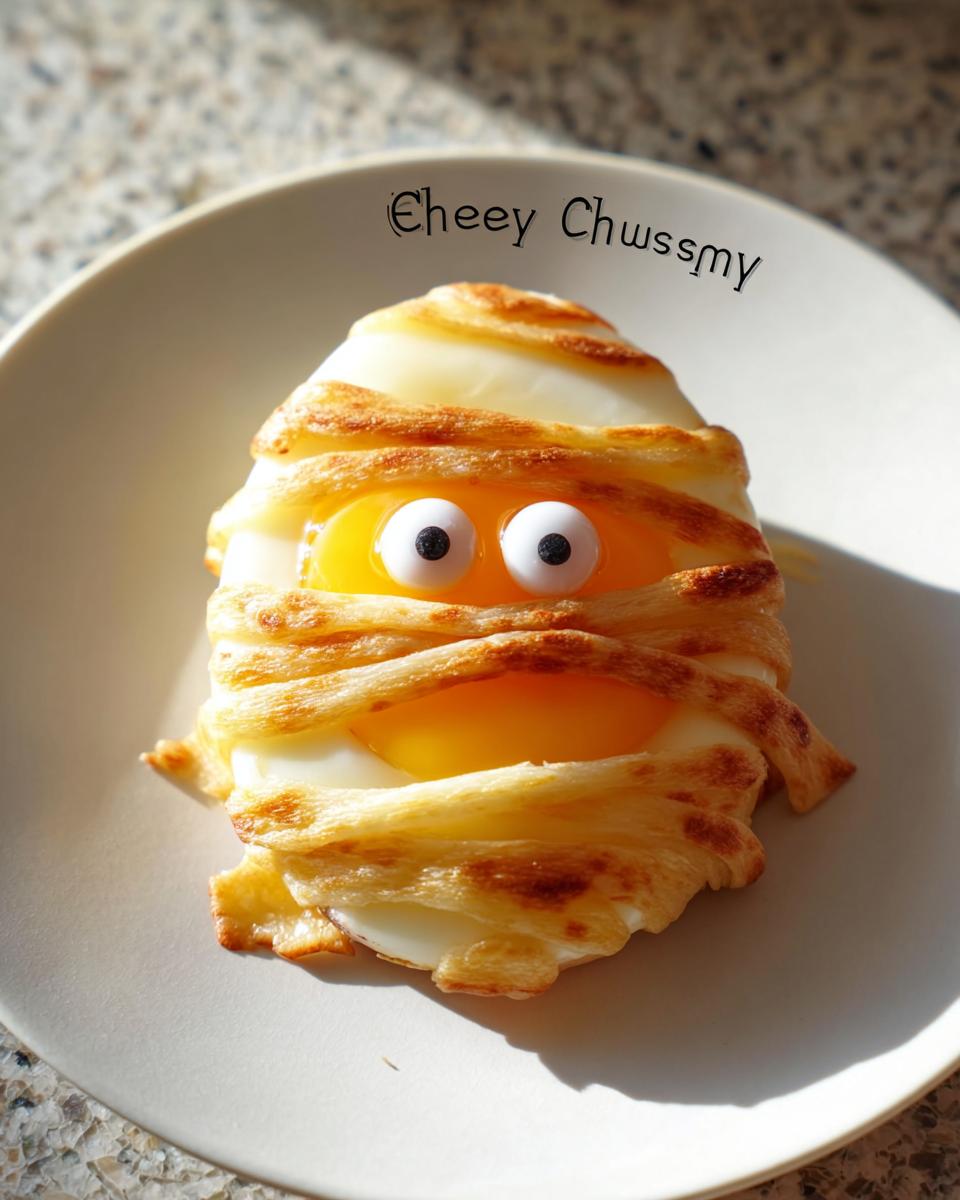
- Arrange the cheese strips over the egg to resemble mummy wrappings. Place the candy eyes peeking out from the top.
- If making cheesy bats, cut cheese slices into bat shapes and place them on the side as garnish.
- Serve immediately and enjoy your festive Halloween snack.
Notes
Tried this recipe?
Let us know how it was!