
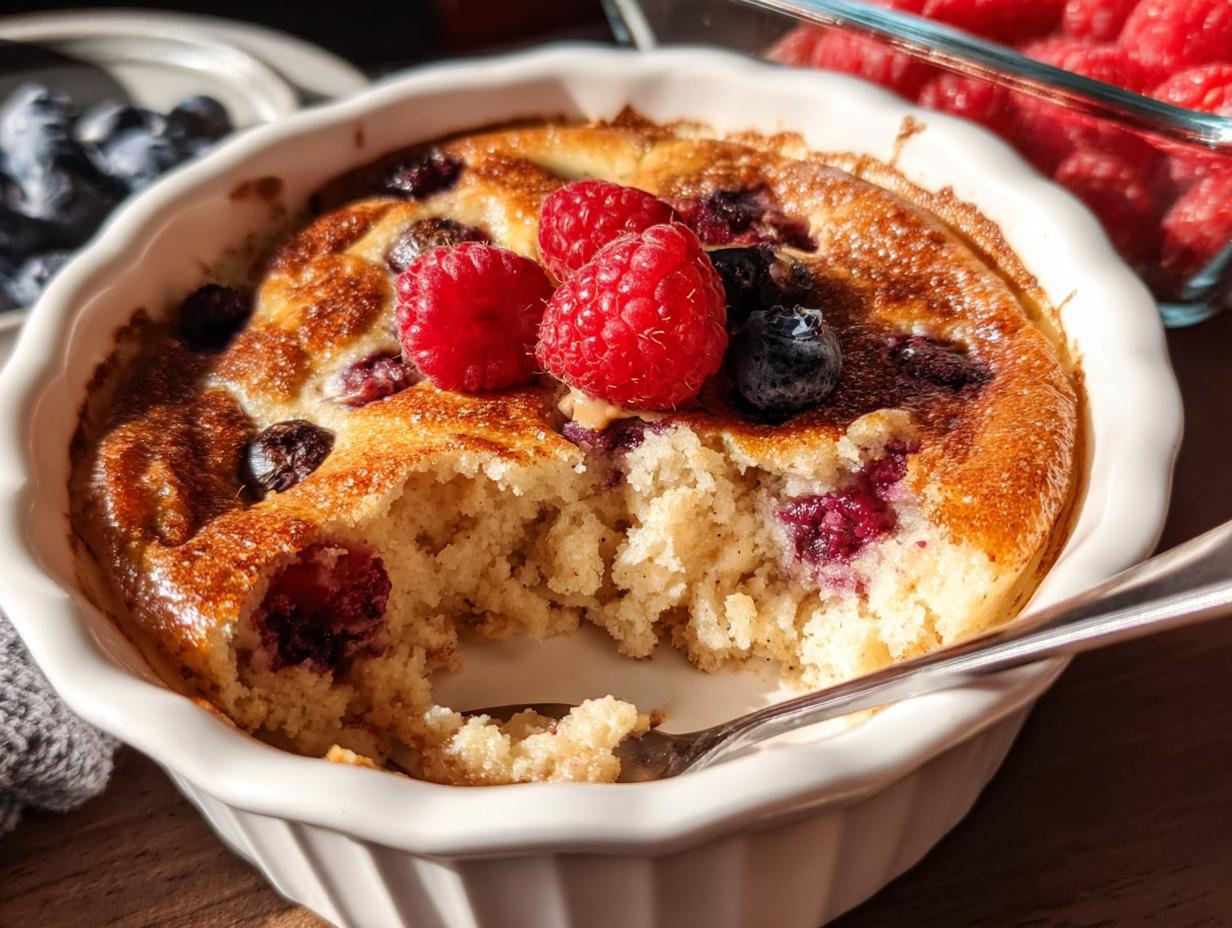
Okay, let’s talk about protein. When you’re trying to eat healthy, especially if you’re diving into the keto world like I do, sometimes protein-packed meals can feel… well, a little dense and boring, right? I used to think that way too! I remember my early days experimenting with keto, trying to create something satisfying, and honestly, I made some pretty unappetizing things. But one day, I accidentally stumbled onto these Baked Protein Bowls, and wow, was I surprised! The smell alone was amazing, so warm and inviting, and when I pulled them out of the oven, they were actually *fluffy*! It was a game-changer. It made me realize that with the right ingredients and a little bit of science, you can have delicious meals that are super healthy too. So, to answer that burning question: Are These Baked Protein Bowls Really That Fluffy? You bet they are, and I’m so excited to share how I figured it out with you! You can see a similar idea over at whatmollymade.com, but my version takes it to the next level!
Are These Baked Protein Bowls Really That Fluffy? Unpacking the Science
So, the big question: Are These Baked Protein Bowls Really That Fluffy? I totally get why you’d wonder. Protein powder can sometimes make things a bit dense, but trust me, these bowls are legit fluffy! It all comes down to a little bit of kitchen science. When you’re baking anything that needs to rise, you need leavening agents, right? And when you add protein powder into the mix, it changes how those agents work. But don’t worry, it’s totally manageable with a few key ingredients that create these amazing little air pockets.
The Role of Baking Powder in Fluffy Baked Protein Bowls
Okay, baking powder is the real MVP here for achieving that lightness! When baking powder hits liquid and then heat, it creates carbon dioxide gas. Think of it like tiny little balloons forming inside your batter, making everything puff up and become airy instead of just settling into a dense brick. It’s the simplest way to give your protein bowls that lift you’re looking for.
Protein Powder and Texture: What to Expect
Now, the type of protein powder you use definitely plays a role. Whey protein tends to blend really well and often gives a lighter texture. Casein can sometimes be a bit thicker. If you’re using a blend or even a plant-based protein, you might notice slight differences. I’ve found that a good quality vanilla protein powder (around 26g per scoop) works wonders for these!
Gathering Your Ingredients for Fluffy Baked Protein Bowls
Alright, let’s get our mise en place sorted! Having everything ready makes the whole process a breeze. For these delightful fluffy bowls, you’ll need a single large egg, a quarter cup of plain Greek yogurt (or a dairy-free option if that’s your jam!), and a third cup of your favorite milk – whole milk, almond milk, whatever you’ve got on hand works great!
Ingredient Notes and Substitutions
Now, for those little details that make a big difference! If you need a dairy-free version, a good quality coconut or almond-based yogurt works perfectly. And for the milk, any kind is fine, just make sure it’s unsweetened if you’re watching carbs. You’ll also need 1 to 2 tablespoons of flax meal, which is awesome for binding and adding fiber. A third cup of flour – use a gluten-free blend if you need it – is key for structure. And the star, of course, is 1 scoop of vanilla protein powder; I find one with about 26 grams of protein per scoop does the trick beautifully! Don’t forget a tablespoon of maple syrup or stevia for a touch of sweetness, and three-quarters of a teaspoon of baking powder to make sure these bowls get nice and fluffy!
Step-by-Step Guide to Making Fluffy Baked Protein Bowls
Alright, let’s get this baking party started! Making these fluffy protein bowls is so easy, you’ll want to make them all the time. First things first, get that oven preheating to 350°F. You’ll also want to grab a 12 to 14-ounce glass dish or a ramekin and give it a good spray with nonstick cooking spray. This is super important to make sure your beautiful, fluffy creation doesn’t stick!
Mixing the Perfect Batter for Your Baked Protein Bowls
Now for the fun part! Grab a mixing bowl and toss in ALL the ingredients for the bowl – that’s the egg, Greek yogurt, milk, flax meal, flour, protein powder, sweetener, and baking powder. Give it a good mix with a whisk or a fork until everything is combined really well and you have a nice, smooth batter. Don’t go crazy overmixing, though; just get it all incorporated. It’s going to look and smell amazing already!
Baking and Cooling: Achieving the Ideal Texture
Once your batter is ready, pour it into your prepared dish. Now, pop that into your preheated oven. You’re going to bake it for about 22 to 25 minutes. You’ll know they’re ready when the center looks set and the edges are just starting to get a little golden brown. Take them out and let them cool in the dish for about 5 to 10 minutes. This little bit of cooling time really helps them set up perfectly. You can also check out these baked churro bites for another fun baking idea!

Topping Your Baked Protein Bowls for Extra Flavor
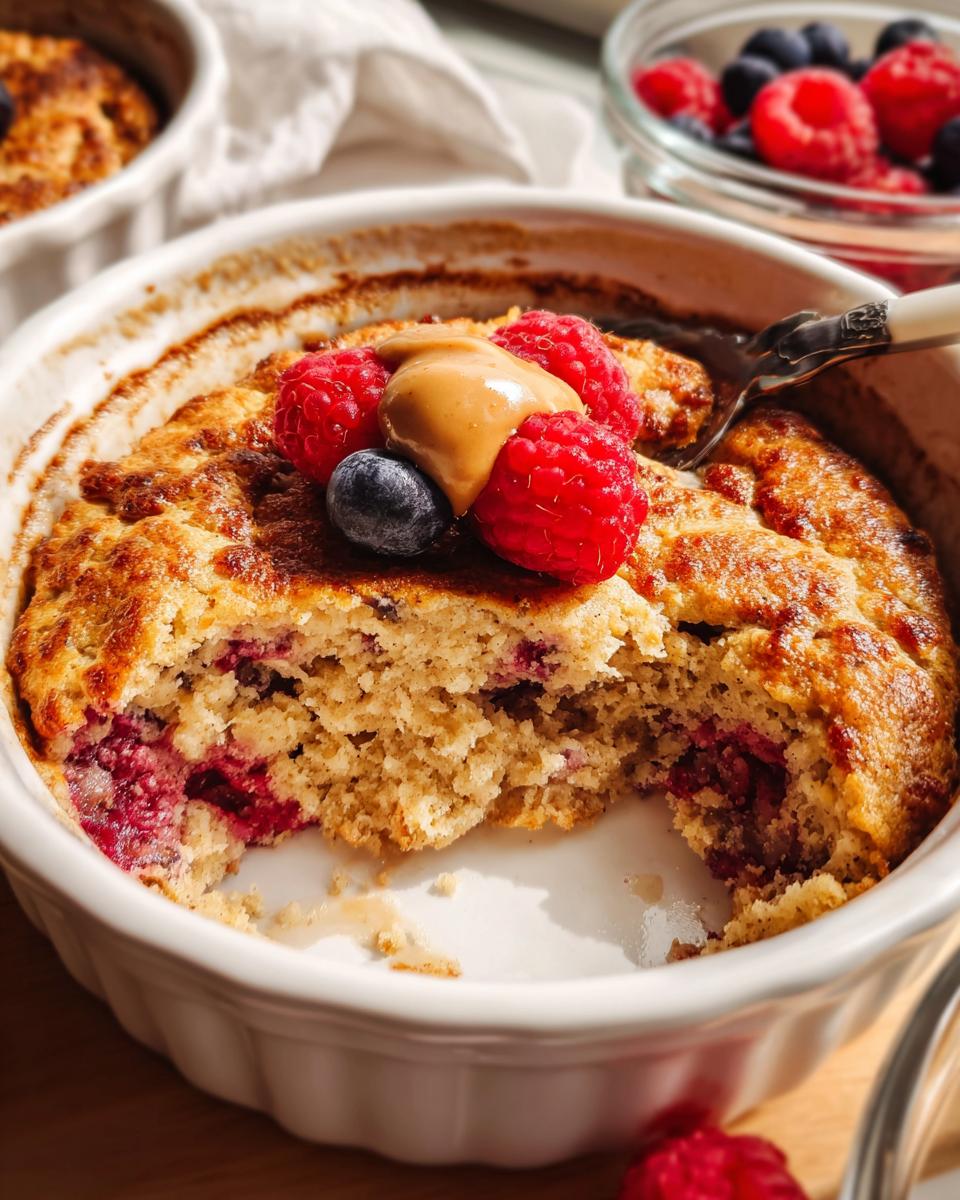
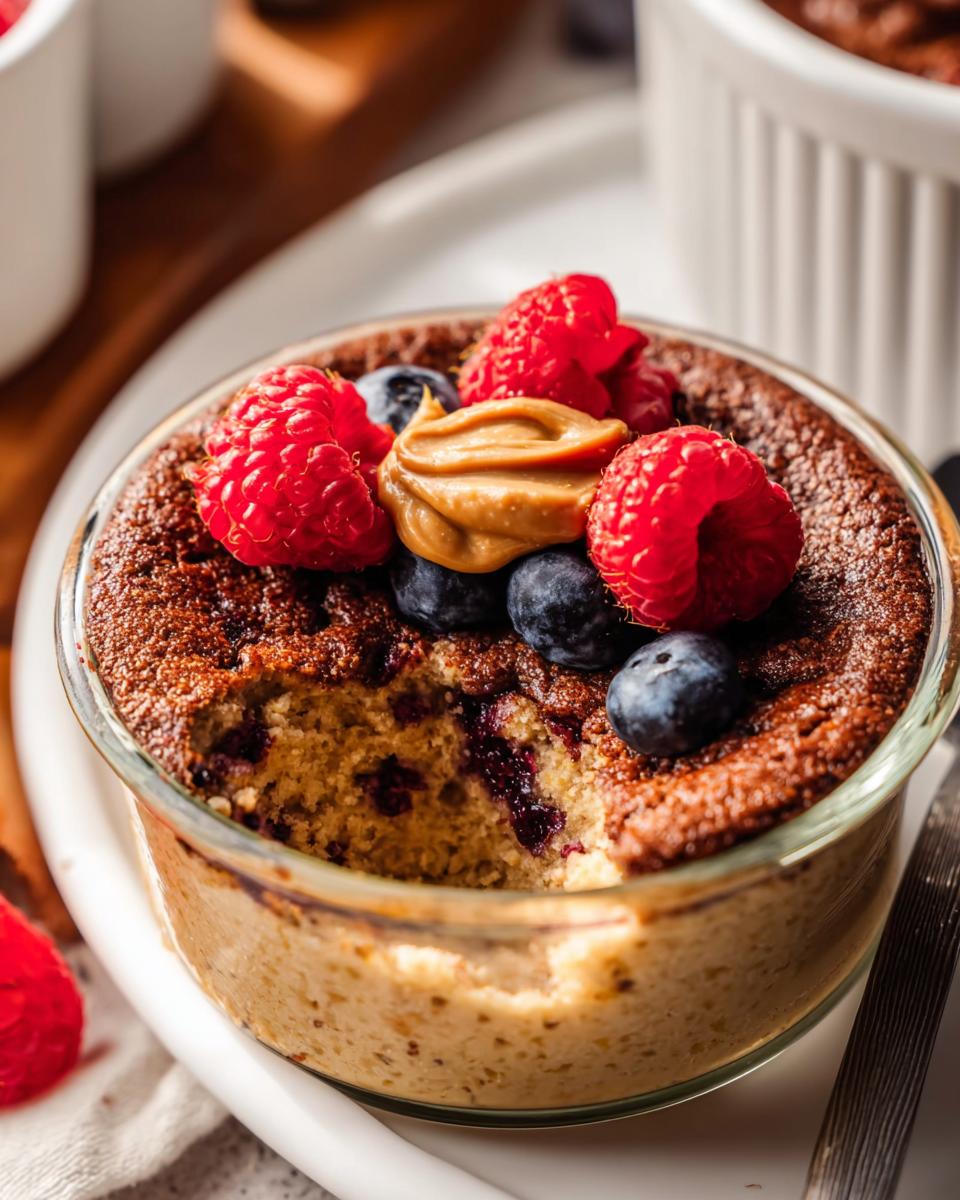
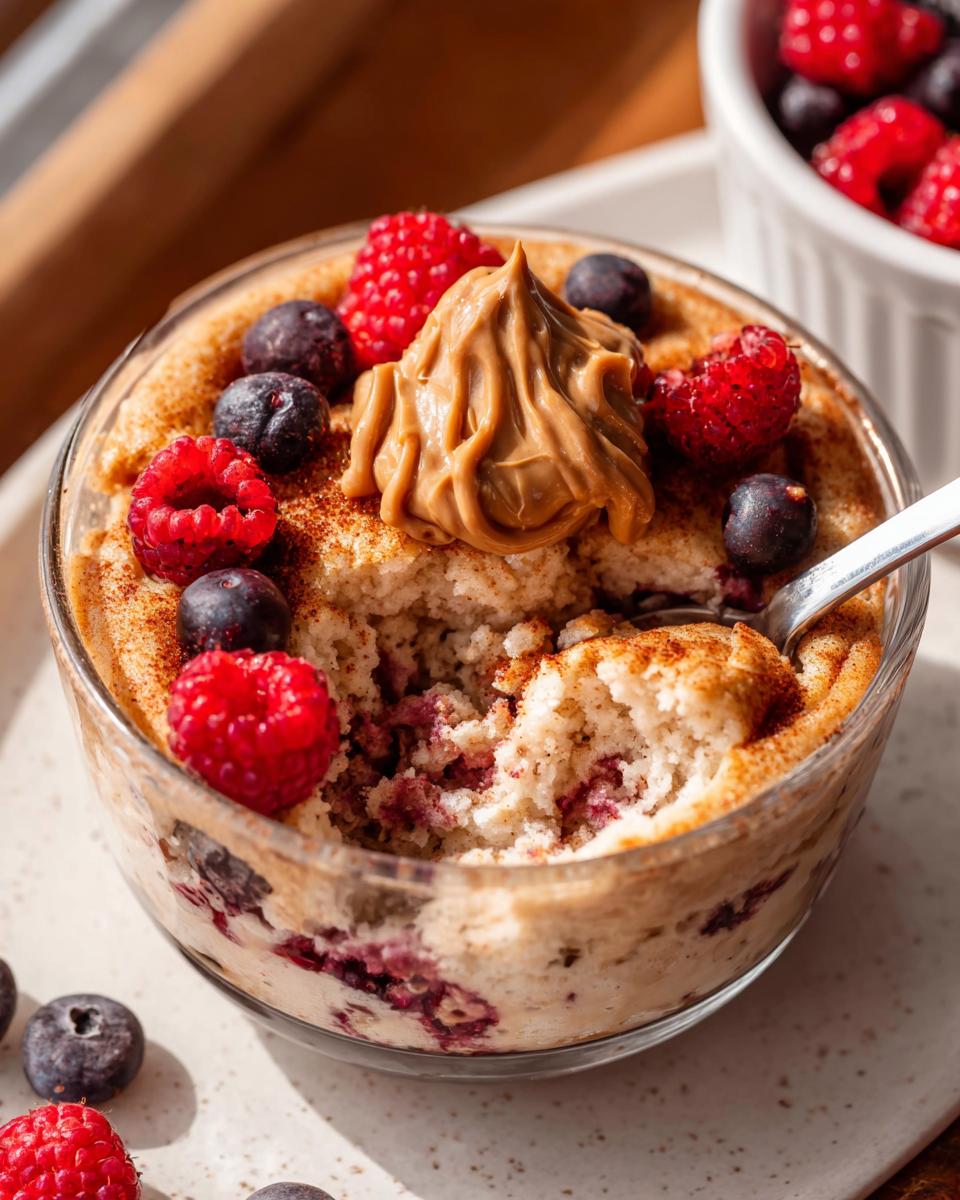
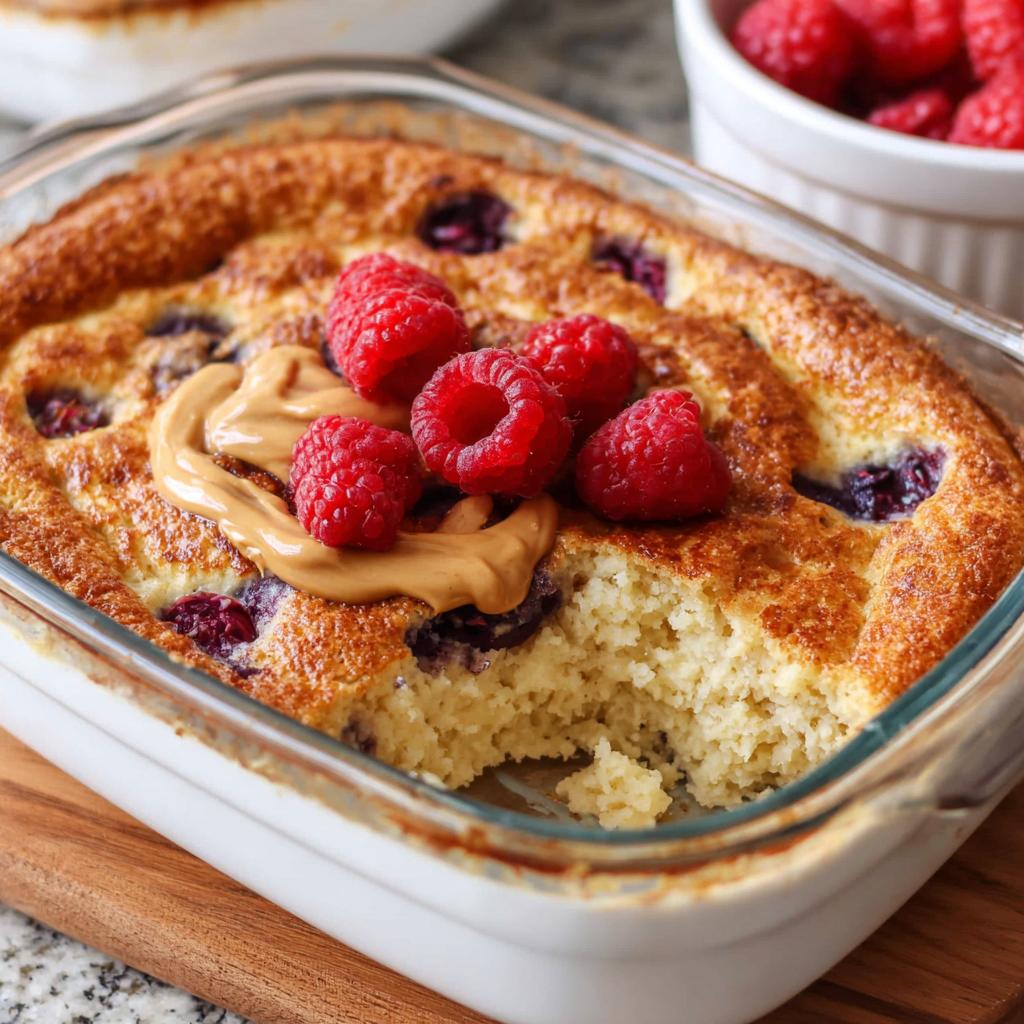
Okay, the bowls are baked and smell divine, but we’re not done yet! Adding toppings is where you can really make these bowls your own. I love to categorise them a bit so you can mix and match. For fruit lovers, fresh raspberries are amazing, but so are strawberries, blueberries, or even some sugar-free chocolate chips if you’re feeling naughty! If you’re craving something creamy, a dollop of your favorite nut butter or a little extra Greek yogurt is fantastic. Don’t forget a drizzle of sugar-free syrup or even some chia jam for a little zing. You can get inspired by other berry recipes like this high-protein berry bake, or even try making your own chocolate strawberry yogurt clusters to top them with!
Tips for Success with Your Baked Protein Bowls
Alright, let’s make sure these fluffy protein bowls turn out perfectly every single time! A little tip: make sure your egg and Greek yogurt aren’t straight from the fridge. Bringing them closer to room temperature helps everything mix together more smoothly, and honestly, it can contribute to a lighter final texture. Ovens can be a bit finicky, so if you find yours runs hot, keep an eye on the bowls towards the end of baking. You want them golden, not burnt! If you’ve had trouble with baked goods sticking before, check out my hack for making fluffy air fryer churro bites – similar principles apply to prevent sticking disasters!
Make-Ahead and Storage for Baked Protein Bowls
One of the best things about these fluffy baked protein bowls is that you can totally prep them ahead of time! Imagine, breakfast or a quick snack ready to go. Just make about 4-5 bowls at once, let them cool completely, then pop them into an airtight container in the fridge. They’ll stay perfectly good for up to 5 days. Perfect for busy mornings! You can reheat them in the microwave for about 30-60 seconds, or pop them in the oven for a few minutes if you like them warm and steamy. It’s almost as easy as my freezer breakfast burritos!
Nutritional Snapshot of Your Fluffy Baked Protein Bowls
Okay, so we know these bowls are delicious and fluffy, but let’s talk about what’s inside them! Keep in mind these numbers are just estimates and can totally change depending on the exact protein powder, milk, or yogurt you use. But generally, you’re looking at around 476 calories per bowl. This recipe is packed with protein – about 40g – which is fantastic for keeping you full! You’ll get around 48g of carbs, 13g of fat, and a good dose of fiber (around 8g) too. It’s a great way to fuel up!
Your Questions About Baked Protein Bowls Answered
I know you might still have a few lingering questions popping around in that brilliant mind of yours, and that’s totally fine! It’s all part of the fun of kitchen exploration. Let’s dive into a few things people often ask about these fluffy baked protein bowls.
Are these bowls *really* as fluffy as they look?
Yes! Seriously, they are! It’s all about that baking powder really doing its magic. Plus, using a good quality protein powder – ideally around 26g per scoop – helps give it that structure without being too dense. Don’t be afraid to trust the process!
Can I swap out the Greek yogurt for something else?
Absolutely! If dairy isn’t your friend, or you just don’t have Greek yogurt on hand, a thick dairy-free yogurt like coconut or almond works like a charm. Just make sure it’s unsweetened. You can even use a bit of cottage cheese if you don’t mind a slightly different texture – though that might lean more towards something like this protein wrap or these cheesy egg bites.
What kind of protein powder do you recommend?
Honestly, any good quality vanilla whey or plant-based protein powder works well! Whey tends to be a bit lighter, which is great for fluffiness. Just try to use one that has around 26 grams of protein per scoop, as that’s what I’ve tested with. Flavored ones are great because they add a yummy base flavor!
Baked Protein Bowls
Ingredients
Equipment
Method
- Preheat your oven to 350°F. Spray a 12-14 ounce glass dish or ramekin with nonstick spray.
- Add all of the ingredients for the bowl to a mixing bowl and mix well until combined. Arrange your desired toppings on top.
- Bake in the preheated oven for 22-25 minutes, or until the bowls are set in the middle and slightly golden brown. Cool for 5-10 minutes, then serve in the dish with any additional toppings.