
There’s just something about apple crisp, isn’t there? That smell of cinnamon and baked apples filling the kitchen… pure magic! Honestly, I’ve spent countless hours perfecting my apple crisp, and when I think about dessert recipes that keep apple crisp warm and buttery, this one always comes to mind. It’s not just a dessert; it’s a hug in a bowl. My grandma used to make it for Sunday dinners, and the aroma alone was enough to make everyone gather around the table, waiting with eager spoons. This recipe isn’t just good; it’s *that* good, thanks to a few little tricks I’ve picked up over the years to ensure that topping stays perfectly crisp and the apples underneath stay beautifully tender and warm.
Why This Warm and Buttery Apple Crisp Recipe is a Must-Try
Okay, seriously, you HAVE to try this apple crisp! It’s not just another dessert; it’s my go-to for a reason. Here’s why it’s a winner:
- Super Easy to Make: Even if you’re new to baking, you can totally nail this. No fancy techniques needed!
- That Perfect Flavor Combo: The sweet-tart apples with the warm spices and that rich, buttery, crumbly topping? Oh my goodness. It’s pure comfort.
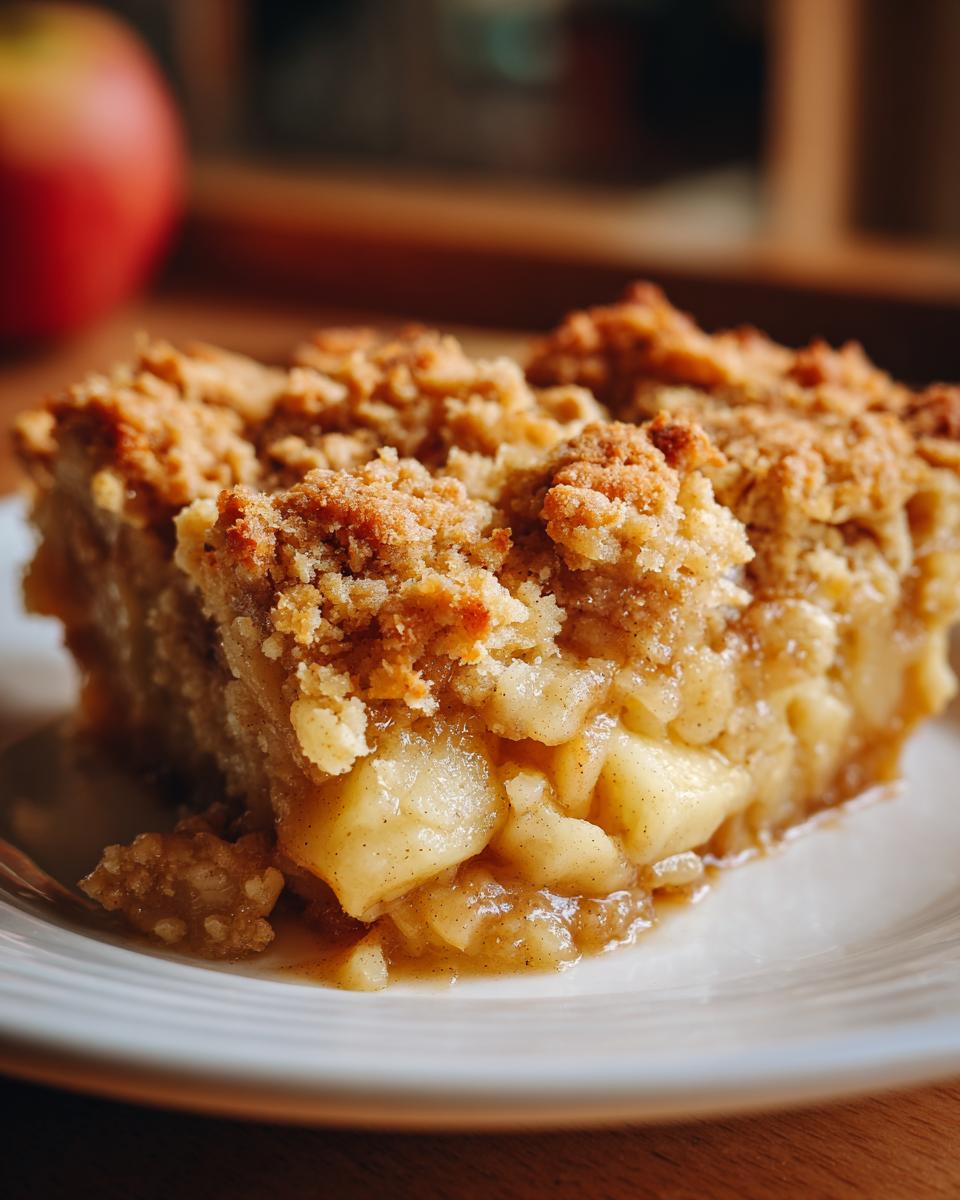
- Amazing Texture Balance: You get that satisfying crunch from the topping contrasting with the tender, juicy apples beneath. That’s the magic of keeping it warm and buttery!
- Pure Comfort Food: This crisp is like a warm hug on a chilly evening. It just makes everything feel right.
Gather Your Ingredients for the Perfect Apple Crisp
Alright, let’s talk about what you’ll need to make this apple crisp sing! The key to getting that amazing warm and buttery finish is all in using the right stuff. Don’t skimp here; good ingredients make all the difference!
For the Filling:
- 6 cups apples, peeled, cored, and sliced (I like a mix of tart and sweet, like Granny Smith and Honeycrisp!)
- 1/4 cup granulated sugar
- 1 tablespoon all-purpose flour
- 1 teaspoon ground cinnamon
- 1/4 teaspoon ground nutmeg
For the Topping:
- 1 cup all-purpose flour
- 1 cup rolled oats (not the instant kind, we want some texture!)
- 3/4 cup packed brown sugar (this gives it that lovely caramel note)
- 1/2 teaspoon ground cinnamon
- 1/2 cup unsalted butter, cold and cut into small pieces (trust me, COLD butter is crucial for that crumbly texture!)
Step-by-Step Guide to Making Your Warm and Buttery Apple Crisp
Alright, let’s get baking! This is where the magic really happens, turning those simple ingredients into a dessert that’s just… mmm. Follow these steps, and you’ll have a warm, bubbly apple crisp that’ll make everyone happy. And remember, we’re aiming for that perfect warm and buttery situation! If you’re looking for more fantastic apple crisp ideas, check out this Classic Apple Crisp with Oat Crumble, or for some general baking wisdom, King Arthur Baking has some great tips.
Preparing the Apple Filling
First things first, preheat your oven to 375°F (190°C). Grab your 9×13 inch baking dish and give it a good greasing so nothing sticks. Now, take your sliced apples – make sure they’re peeled, cored, and sliced up nicely. Toss them right into a big bowl with the granulated sugar, that tablespoon of flour (it helps thicken things up!), the cinnamon, and the nutmeg. Give it all a good stir until those apples are coated in all that yummy spice mixture. We want every single slice to be ready for its close-up!
Crafting the Buttery Topping
No need to wash that big bowl! Just toss in your cup of flour, those rolled oats (use the old-fashioned kind, they give the best texture!), the brown sugar, and the other half teaspoon of cinnamon. Give that a quick mix. Now, here’s the important part: add your cold, cubed butter. Get your hands in there (or use a pastry blender if you prefer) and work that butter into the dry stuff. You want it to look like coarse crumbs, almost like wet sand. This is what gives us that fantastic, buttery crunch later on.
Assembling and Baking Your Apple Crisp
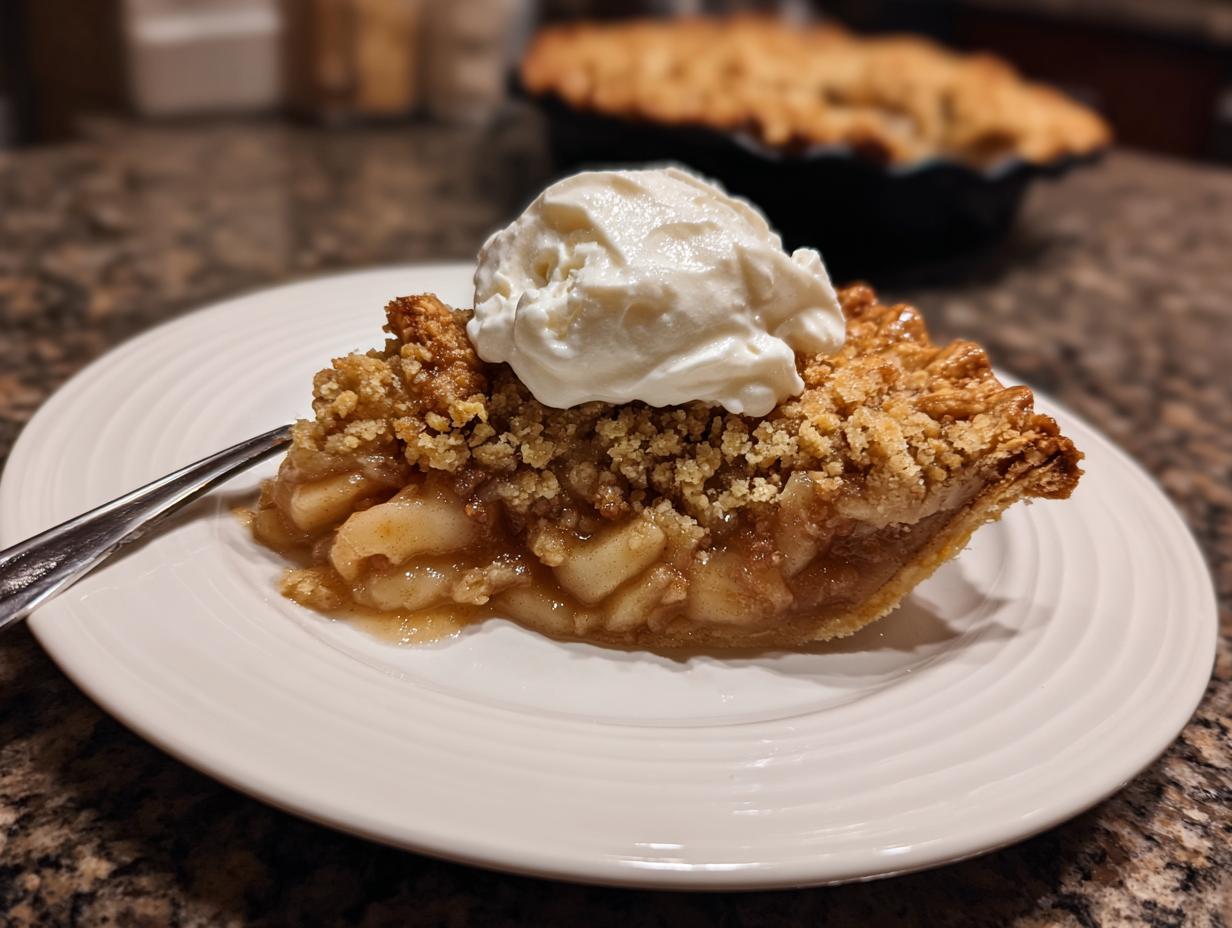
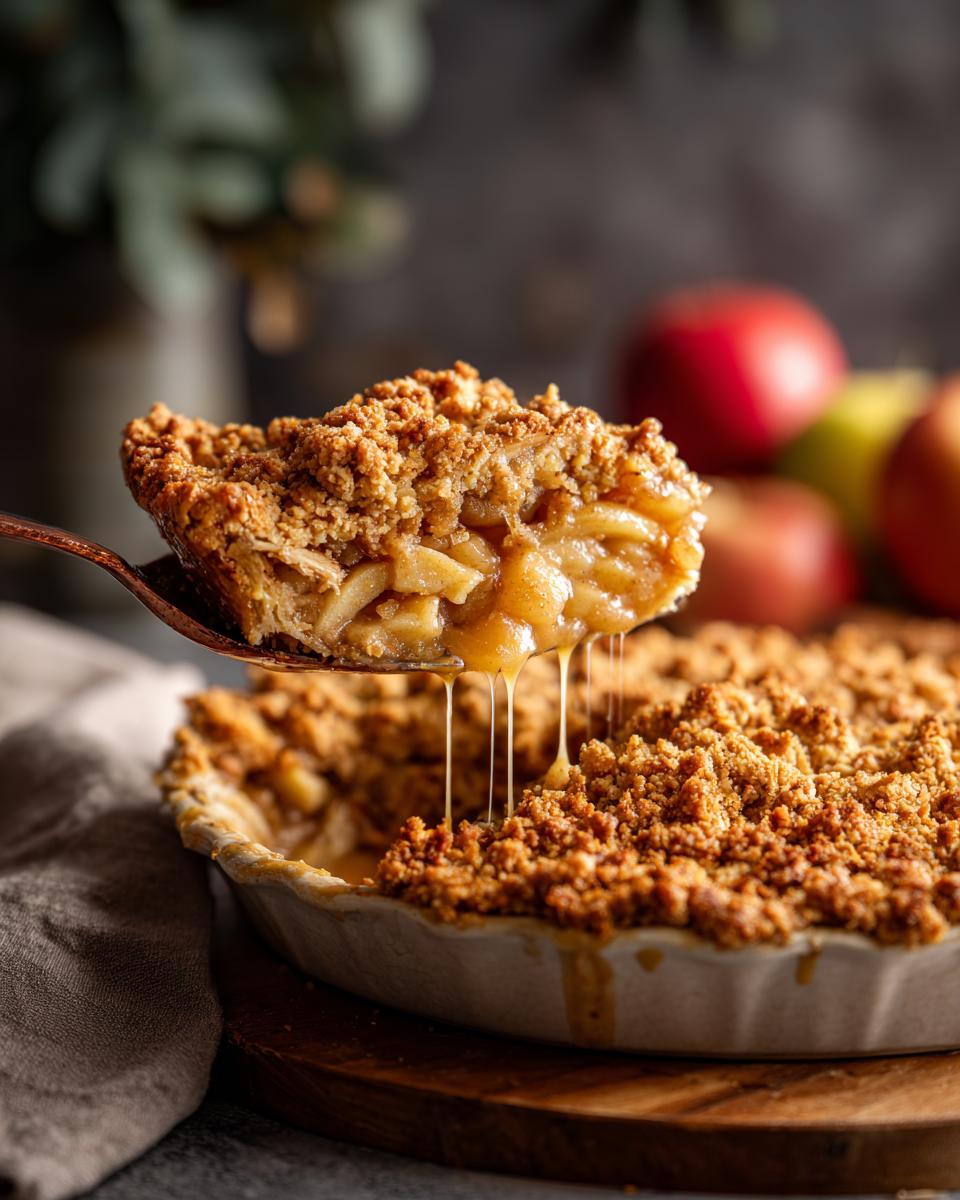
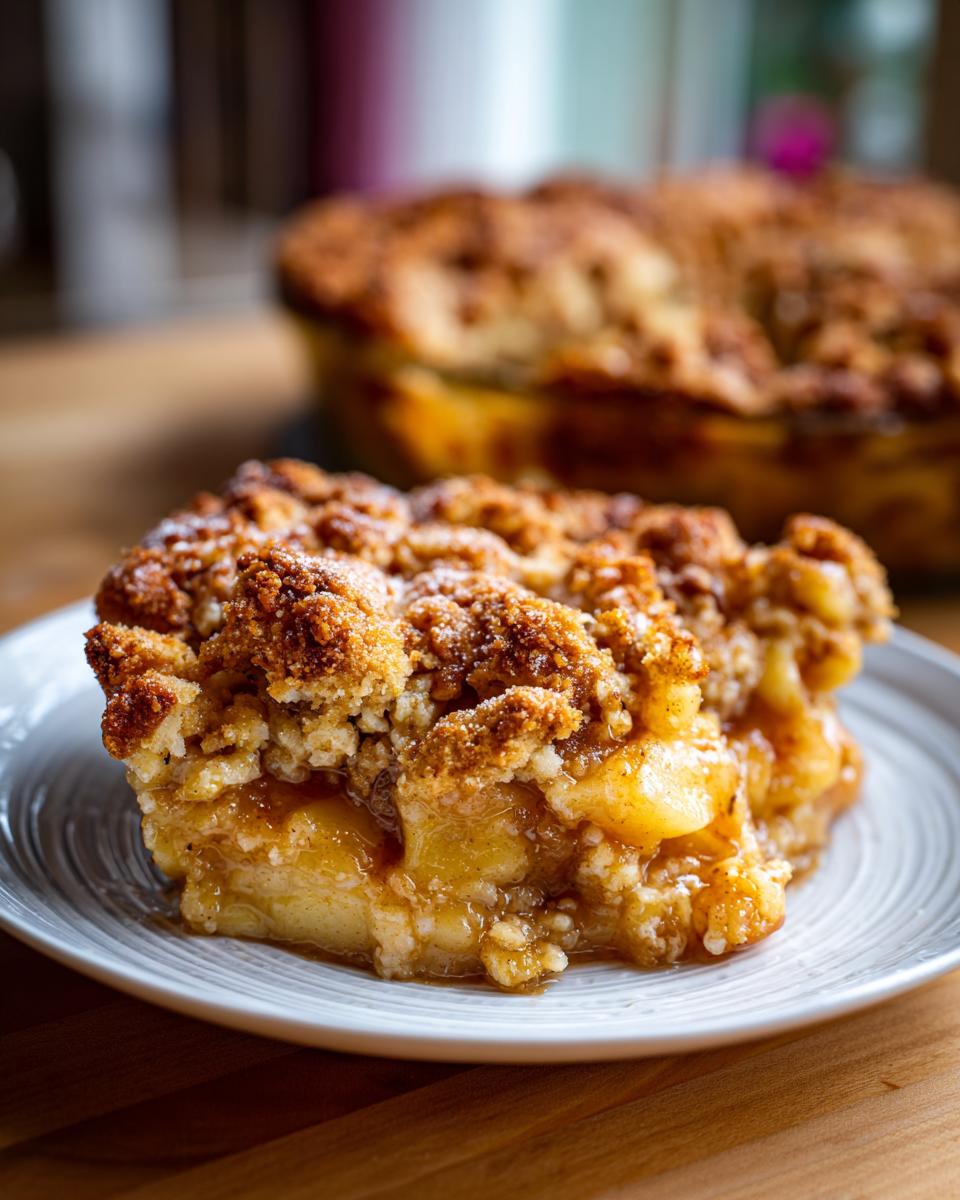
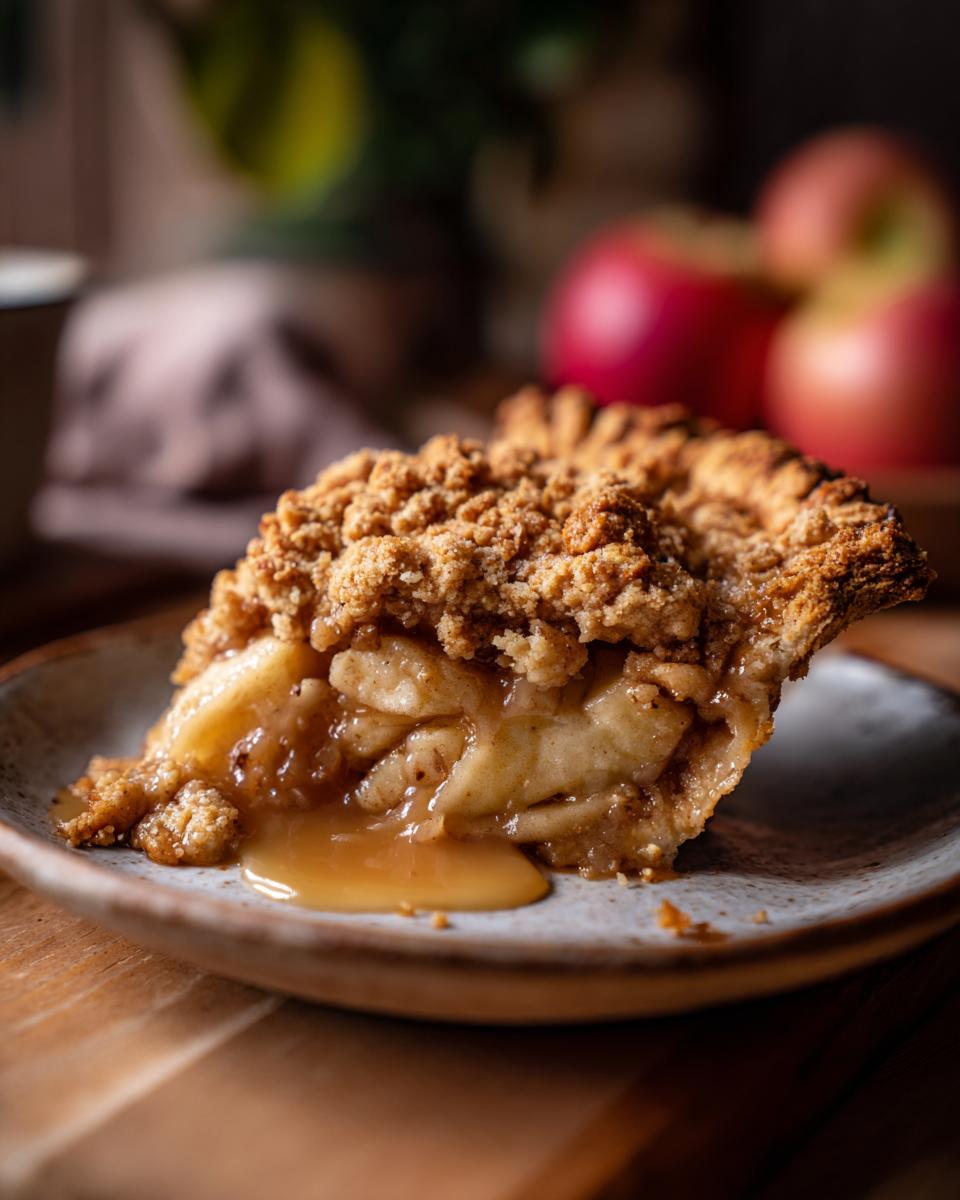
Spoon that lovely apple filling evenly into your greased baking dish. Try to spread it out so you’ve got a nice, even layer. Now, take that crumbly topping you just made and sprinkle it all over the apples. Make sure to cover as much of the apple goodness as you can – don’t be shy with the topping! Pop that dish into your preheated oven. You’re going to bake it for about 35 to 45 minutes. Keep an eye on it; you’re looking for that topping to turn a gorgeous golden brown and for the apple filling underneath to be bubbling away happily around the edges. That’s the sign of a perfectly cooked crisp!
The Crucial Resting Period
Okay, this step is super important, and it’s how we keep it wonderfully warm and buttery. Once it’s out of the oven, resist the urge to dive right in! Let your apple crisp cool on a wire rack for at least 10 minutes. This little break allows the juices to thicken up and settle, preventing a soggy bottom and making sure every bite is just right. It’s worth the wait, I promise!
Tips for the Best Warm and Buttery Apple Crisp
You know, making a good apple crisp is one thing, but making one that’s truly *great* – that stays warm and buttery and delicious – takes a little know-how. I’ve learned a few tricks over the years that make all the difference, so let’s make sure yours is absolutely perfect!
First off, choose your apples wisely! I absolutely love using a mix. Granny Smith apples give you that nice tartness that cuts through the sweetness, while Honeycrisp or Fuji add a lovely sweetness and hold their shape. Avoid super soft apples like Red Delicious; they tend to turn to mush. For that perfect crisp texture, always use cold butter for the topping. Seriously, don’t let it soften too much! Cutting it into small pieces and using your fingers or a pastry blender helps create those lovely coarse crumbs that get perfectly golden and crisp in the oven. If you want to avoid a soggy bottom, make sure your apples aren’t too wet when you mix them, and don’t overcrowd the pan. Giving it that crucial resting time after baking also helps everything settle and prevents it from being too runny. For more amazing fruit crisp ideas, check out this Healthy Apple Oat Cookie recipe. And if you’re looking for other warm, comforting baked goods, you might love these Chewy Churro Cookies. And for some classic inspiration, this Apple Crumble Crisp is fantastic too!
Serving Suggestions for Your Apple Crisp
Now for the best part – eating it! This warm and buttery apple crisp is absolutely divine on its own, but oh boy, when you pair it, it just reaches a whole new level of deliciousness. My absolute favorite is a big scoop of creamy vanilla bean ice cream melting into the warm apples and crisp topping – pure heaven! A dollop of freshly whipped cream is also wonderful, or even some Greek yogurt if you want something a little lighter. If you’re feeling extra fancy, a drizzle of caramel sauce takes it over the top! And if you’re looking for another delightful, lighter dessert option, you should totally check out this Strawberry Cloud Cake!
Storage and Reheating Your Apple Crisp
So, you have some leftover apple crisp? Lucky you! To keep that warm, buttery goodness going, store any leftovers in an airtight container in the refrigerator. It should stay good for about 3-4 days. When you’re ready for another glorious bite, you can just pop a portion in the microwave for a quick warm-up, but for the best texture – that nice crisp topping and warm apples – I always recommend reheating it in a moderate oven. Just pop it in a small oven-safe dish at around 300°F (150°C) for about 10-15 minutes until it’s heated through. That way, it tastes almost as good as when it was fresh!
Frequently Asked Questions About Apple Crisp
Got questions about making this amazing apple crisp? I totally get it! Baking is a science, but it’s also an art, and sometimes you just need a little nudge. Here are some things folks often ask me:
What are the best apples for apple crisp?
My absolute favorite apples for a good crisp are ones that have a nice mix of tartness and sweetness, and that hold their shape when baked. Granny Smith are a classic for a reason – they give you that perfect tangy bite! I also love mixing in Honeycrisp, Fuji, or Gala for a bit more sweetness and texture. Basically, avoid apples that turn to complete mush when cooked, like Red Delicious. A good mix is always best!
Can I make this apple crisp ahead of time?
You know, that’s a great question! You can definitely get the apple filling prepped and the topping made ahead of time. Store them separately in the fridge. I’d say the filling is best made the day of, though, because apples can get a little watery if they sit too long. You can assemble it all right before you’re ready to bake, which makes serving it fresh out of the oven a breeze!
How do I prevent a soggy topping on my apple crisp?
Ah, the dreaded soggy topping! It’s usually because the filling is too wet, or the topping wasn’t made with cold enough butter. Make sure your apples aren’t soaking wet after you toss them with the spices. Also, use COLD butter for the topping – seriously, ice-cold! And don’t overmix the topping; you want those coarse crumbs. Baking it at the right temperature until it’s golden brown also helps it crisp up nicely.
Can I make this recipe gluten-free?
You sure can! While this recipe uses regular flour and oats, you can easily swap it out. Use a gluten-free all-purpose flour blend for both the filling and topping, and make sure you use certified gluten-free rolled oats, like those for peach crumble bars. It’ll still give you that delicious warm and buttery goodness without the gluten!
Nutritional Information (Estimated)
Just a heads-up, this is a rough estimate because everyone’s portion sizes can be a little different! Based on 8 servings, you’re looking at around X calories, Yg of fat, Zg of protein, and Wg of carbohydrates per serving. These numbers can really change depending on the exact apples you use and how generous you are with that buttery topping! For other sweet treats, you might love this High-Protein Chocolate Pudding.

Warm and Buttery Apple Crisp
Ingredients
Equipment
Method
- Preheat your oven to 375°F (190°C). Grease a 9×13 inch baking dish.
- In a large bowl, combine the sliced apples, granulated sugar, 1 tablespoon of flour, 1 teaspoon of cinnamon, and nutmeg. Toss to coat the apples evenly.
- Pour the apple mixture into the prepared baking dish.
- In the same bowl (no need to wash), combine 1 cup of flour, rolled oats, brown sugar, and 1/2 teaspoon of cinnamon. Stir to mix.
- Add the cold butter pieces to the dry topping ingredients. Use your fingers or a pastry blender to cut the butter into the mixture until it resembles coarse crumbs.
- Sprinkle the topping evenly over the apples.
- Bake for 35-45 minutes, or until the topping is golden brown and the apples are tender and bubbly.
- Let the crisp cool for at least 10 minutes before serving. Serve warm.