
Fourth of July is practically synonymous with backyard barbecues, fireworks lighting up the sky, and, of course, delicious desserts! But let’s be real, most of us want to spend more time celebrating with friends and family than slaving away in the kitchen. That’s exactly why I’m so obsessed with these Fourth of July Desserts With No Bake Cheesecake Cups for Parties. They look super fancy, taste absolutely heavenly, and are ridiculously easy to whip up. Trust me, your guests will think you spent hours on them, but the secret? Pure, simple magic that requires zero oven time. I swear, one year I made a batch while the grill was still warming up, and they were gone before the sparklers even came out!
Why These Fourth of July Desserts With No Bake Cheesecake Cups Are a Party Must-Have
Okay, so why are these little cheesecake cups my absolute go-to for any party, especially the Fourth of July? Honestly, it’s the trifecta of awesome: ridiculously easy, totally make-ahead friendly, and they’re pure crowd-pleasers. Seriously, every single time I bring these to a get-together, people rave! They look so elegant with that creamy filling and a pop of red or blue on top, but the truth is, they take next to no effort. Last year, my neighbor even asked for the recipe, thinking I was a baking genius. Little did she know the secret was just a few simple ingredients and a lot of chill time!
- Super easy to make, even if you’re not a baker!
- Perfect for making ahead of time so you’re not rushed on party day.
- They’re portable – great for BBQs or picnics.
- Everyone loves cheesecake, and these little cups are just adorable!
- They look festive and totally nail that Fourth of July vibe.
If you’re aiming for a stress-free celebration where you actually get to enjoy yourself, these are your saving grace. You can even whip up a batch of these no-bake cheesecake bites if you want another super simple treat to go along with them!
Effortless Preparation for Stress-Free Hosting
The best part about these cheesecake cups? They are truly “no-bake.” That means no fussing with ovens, no worrying about cakes falling, and definitely no last-minute baking pan dramas. You literally just mix, press, spoon, and chill. It’s so simple that even if you’ve never made cheesecake before, you can totally nail this. It frees you up to actually chat with your guests or, you know, actually relax instead of sweating over a hot oven.
Make-Ahead Magic for Party Day
This is where these little gems truly shine. You can easily make these a day or even two in advance. Once they’re assembled, just pop them in the fridge. This is a lifesaver when you’re juggling decorations, grilling, and all the other pre-party chaos. Knowing the dessert is already sorted and chilling away gives me such peace of mind. Plus, the extra chilling time really lets the flavors meld and the cheesecake set up perfectly.
Gathering Your Ingredients for Fourth of July Desserts With No Bake Cheesecake Cups
Alright, let’s talk about what you need to make these little bites of heaven! Getting the ingredients right is key to that perfect creamy texture and delicious graham cracker crunch. Because these are no-bake, the quality of your ingredients really shines through! Think of it as building a solid foundation for pure deliciousness. If you love cheesecake but want a healthier take, you should totally check out these high-protein cheesecake jars too!
For the Graham Cracker Crust
We’re keeping this super simple, just like the original. You’ll need: 24 graham crackers, crushed up super fine (I usually just toss them in a zip-top bag and bash them with a rolling pin!), and 6 tablespoons of unsalted butter, melted until it’s all smooth and golden. This mix is what gives us that perfect crumbly base!
For the Creamy Cheesecake Filling
This is where the magic happens! Grab 2 packages (that’s about 16 ounces total) of cream cheese, and make SURE it’s softened. This is super important for getting a smooth filling. Then, you’ll need 1 cup of powdered sugar for sweetness, 1 teaspoon of pure vanilla extract for that classic flavor, and 1 cup of heavy cream that you’ll whip up until it holds stiff peaks. Folding that whipped cream in is what makes it so light and airy!
Optional Toppings for Festive Flair
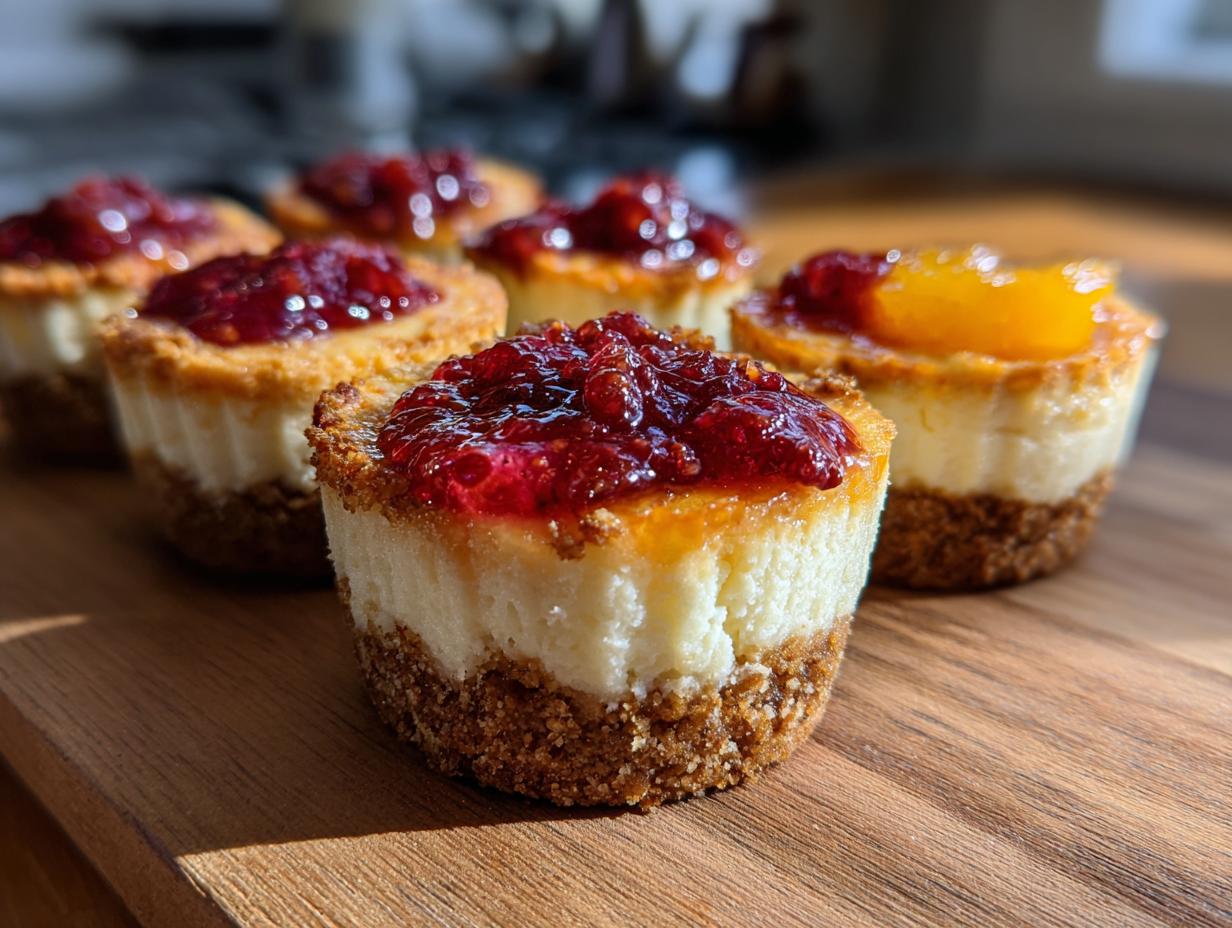
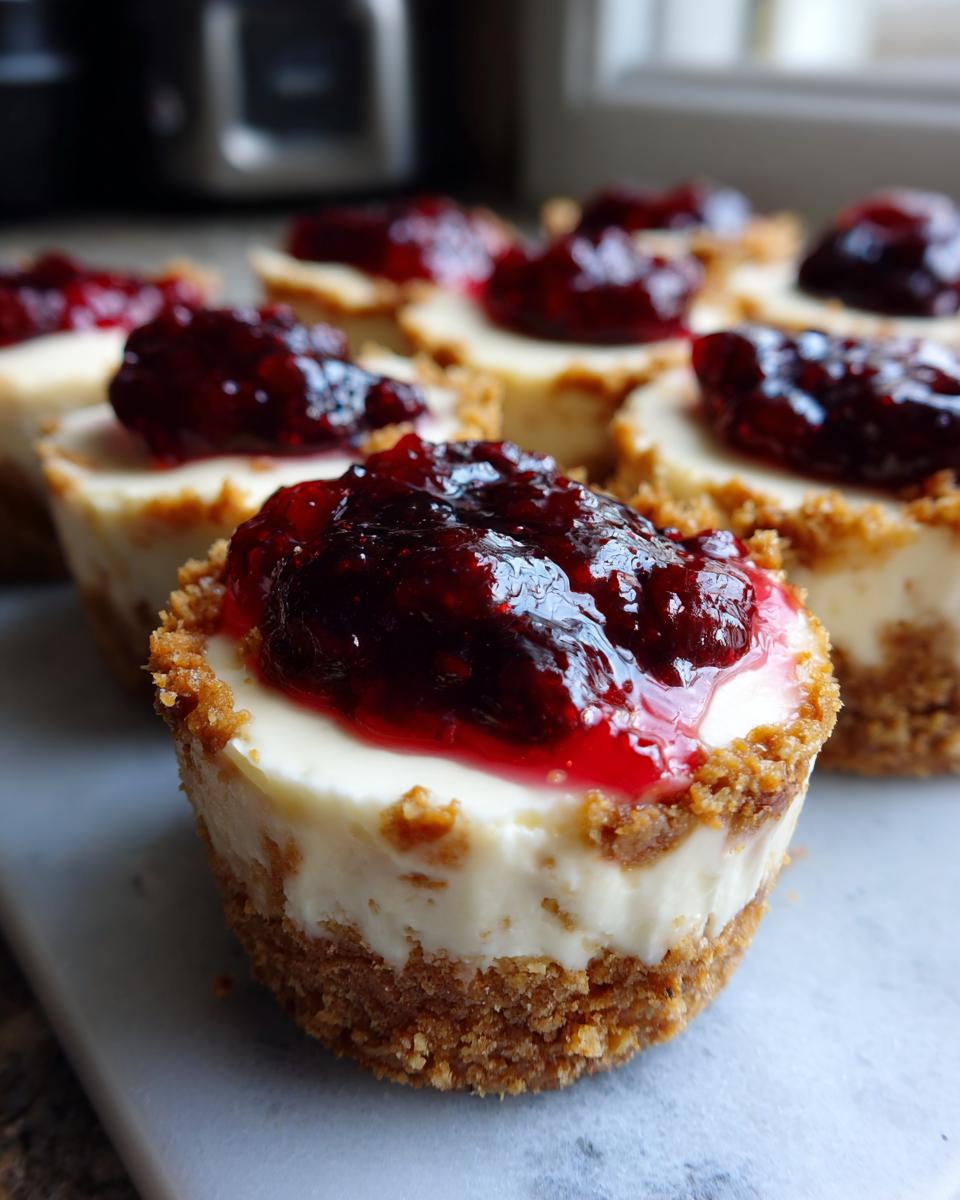
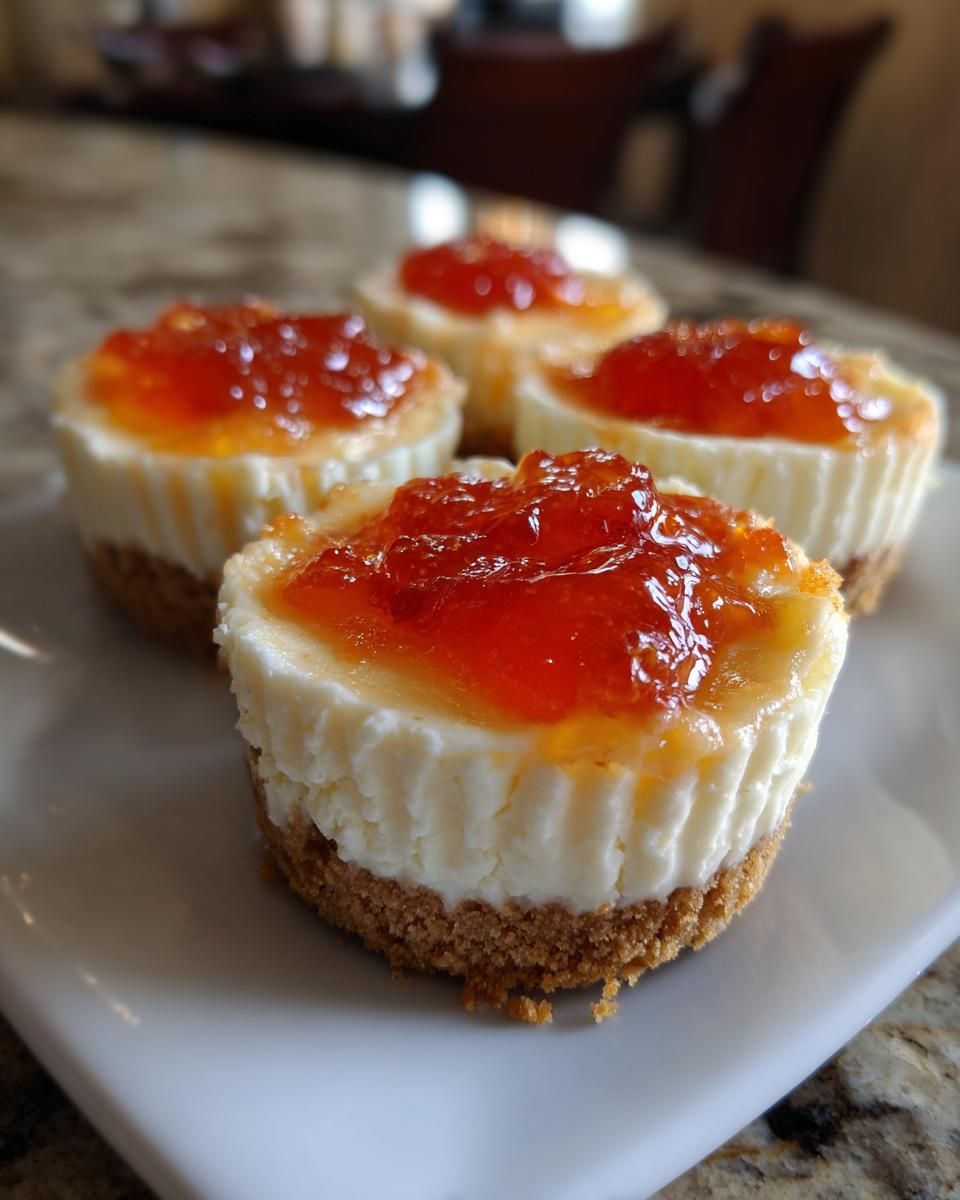
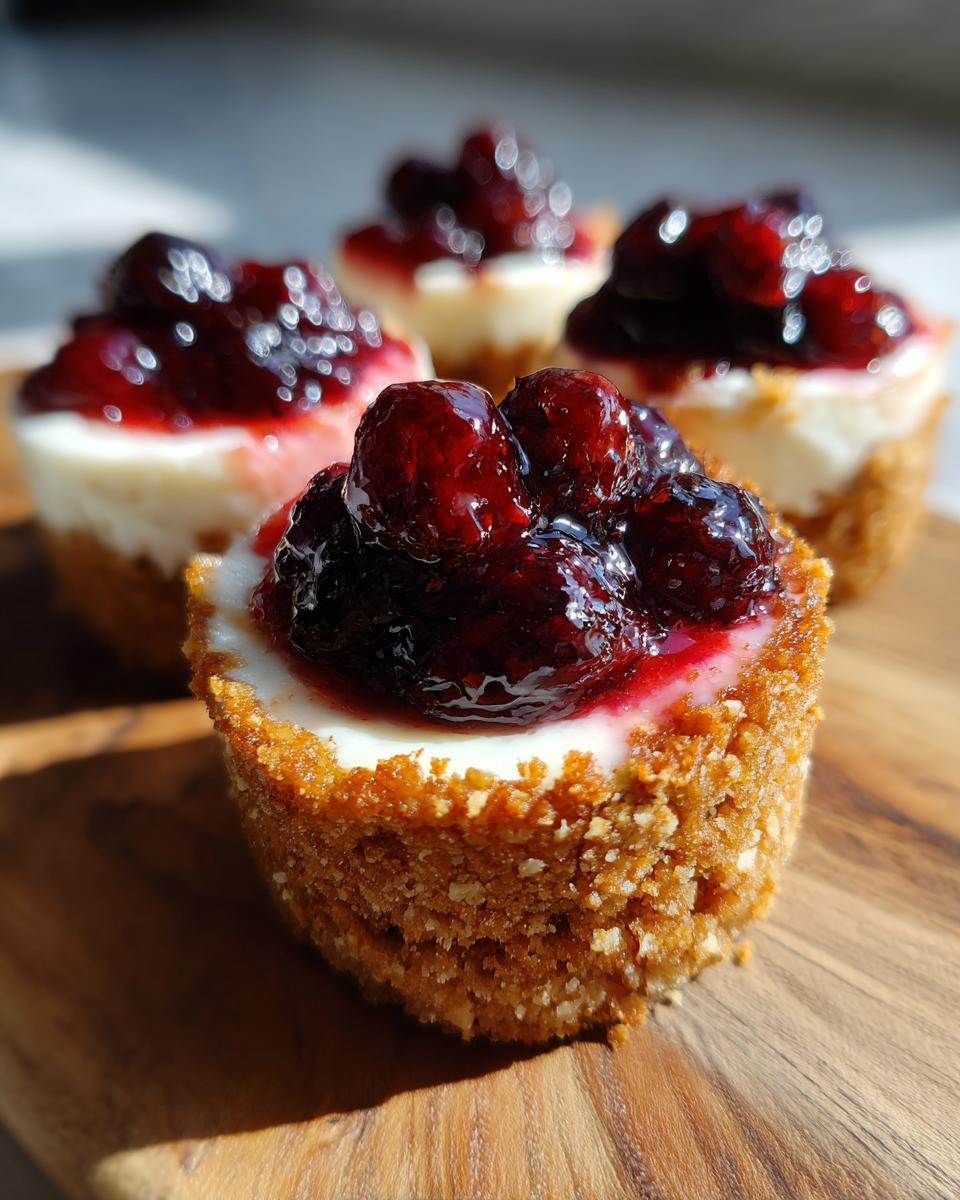
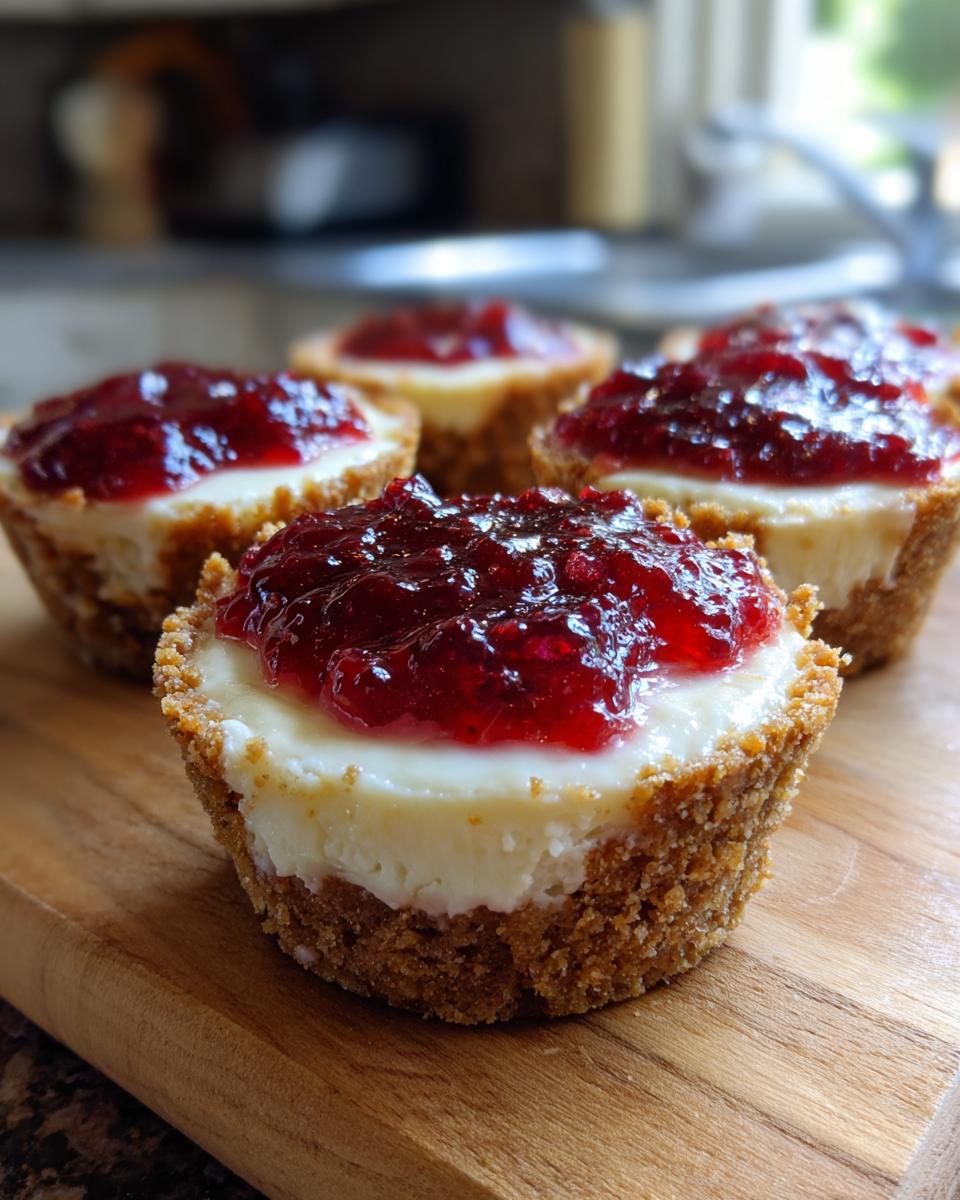
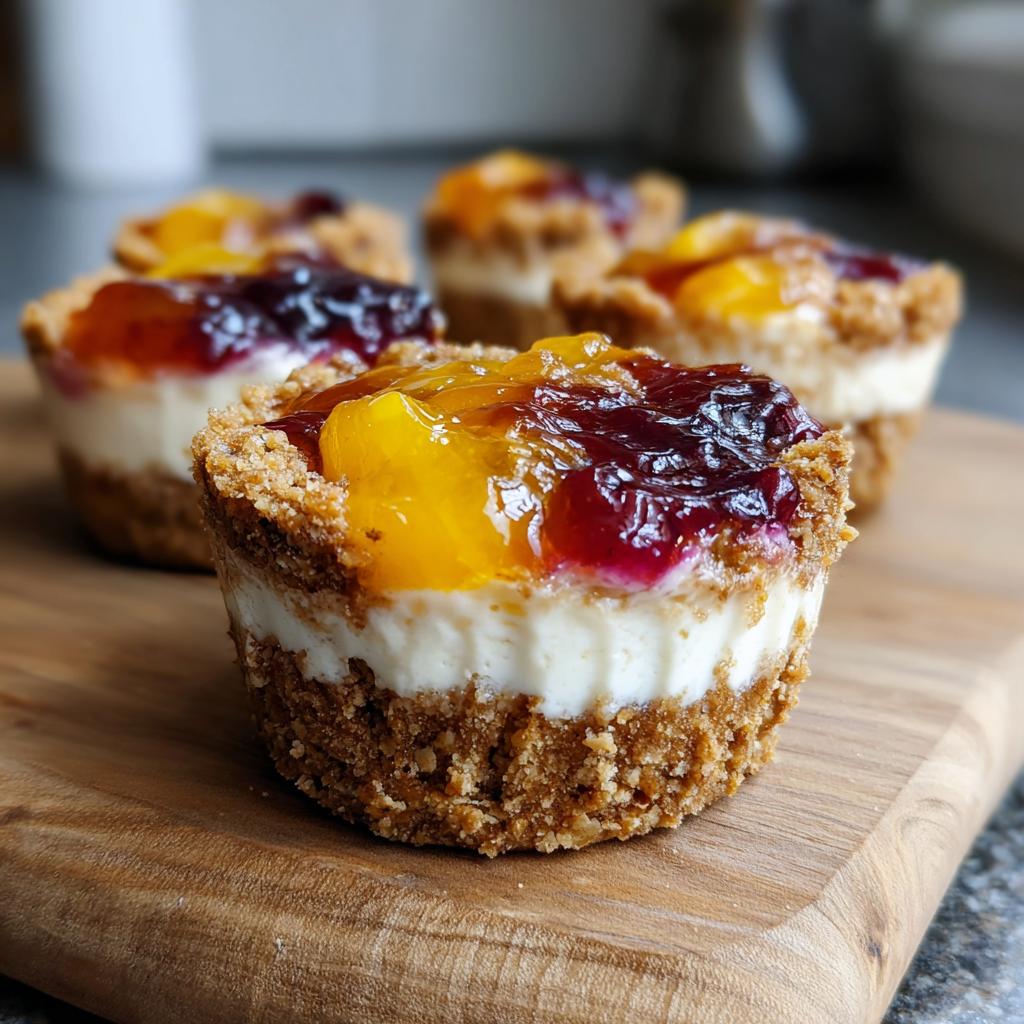
Now for the fun part – making them *look* like Fourth of July! You can use about 1/2 cup of your favorite fruit preserves, like strawberry or raspberry, or even better, grab some fresh berries! Think juicy blueberries and bright red raspberries or sliced strawberries. They not only look gorgeous but add a burst of fresh flavor.
Step-by-Step Guide to Making Fourth of July Desserts With No Bake Cheesecake Cups
Preparing the Crust and Assembling the Cups
First things first, let’s get those liners ready! Grab your muffin tin and pop in those paper liners – you’ll need 12. Now, in a medium bowl, combine your crushed graham crackers and that melted butter. Stir it all up until it looks like damp sand. This is going to be your sturdy base! Spoon about 2 tablespoons of this crumbly mixture into the bottom of each paper liner. Don’t be shy with it! Press it down firmly. Here’s a little trick I learned: use the flat bottom of a small glass or measuring cup to get a really nice, even layer. This ensures your crust doesn’t just crumble apart when someone takes a bite. If you’re looking for other easy no-bake ideas, check out these no-bake cheesecake bites!
Creating the Silky Smooth Cheesecake Filling
Time for the star of the show: the filling! In a *large* bowl, beat your softened cream cheese with an electric mixer until it’s super smooth and creamy. Seriously, no lumps allowed! Then, beat in the powdered sugar and vanilla extract until it’s all combined and looks beautifully light. In a separate bowl, whip up your heavy cream. You’re looking for stiff peaks – that means when you lift the beaters, the cream stands straight up. Now, here’s the delicate part: gently fold that glorious whipped cream into the cream cheese mixture. Be careful not to overmix here! You want to keep all that airiness; overmixing will make it dense instead of fluffy.
Chilling for Perfect Set
Okay, so your cups are filled and looking gorgeous. Now comes the hardest part: waiting! Cover that muffin tin carefully – plastic wrap works great – and pop it into the refrigerator. You need to let them chill for at least 1 hour. This is crucial! It gives the cheesecake filling time to firm up so it’s perfectly sliceable (well, spoonable, really!). If you can resist the temptation, chilling them a bit longer, maybe 2-3 hours, will make them even firmer and easier to handle, especially if you’re transporting them. For more delightful cheesecake inspiration including cookies, try these strawberry cheesecake cookies!
Adding the Festive Fourth of July Touch
Almost there! Just before you’re ready to serve these beauties, it’s time to add that patriotic flair. If you’re using fruit preserves, just spoon a little dollop on top of each cheesecake cup. If you’re going the fresh berry route, get creative! Arrange some blueberries and raspberries on top to mimic the flag colors, or just scatter them over for a pretty burst of red, white, and blue. It’s these little touches that really make them scream “Happy Fourth of July!” and look totally professional.
Tips for Perfect Fourth of July Desserts With No Bake Cheesecake Cups
You know, even with simple recipes like this, a few little tricks can make all the difference between a good dessert and a truly *great* one. I’ve made these so many times, they’re practically second nature now, but I always keep these tips in mind to make sure they turn out perfectly creamy and delicious every single time. It’s all about treating those ingredients right! If you’re looking for other unique, creamy delights, you should definitely check out these blueberry and lemon zest cottage cheese bites for another easy win.
Achieving the Smoothest Cream Cheese Base
This is probably the MOST important tip, seriously! Make sure your cream cheese is truly, fully softened. If you forgot to take it out of the fridge on time, don’t panic! You can zap it in the microwave for super short bursts – like 10-15 seconds at a time – until it’s soft but not melty. This ensures you won’t end up with any annoying lumps in your filling. Lumps are the enemy of smooth cheesecake, trust me!
Whipping Cream to Perfection
For that gorgeous, cloud-like texture in your cheesecake filling, whipping the heavy cream is key. My secret? Make sure your bowl and whisk attachment (or beaters) are chilled. Seriously, pop them in the freezer for a few minutes beforehand! This really helps the cream whip up faster and get those lovely stiff peaks. Just watch it closely, though. It’s a fine line between stiff peaks and, well, butter, and nobody wants that in their cheesecake!
Frequently Asked Questions About No-Bake Cheesecake Cups
Got questions about these delightful little no-bake cheesecake cups? I totally get it! When you find a recipe this easy and delicious, you just want to make sure you’re doing it right. Here are some of the most common things people ask, so you can make these red, white, and blue beauties with total confidence. If you’re ever craving something sweet and filling, these low-carb protein pudding recipes are another fantastic option!
Can I make these Fourth of July desserts with no bake cheesecake cups ahead of time?
Oh, absolutely! This is one of my favorite things about them. You can make these a day or even two days in advance. Just keep them covered tightly in the refrigerator. They actually get even better as they chill because the flavors have more time to meld together. It’s total party-day sanity!
What are some other topping ideas besides fruit preserves or fresh berries?
You can get seriously creative here! A drizzle of chocolate sauce or caramel sauce looks amazing. Mini chocolate chips are fun, or even a sprinkle of red and blue edible glitter for extra sparkle. Some people even like a dollop of whipped cream right on top before serving. Whatever makes your taste buds happy!
Can I use different cookies for the crust?
You bet! Graham crackers are classic, but you can totally switch it up. Vanilla wafers, shortbread cookies, or even crushed gingersnaps would work wonderfully. Just make sure to crush them finely and mix them well with the melted butter. You might need to adjust the amount of butter slightly depending on how dry your cookies are.
How long do these no-bake cheesecake cups last in the refrigerator?
Stored in an airtight container in the fridge, these cheesecake cups should last for about 3 to 4 days. However, they are definitely best enjoyed within the first couple of days. The crust can start to get a little soft if they sit for too long, but they’ll still taste delicious!
Serving and Storage Suggestions for Your Party Dessert
Alright, party planners! Once your gorgeous little cheesecake cups are all chilled and topped, it’s time to get them ready for the celebration. Honestly, these are best served straight from the fridge. If you’re transporting them to a picnic or a neighbor’s barbecue, just pop them into a sealed container. I usually bring a small cooler with an ice pack just to be safe, especially if it’s a super hot day. They’re sturdy enough that they don’t mush easily, which is a huge plus!
If, by some miracle, you have any leftovers (which I highly doubt!), just pop them back into an airtight container in the refrigerator. They’ll keep nicely for about 3 to 4 days, although they’re honestly at their absolute best within the first couple of days. The crust can get a little softer the longer they sit, but they’re still incredibly tasty. For more fun, easy treats, you should definitely check out these easy baked churro bites!
Estimated Nutritional Information
Just a friendly heads-up: the nutritional info for these delightful no-bake cheesecake cups is an estimate, okay? It can totally change depending on the specific brands you use for your graham crackers, butter, and cream cheese. Think of this as a good ballpark figure to give you an idea, but it will vary slightly!
No-Bake Cheesecake Cups for Parties
Ingredients
Equipment
Method
- Line a 12-cup muffin tin with paper liners.
- In a medium bowl, combine the crushed graham crackers and melted butter. Mix until well combined.
- Press about 2 tablespoons of the graham cracker mixture into the bottom of each paper liner.
- In a large bowl, beat the softened cream cheese with an electric mixer until smooth.
- Beat in the powdered sugar and vanilla extract until combined.
- In a separate bowl, whip the heavy cream until stiff peaks form.
- Gently fold the whipped cream into the cream cheese mixture until just combined. Do not overmix.
- Spoon the cheesecake filling evenly over the graham cracker crust in each liner.
- Cover the muffin tin and refrigerate for at least 1 hour, or until firm.
- Before serving, top with fruit preserves or fresh berries, if desired.